April Build Update
An April build update
We got some walls up!
Table Of Contents
What we’ve done
What a hectic last few days! Erny and I took some time off to focus on the tiny house full-time over the Easter break. For us, the past week has been a rollercoaster ride of highs and lows, with the weather constantly threatening to rain on our parade. It has been a lesson in patience, and willingness to adapt and learning as we go. But we’ve soldiered on, and I’m proud to say that we’ve made some significant progress - we can’t wait to update you!
Below is a semi-detailed blow-by-blow breakdown of our tiny house blitz. But if you can’t be bothered - just look at the pictures! Video is coming soon but Lys needs to take a nap.
A timeline of sorts
The break started out with a wet and dreary weekend forecast, but we didn’t let that dampen our spirits. We decided to make use of the time by working in the garage and cutting wall studs. We also cleaned up the trailer of the mouldy plywood and updated the tiny house model.
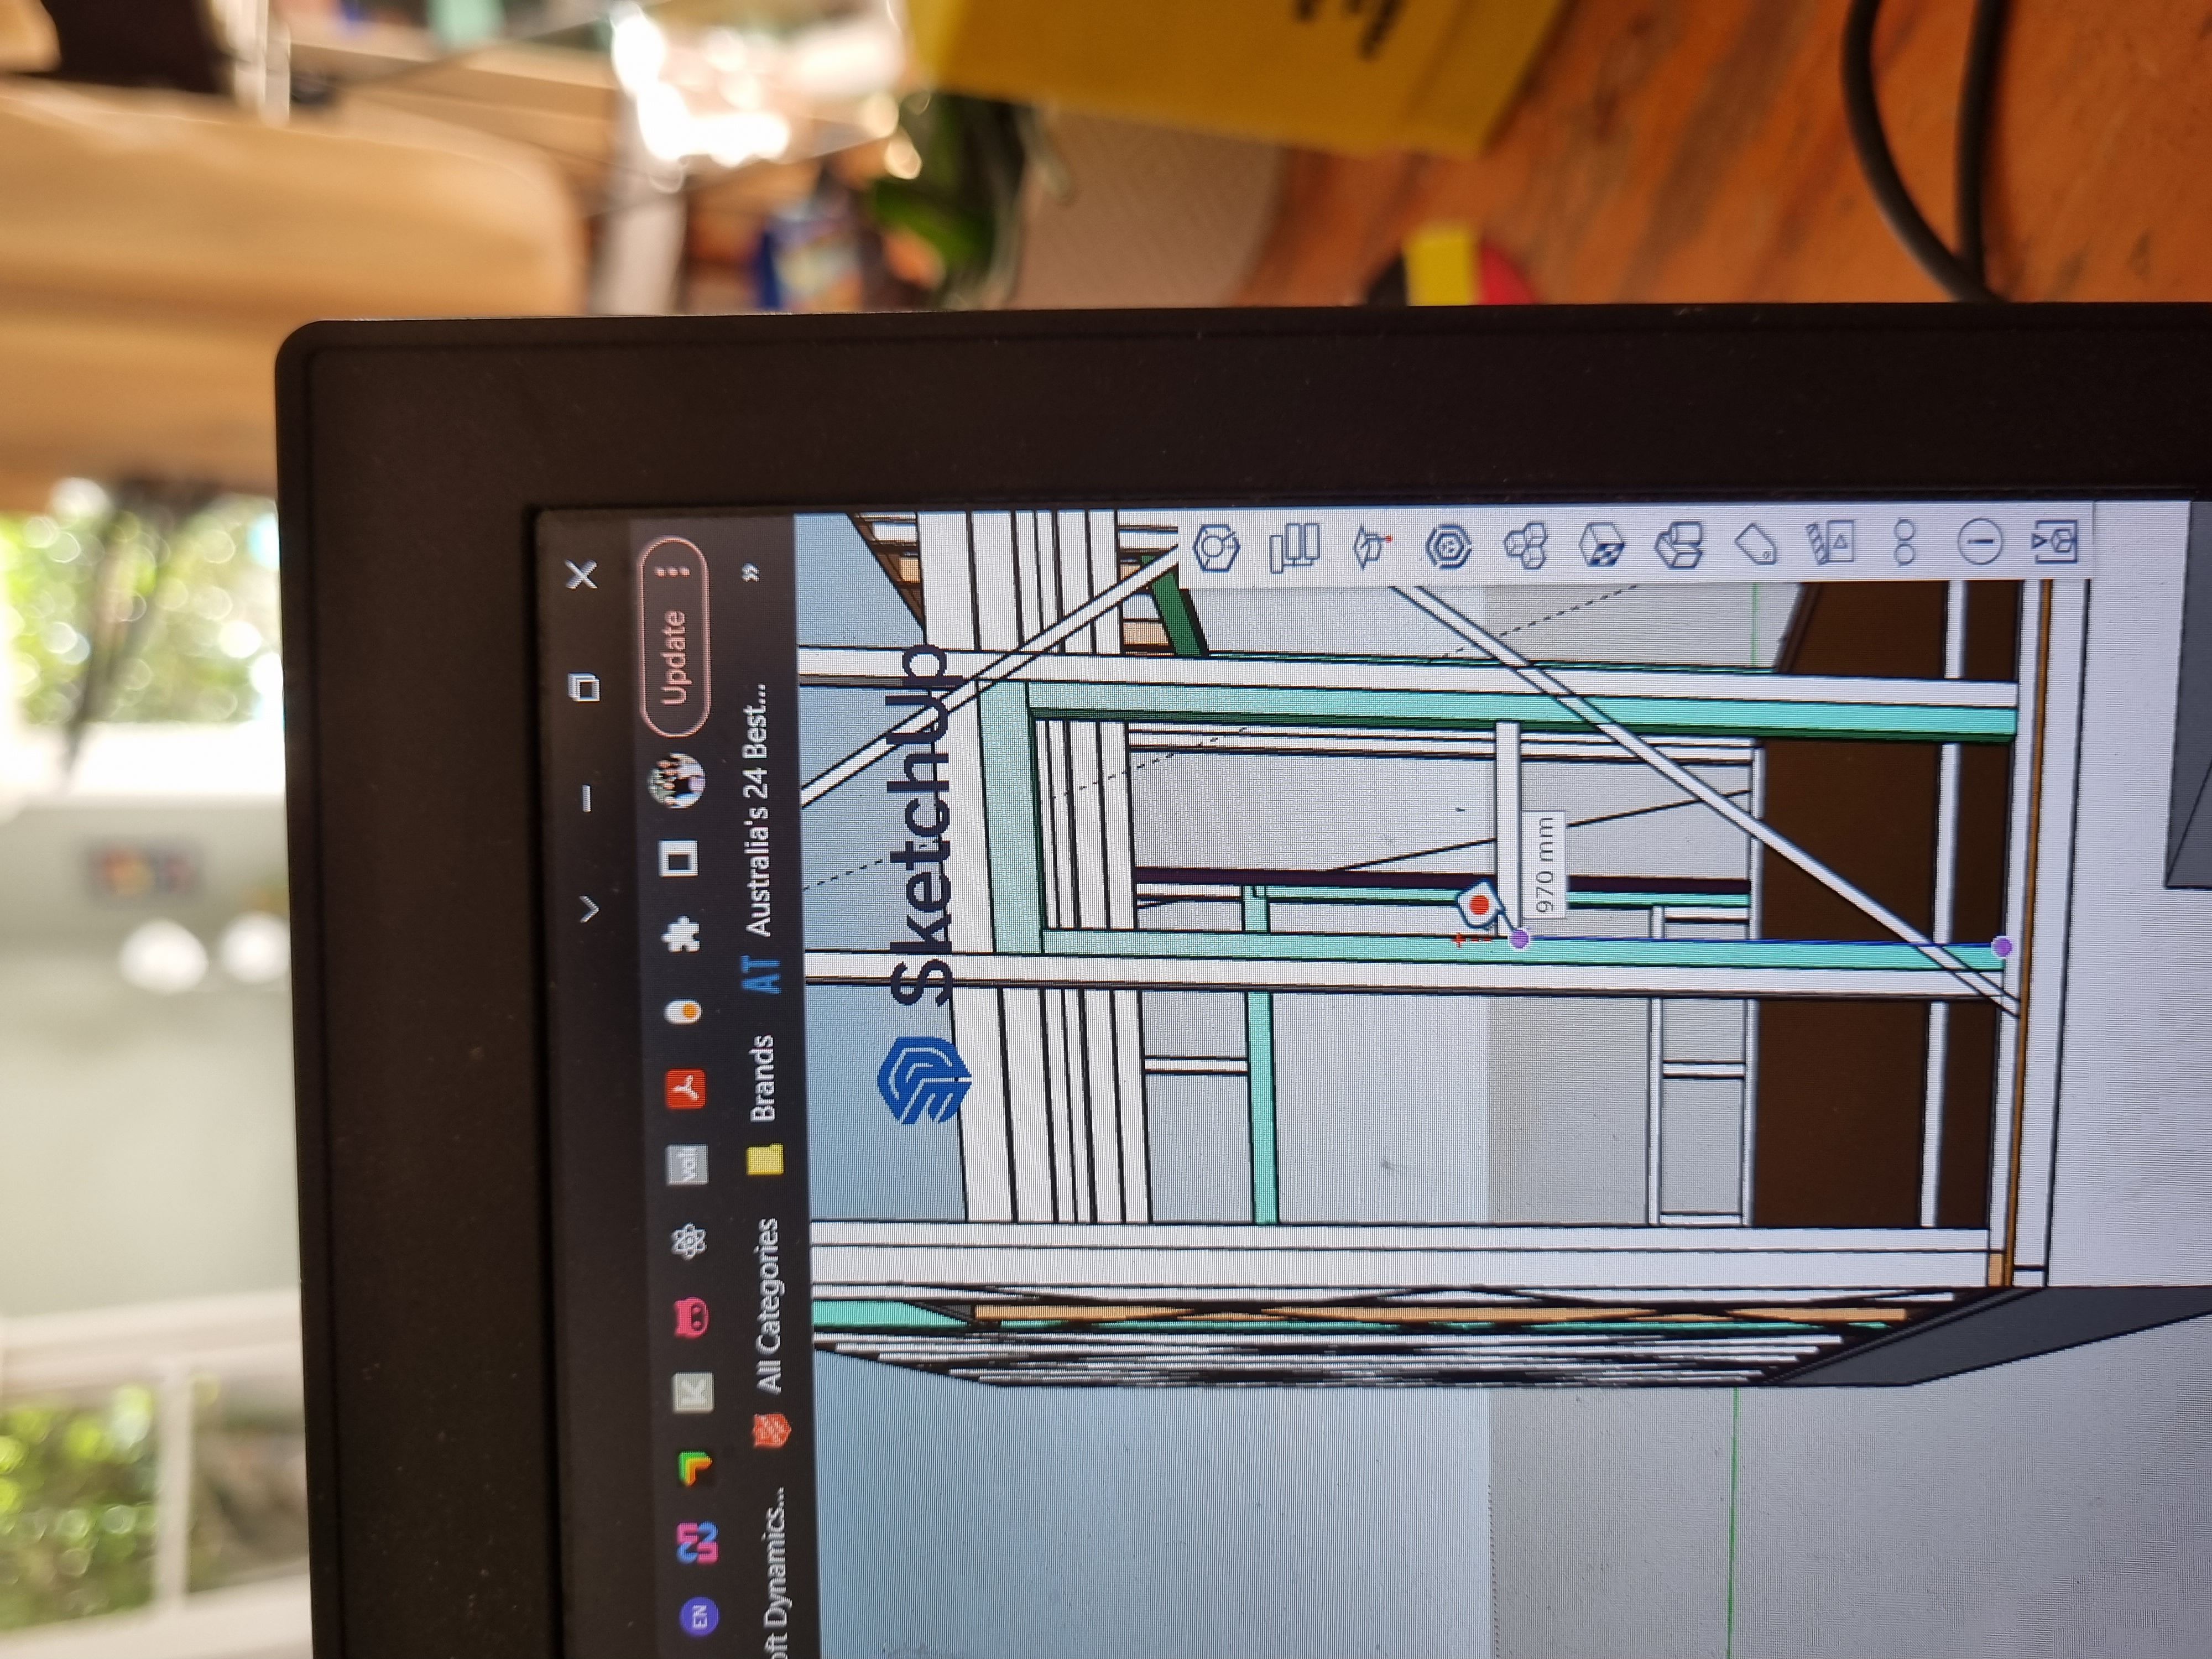
Updating the model
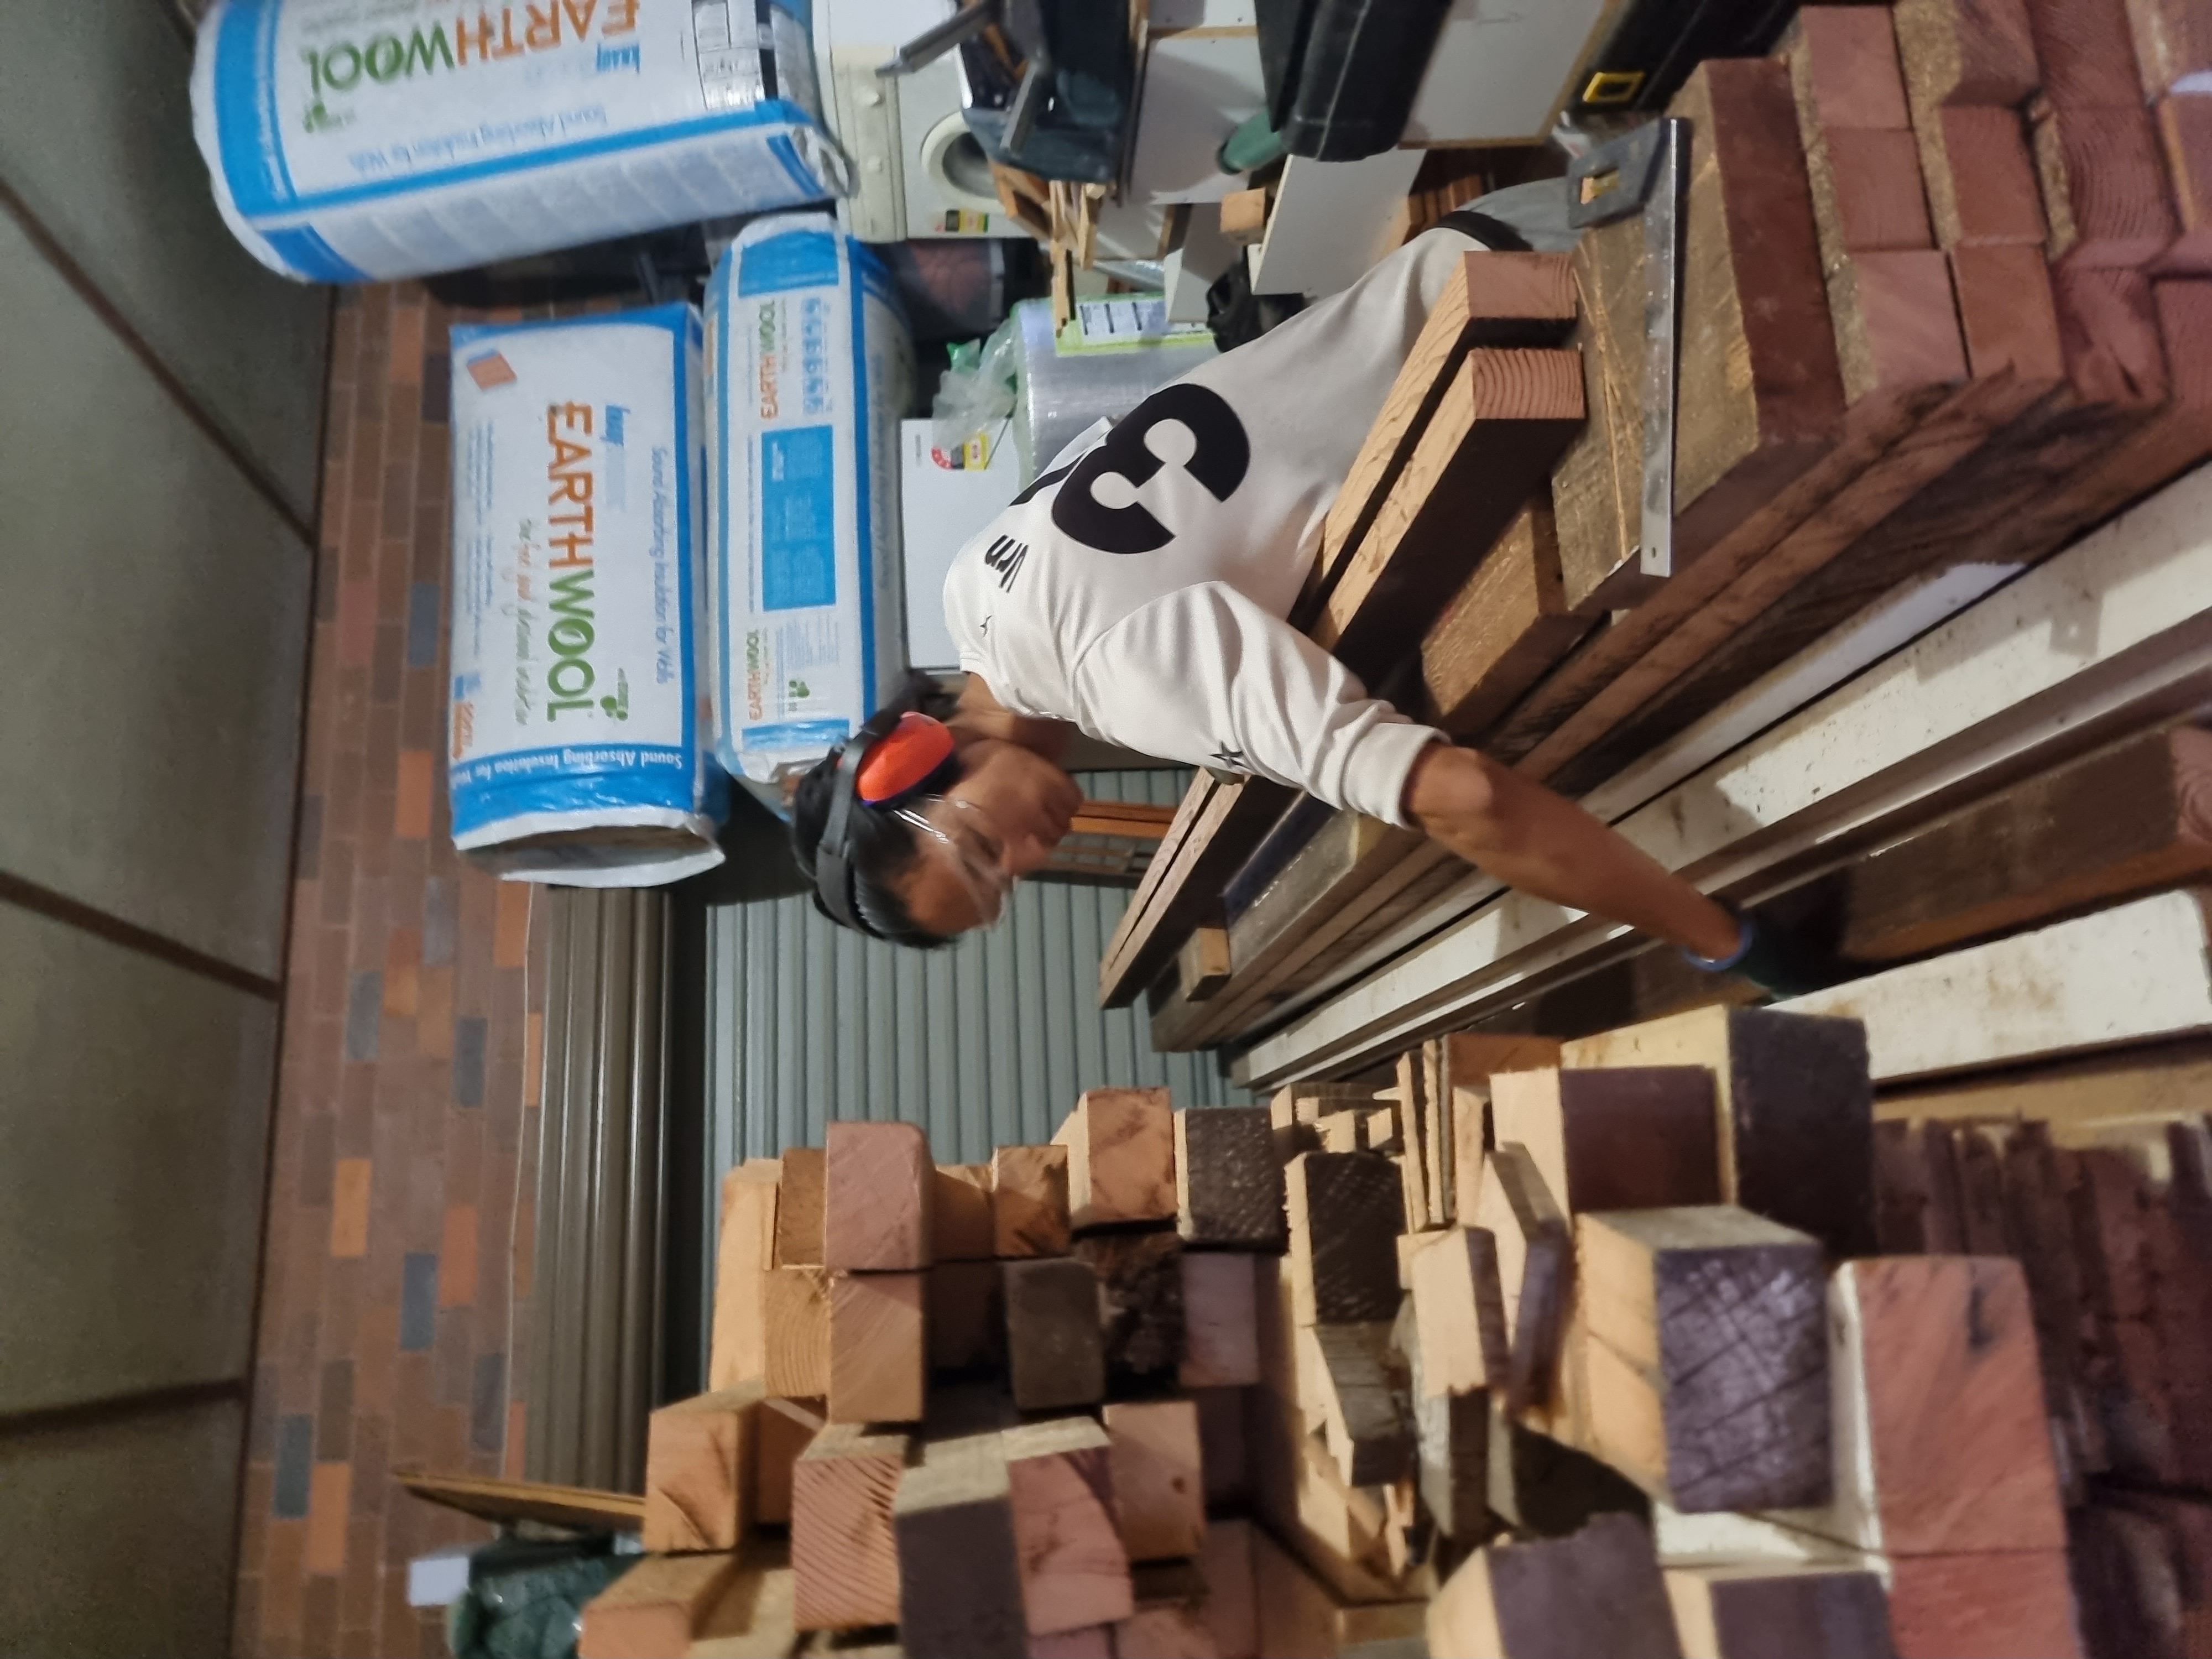
Cutting studs in the garage
This time last year we had planned to raise the walls over the Easter break, but then Lys caught COVID and there were huge storms up and down the east coast. Our tentative first steps in 2022 fell to the wayside and moulded over in wet conditions. In 2022 we realised we were not ready so we re-grouped for 2023 Easter! It might not have been glamorous work, but it was necessary, and it felt good to be moving forward from the ghosts of 2022.
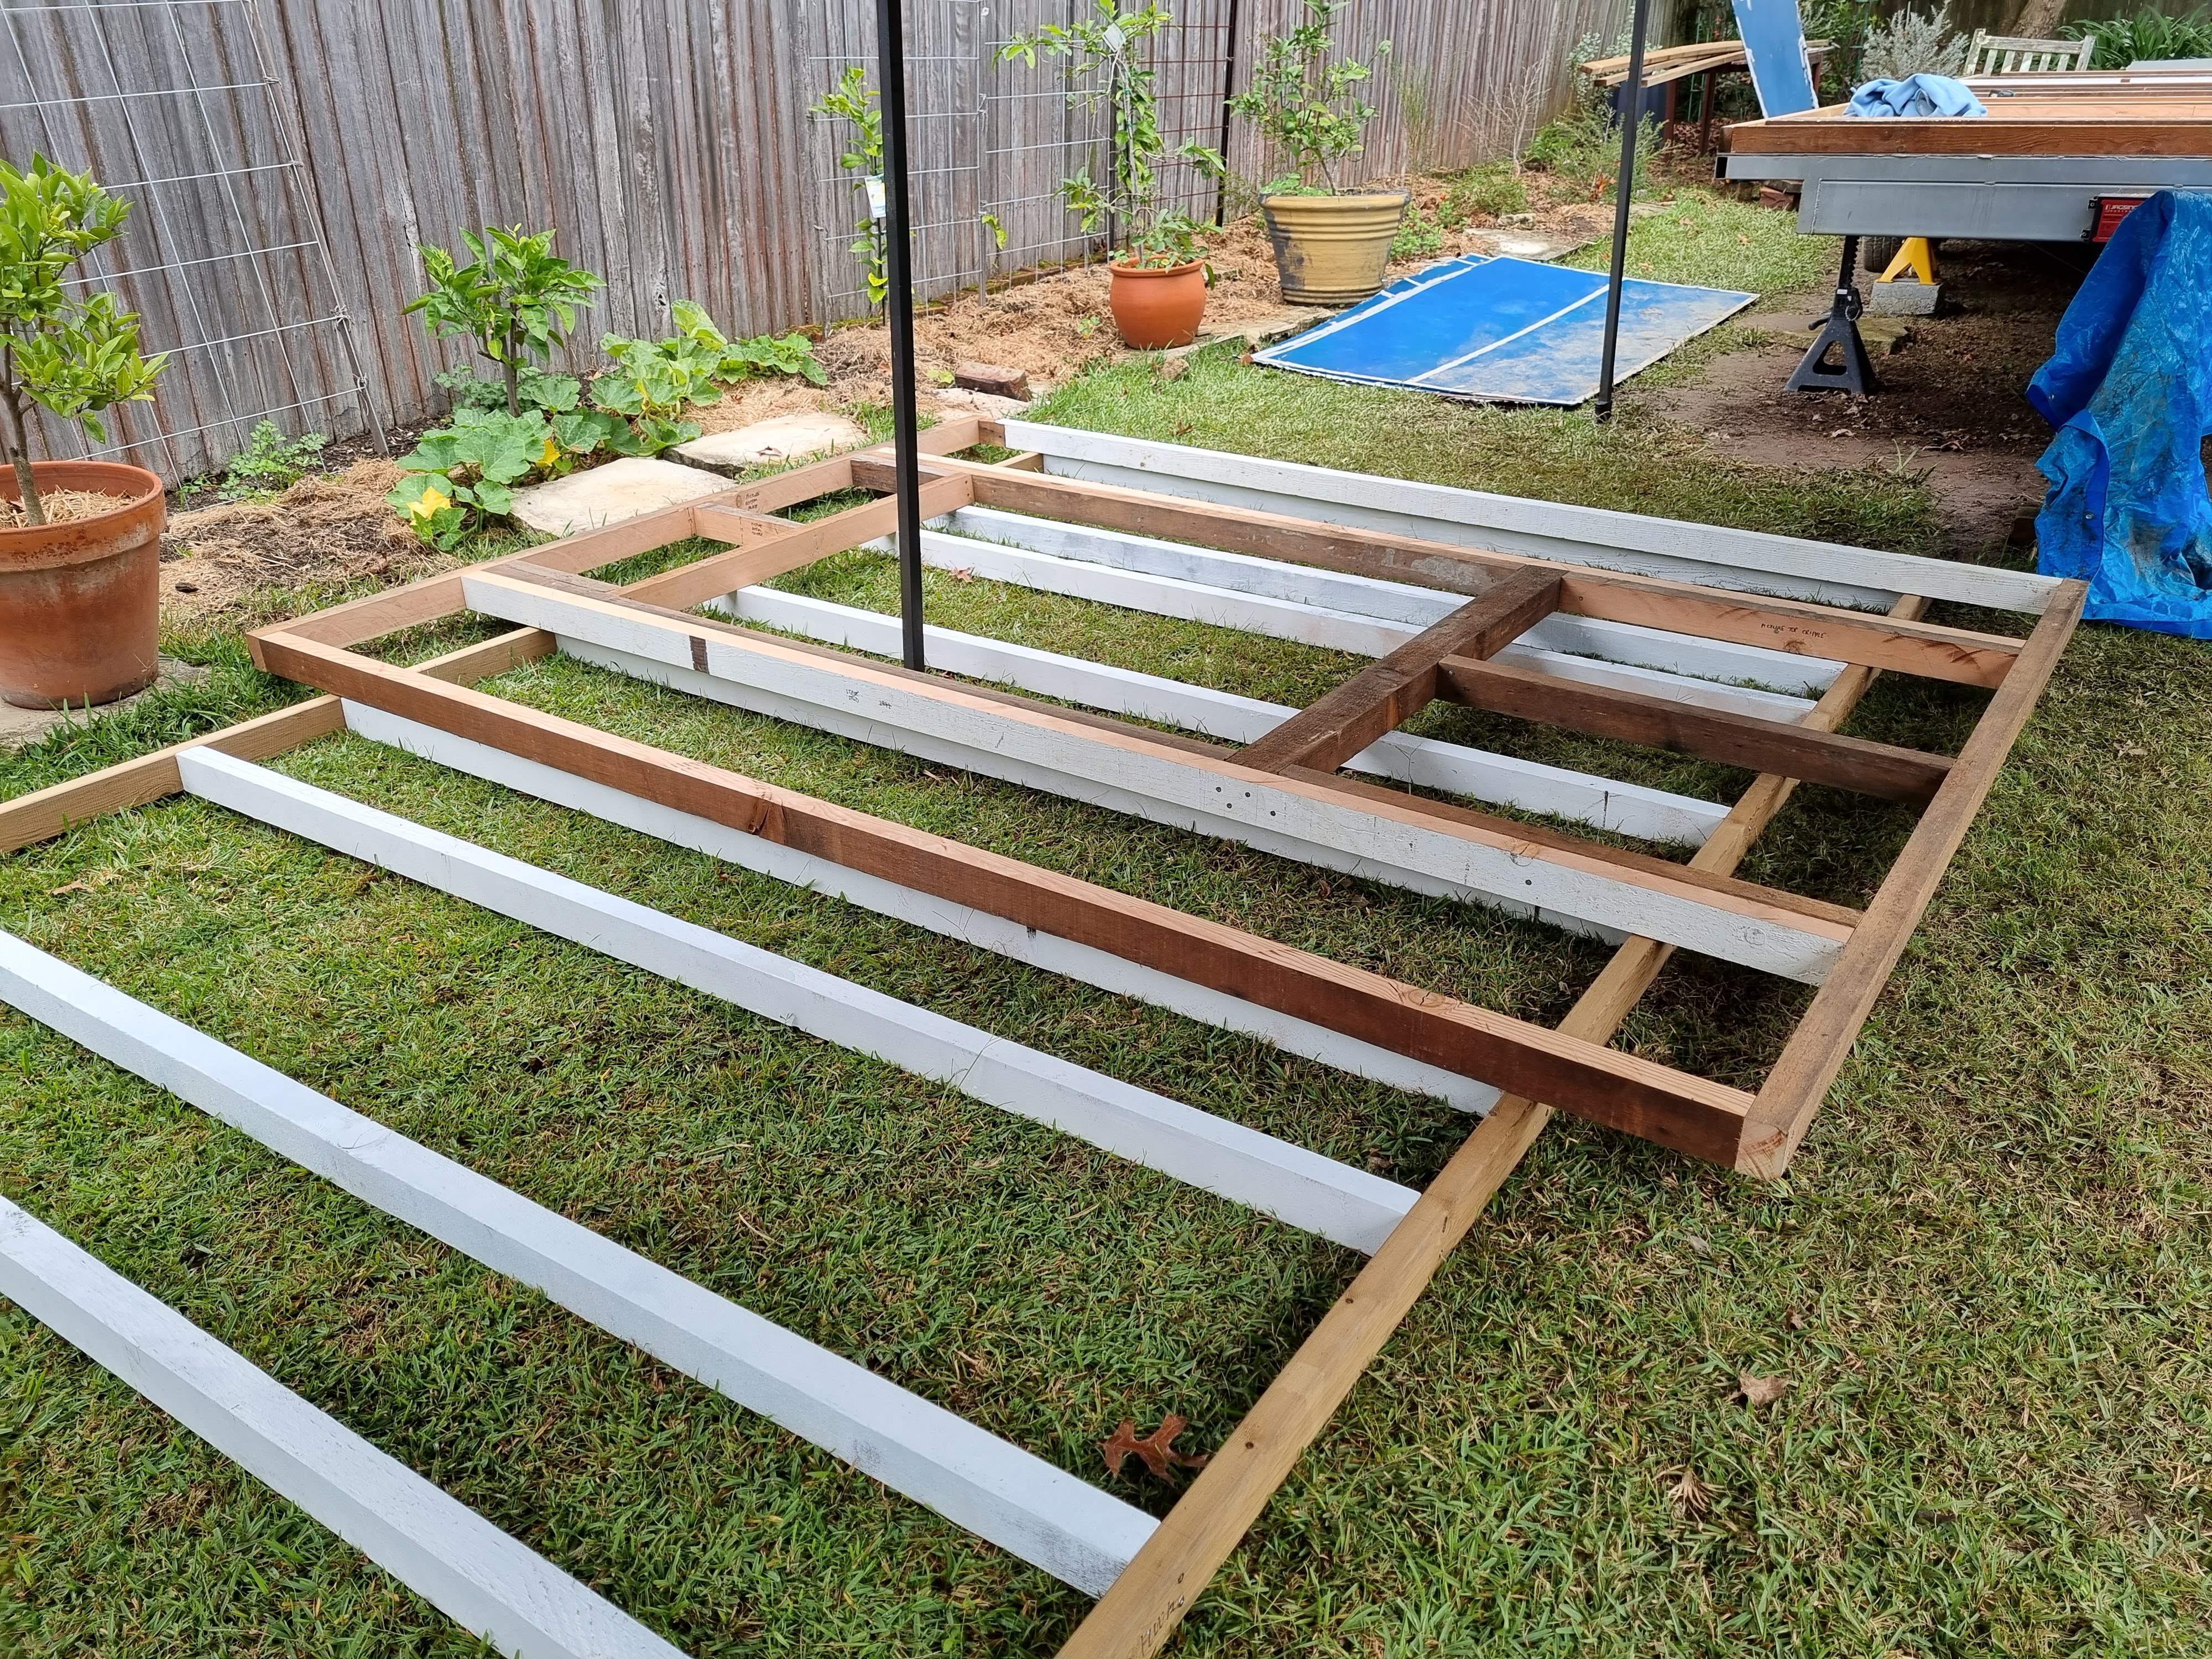
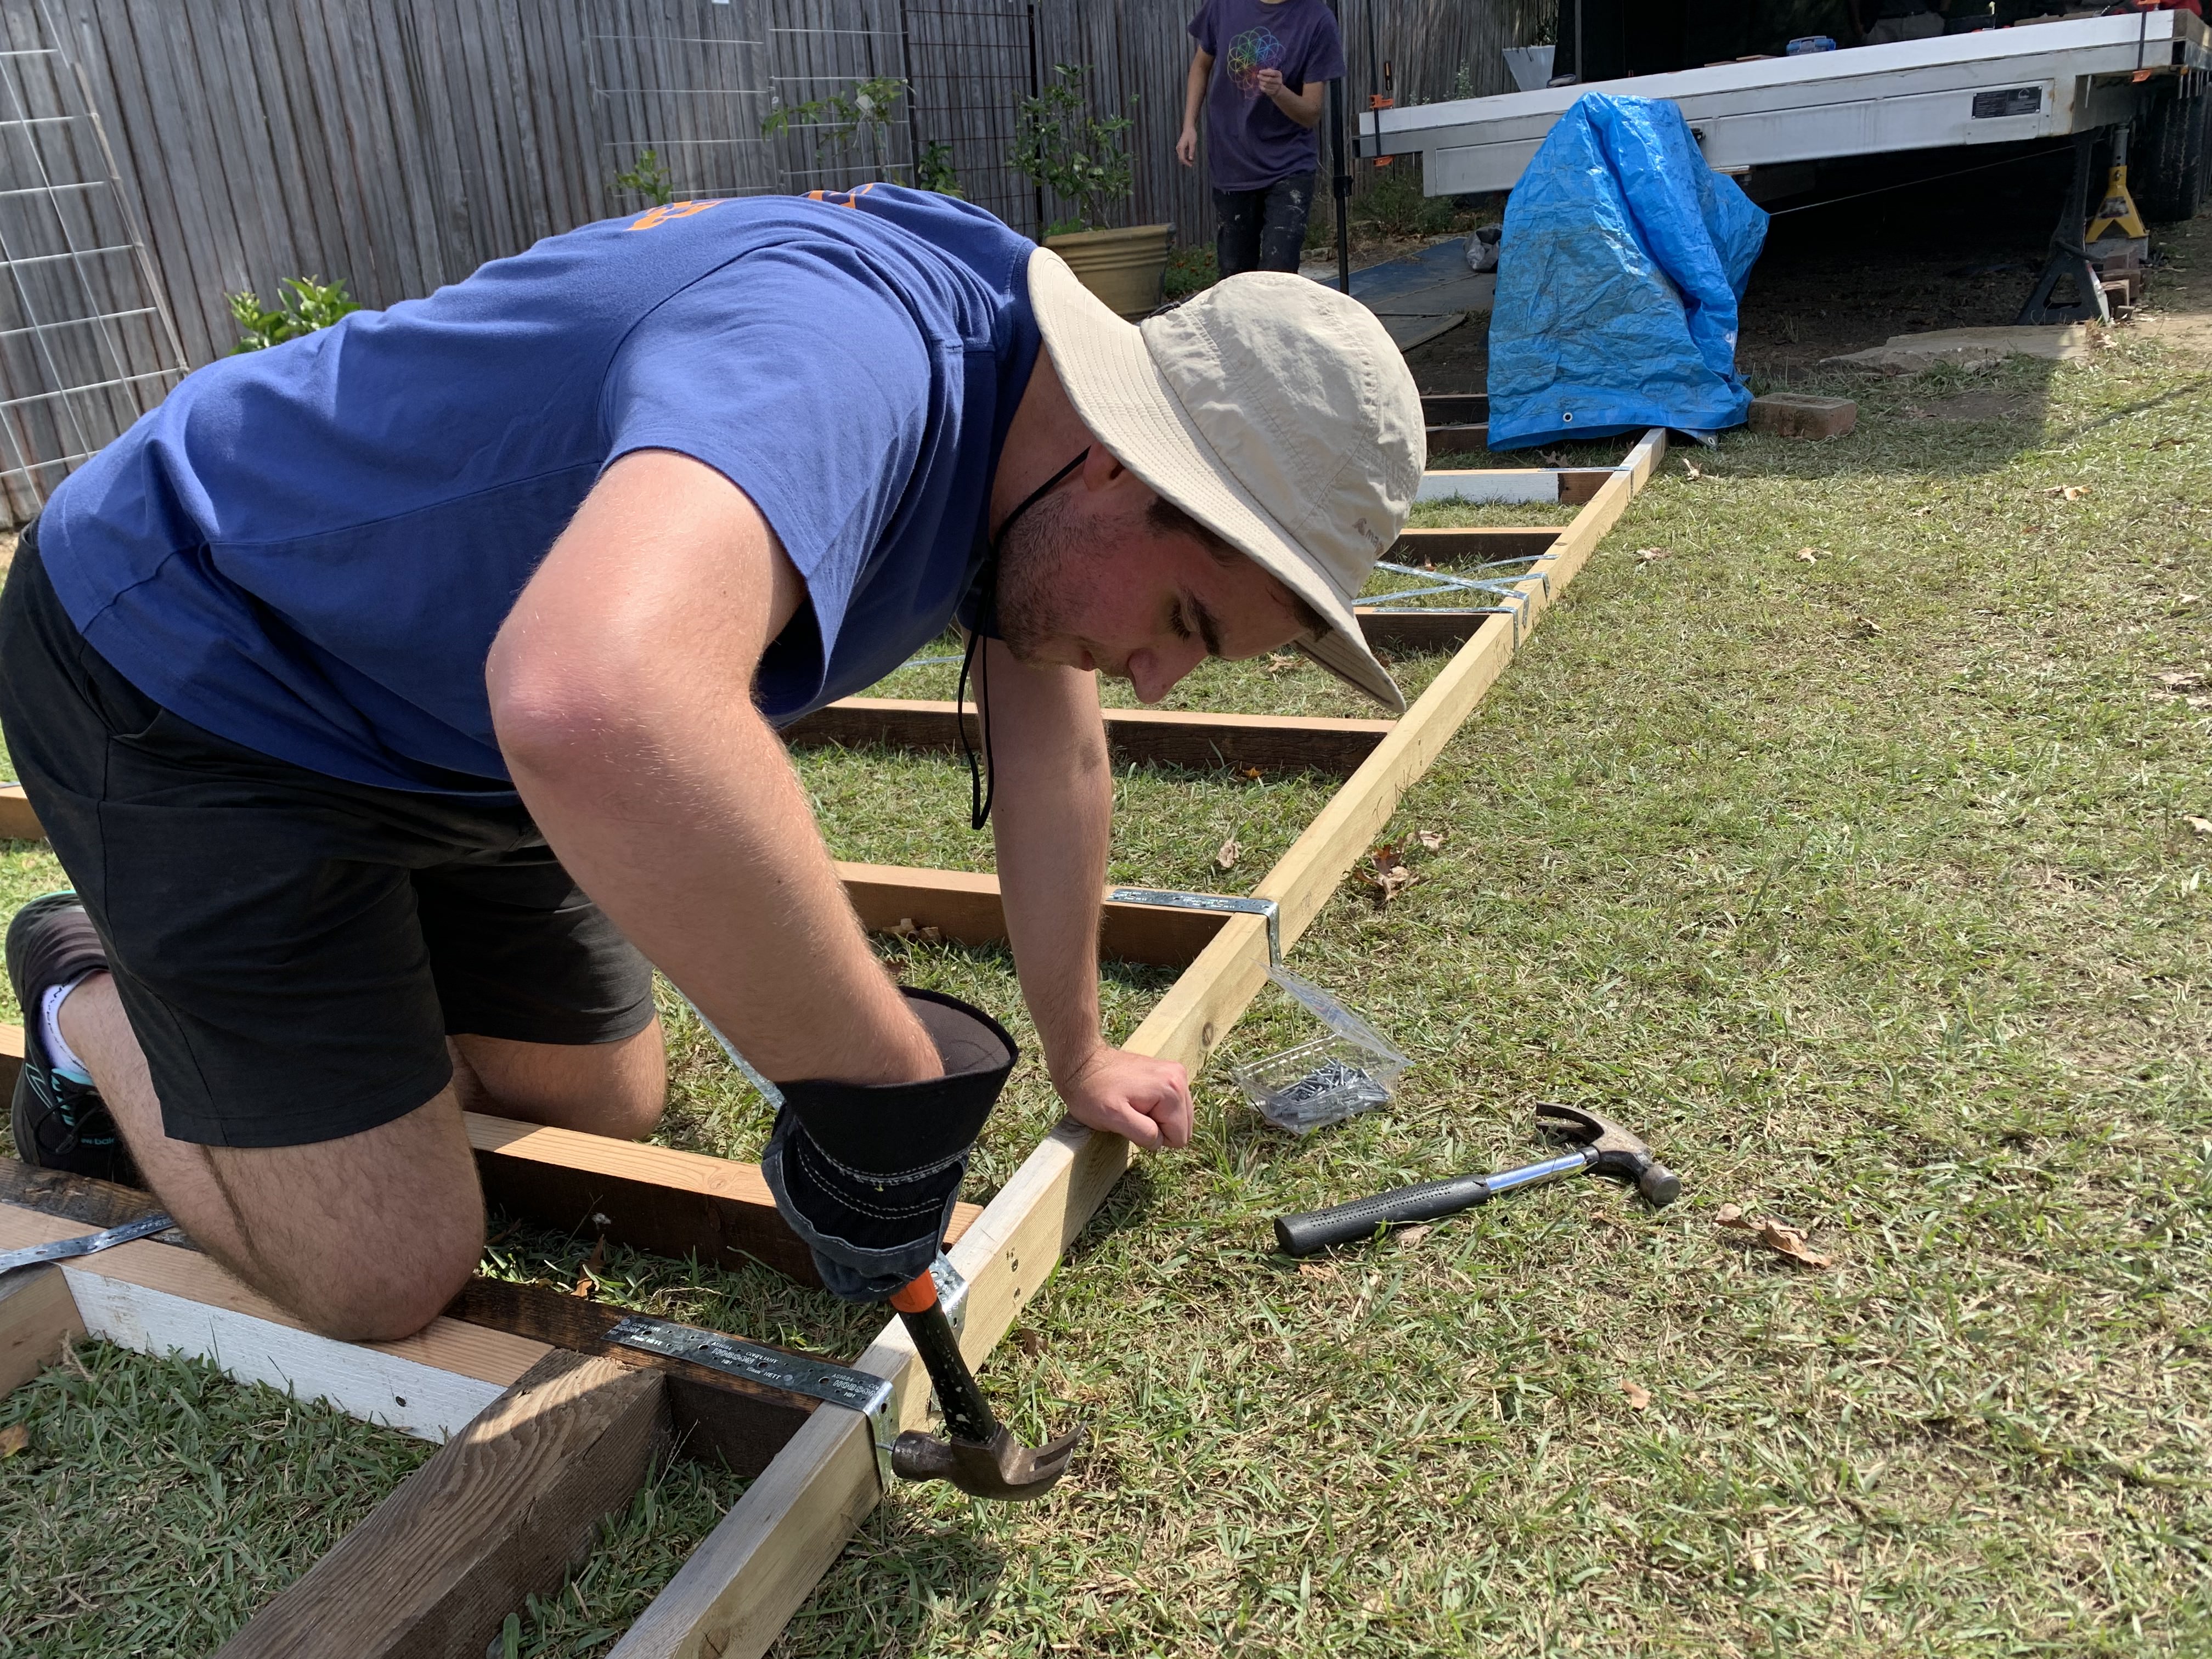
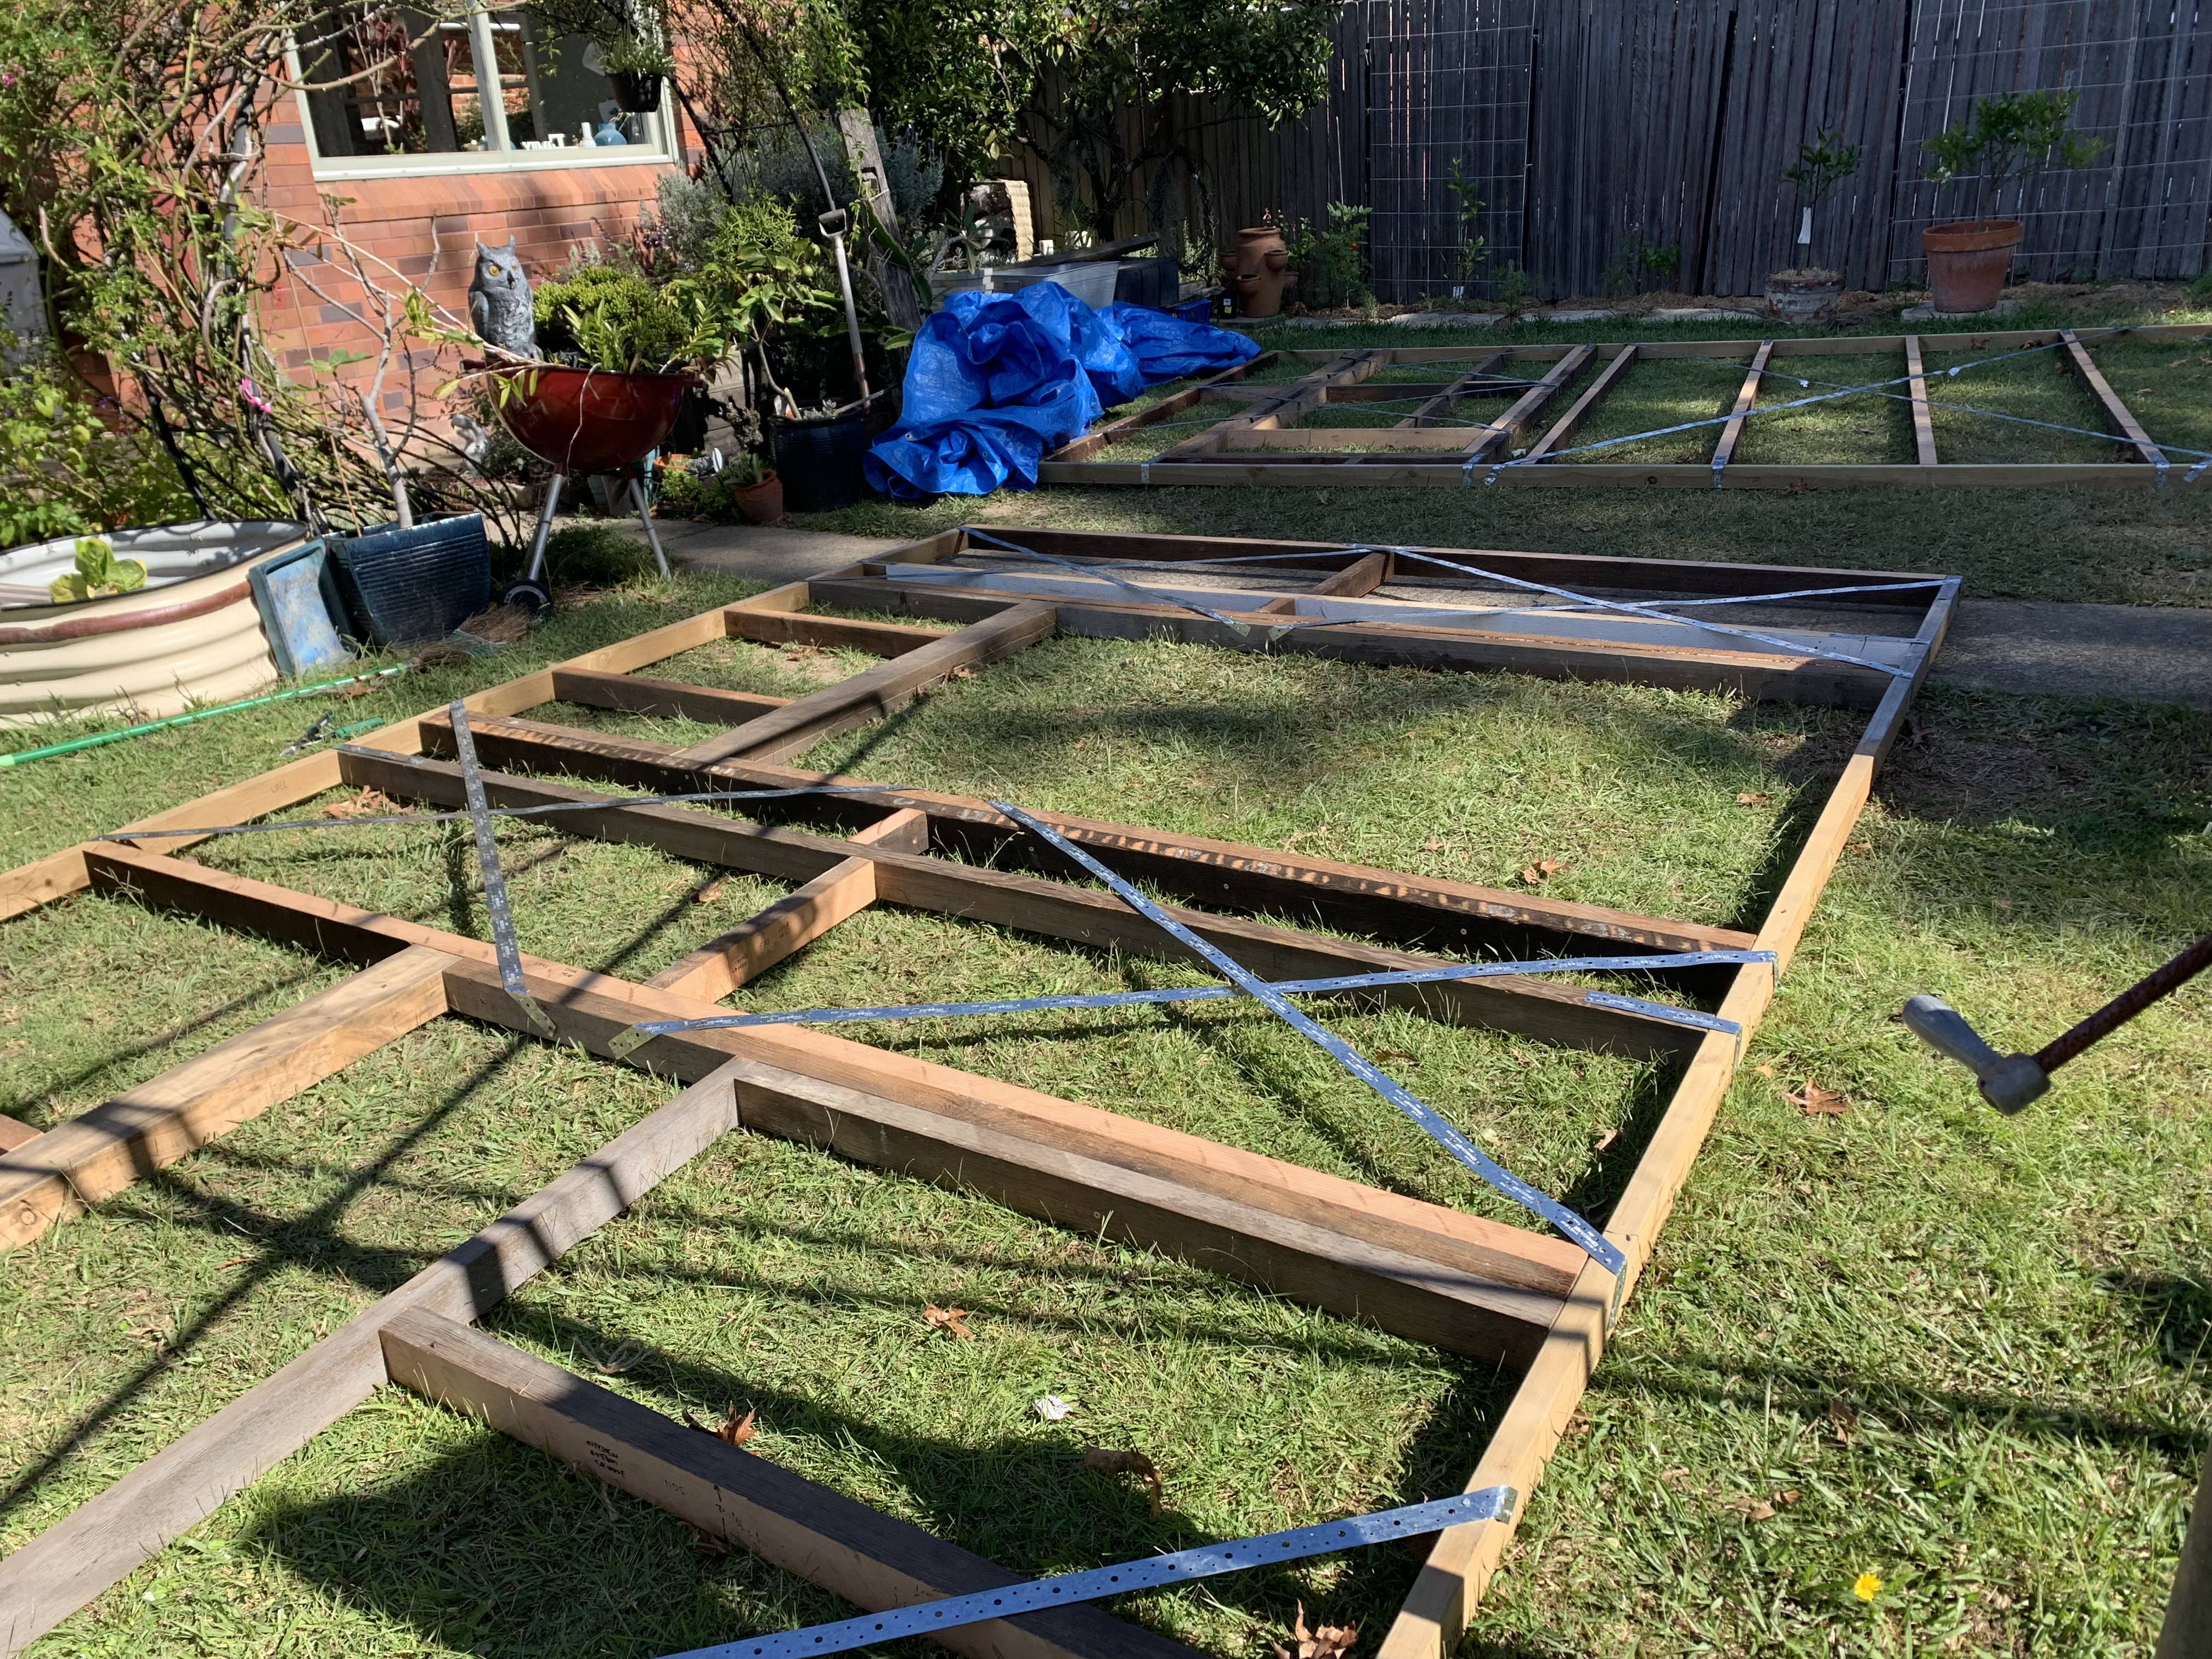
Slightly behind schedule but still feeling optimistic - Monday was a surprise, as we woke up to no rain! Over the past 10 days, we’ve been looking hawkishly at the weather forecast every half hour or so - it hasn’t been the healthiest. Lys took advantage of the dry weather and re-applied the damp course onto the trailer. The damp course will act as a thermal bridge between the cold steel of the trailer and the plywood. We are hoping this will reduce condensation and mould underneath the house. We also set up our new (to us) second-hand 6x3 m gazebo over the trailer. This was a huge lifesaver as we could work under the gazebo, protected from the intermittent showers. The forecasted rain still held off and Lys pressed forward and constructed our subfloor while Erny continued cutting studs in the garage. Lys got some great practice with the impact driver, and it felt pretty surreal that we actually screwed pieces of wood together. Finally some tangible progress!
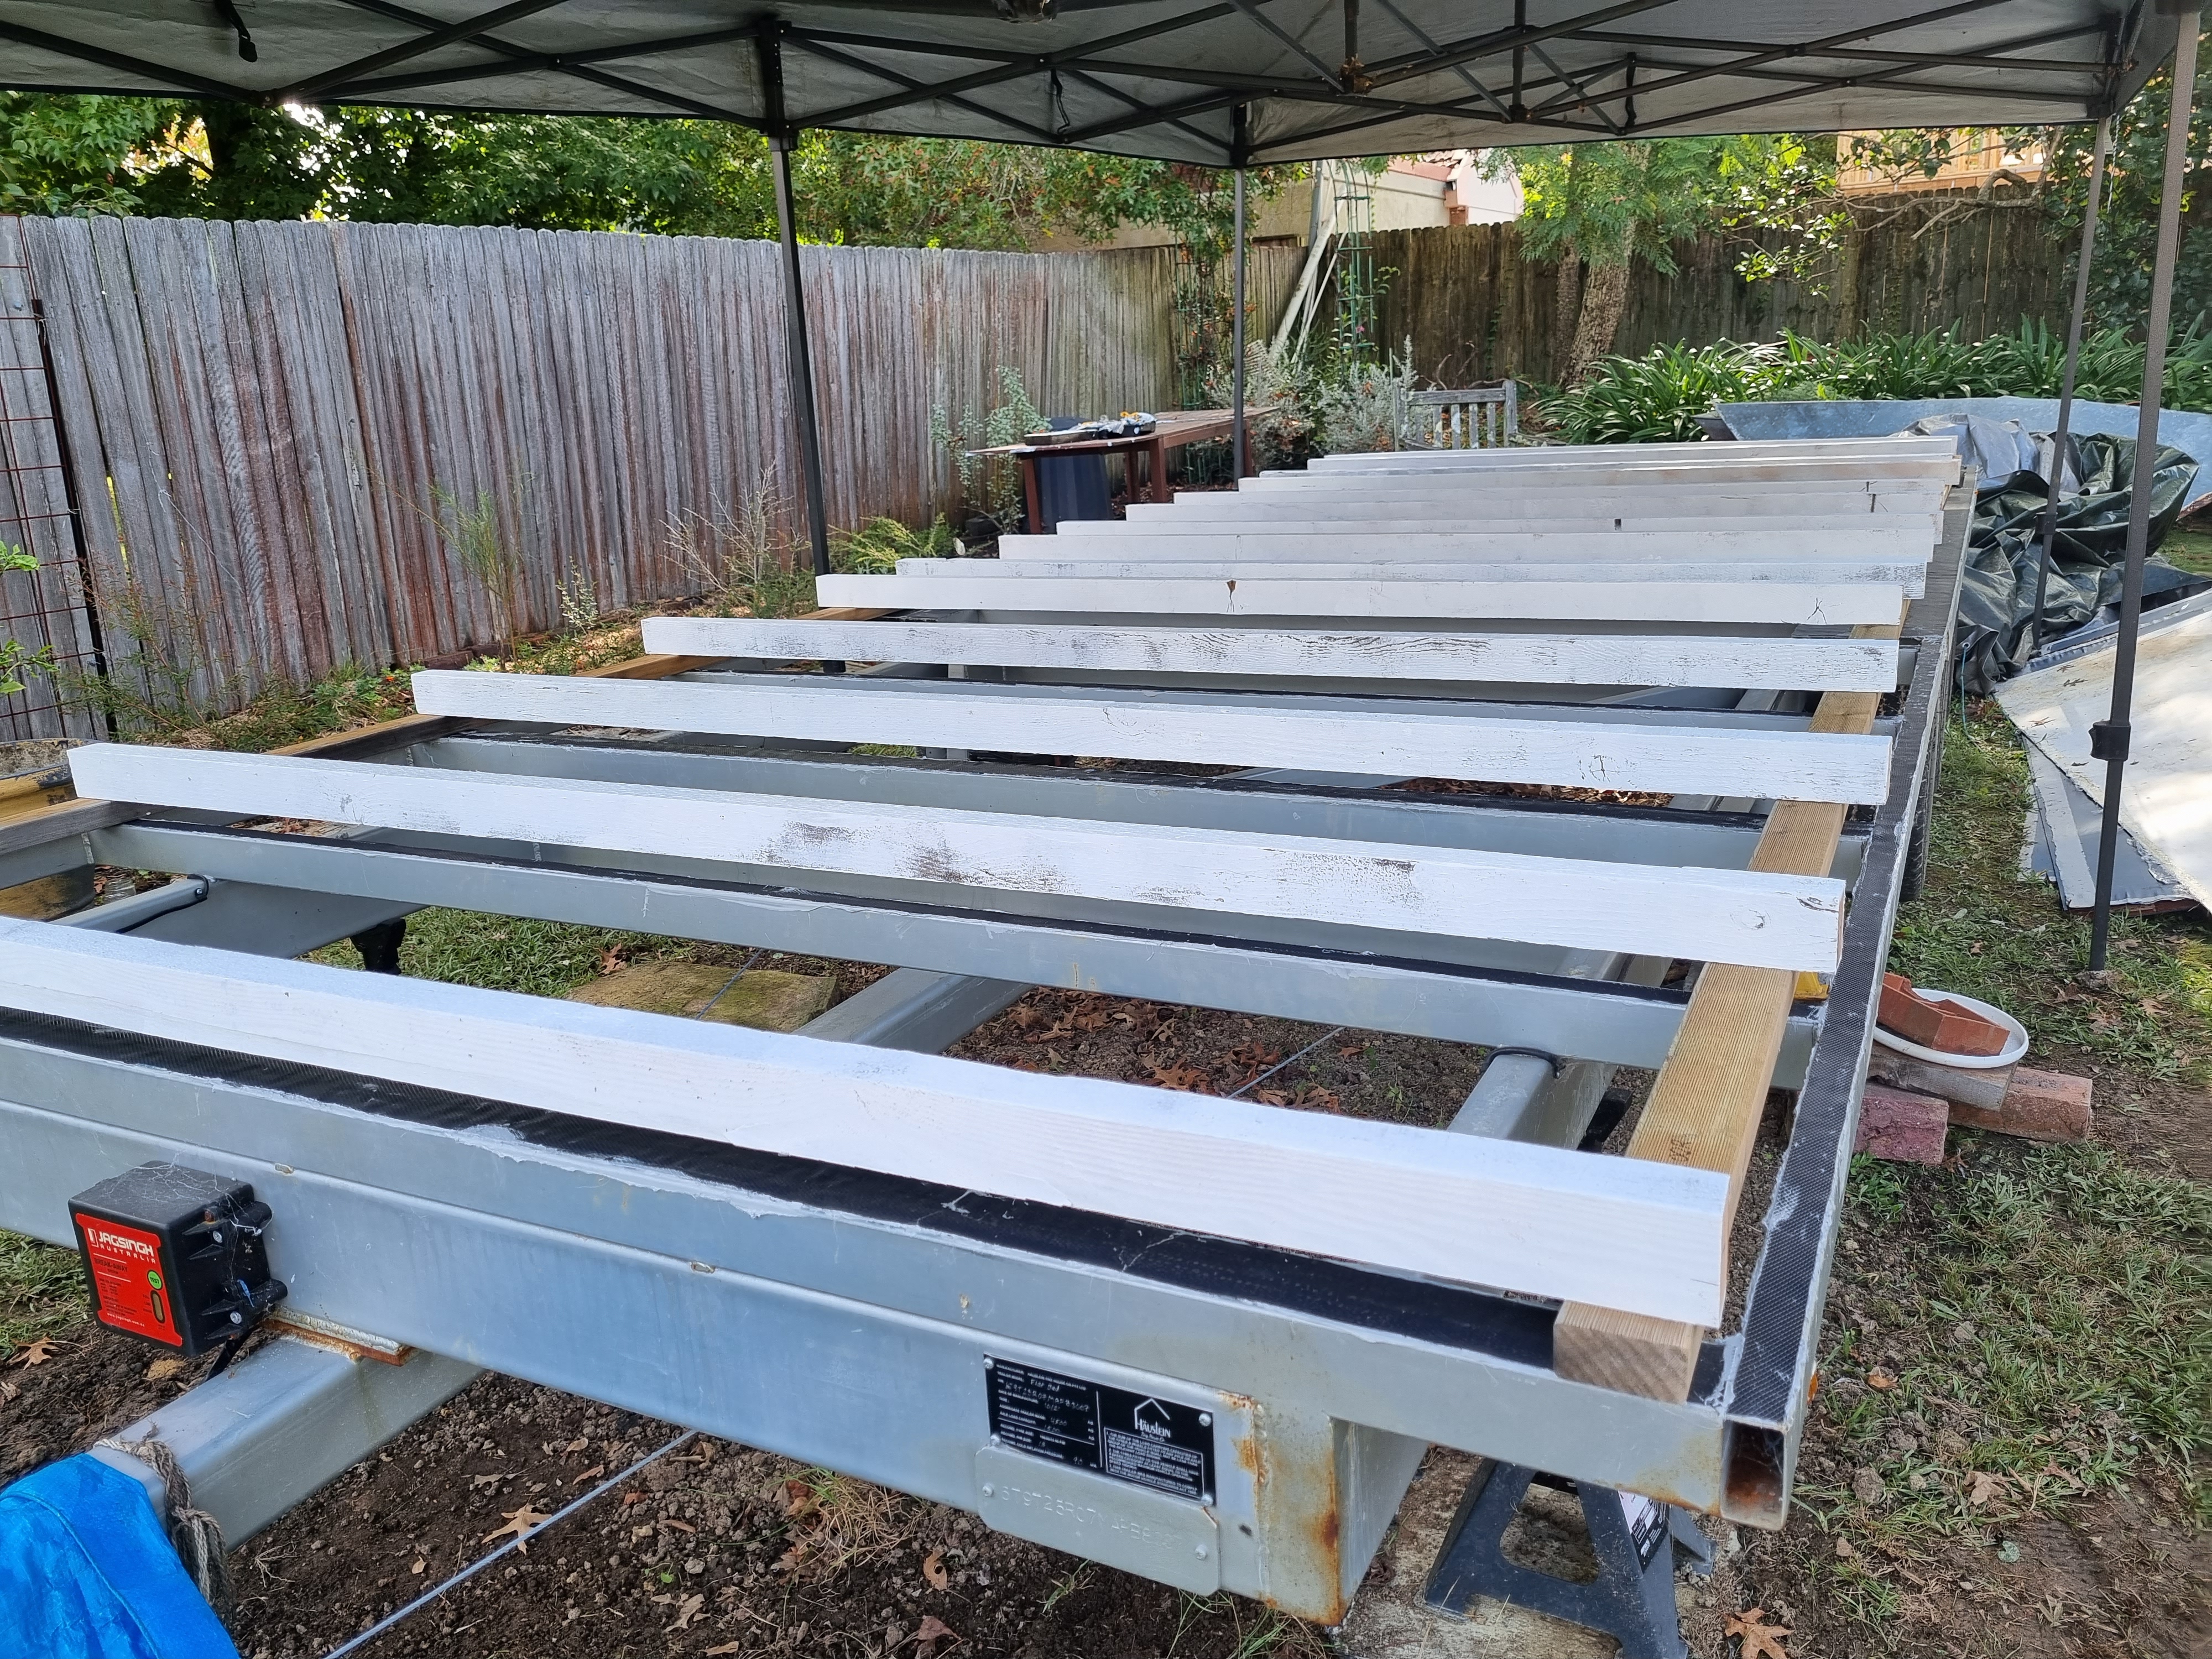
Constructing the subfloor
Tuesday was another day where we were at the mercy of the rain gods, but again, they were kind to us. Lys glued the plywood down to the subfloor, and Erny continued cutting the wood for the frame. We also cut our metal strap bracing in preparation for a wall raising. In normal construction, you wouldn’t do this but we wanted to front-load as many activities as possible to maximise the good stretches of weather. Lys learnt how to use a new tool - tin-snips - thanks to a handy youtube video.
Youtube really can teach you anything!
Wednesday was a bit of a stress-fest, as we discovered we needed an emergency bolt order from Queensland. Somehow we had forgotten that a section of the trailer steel was thinner (by 6 cm) than the other areas of the trailer - what a rookie mistake! It was a hectic half hour trying to work out what extra bolts were required (14cm and 16cm if you were curious) and making an express order with Bolt and Nut Australia. Mid-afternoon showers really slowed the great progress we had made over the last few days but managed to build our first wall! Lys made the first wall all by herself, mastering yet another tool - this time the impact driver. We are using square-headed stainless steel screws due to stainless steel’s resistance to corrosion and strength - but my goodness are they easy to strip. We must have used over 500 screws on this project so far and Lys has ruined over 15 screw heads😞.
She has been binge listening to a cyber security history-based podcast called Malicious Life. It has been the perfect replacement for her true crime addiction and makes mundane tasks fly by. The stress continued into the evening with another emergency Bunnings run with Lys’ brother to find nails. It turns out that we needed more special fastener connector nails and these special nails are different to the normal flat head or clout nails. It turns out that timber connector plate nails are designed and manufactured from a single piece of metal. In comparison, the shaft and head of a regular clout are manufactured separately and then joined. Because of this, the head of a regular clout may pop off a lot easier which results in a lower holding capacity. This means - even though they look exactly the same fastener connector nails are far superior (and a tad more expensive). To make matters worse we could not find the correct fastener nails in the correct dimensions. Regardless we decided to press onwards - though things were feeling a fit dire (mild exaggeration).
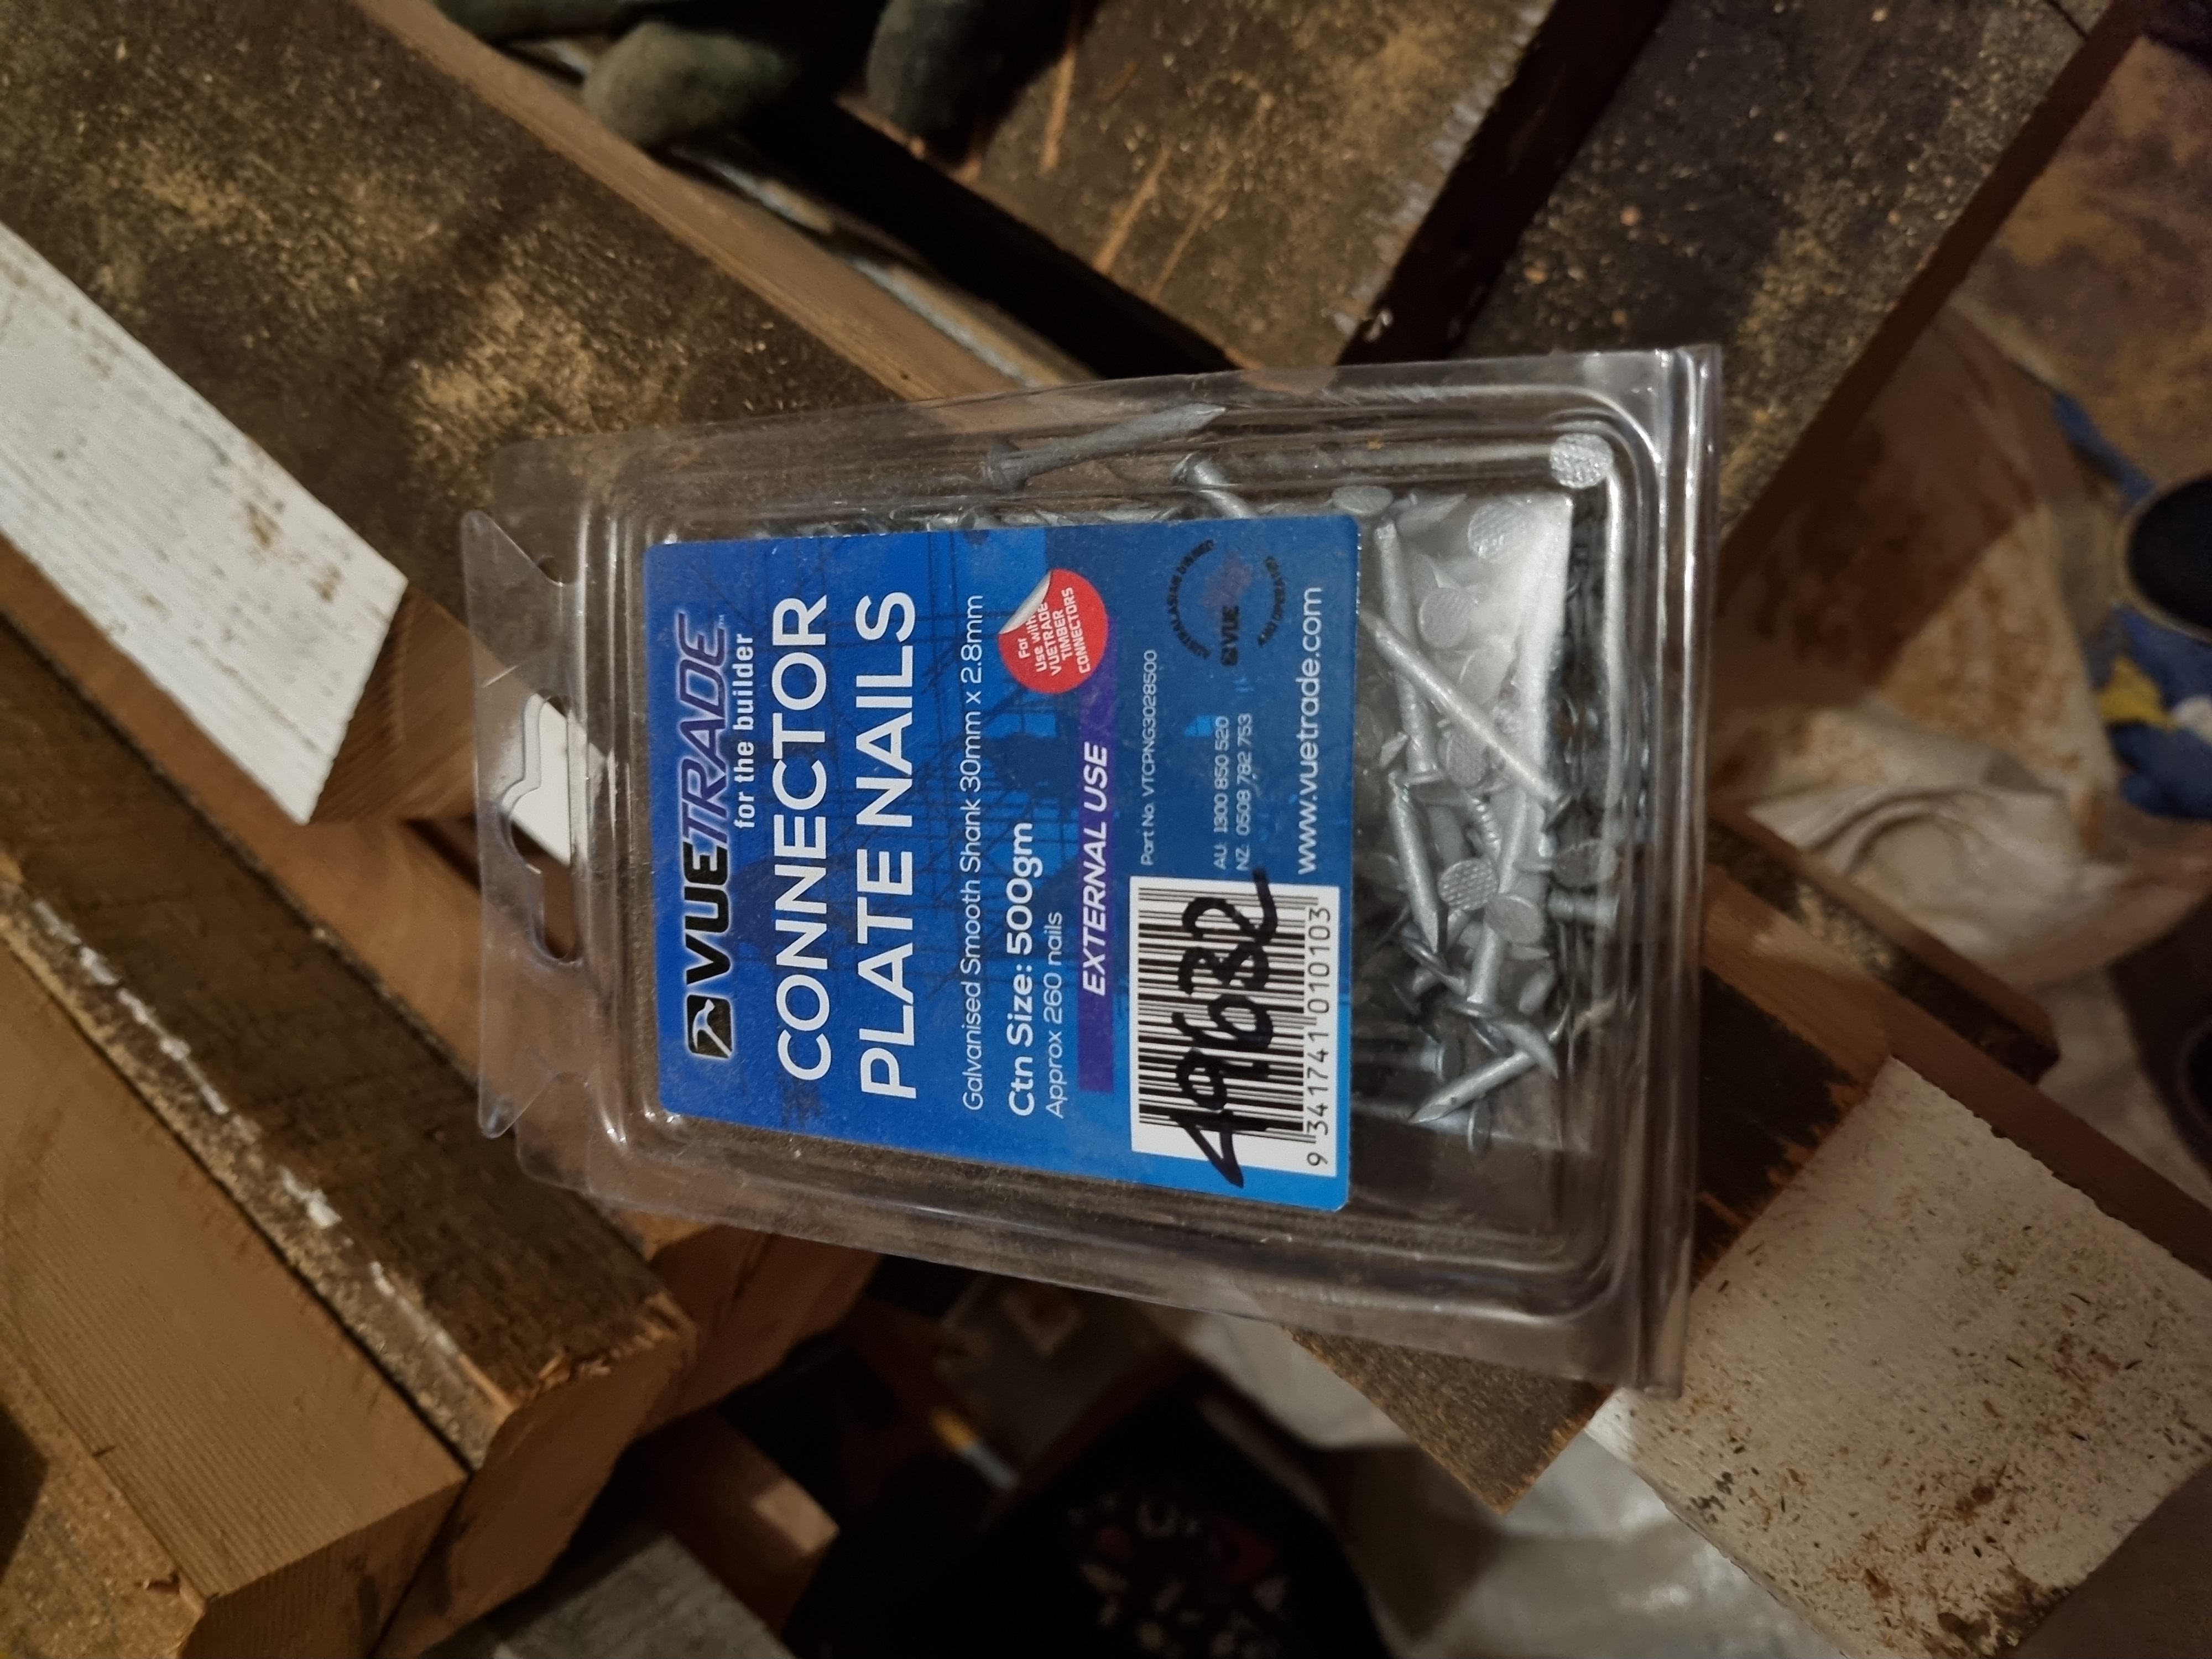
Will Lys and Erny have enough connector nails?
In a rapid turn of events - on Thursday we finished framing our picture window wall and our tallest long wall! We were pleased with the progress, but the sporadic rain forced us to quickly rainproof our materials with tarps. Scared from the memories of the 2022 rains, Erny had this brilliant idea to make a makeshift shower screen with an old tarp to protect the trailer and our newly created walls. The good fortune continued with our bolt order coming in! Clearly, purchasing express shipping was worth every penny and now we had all the bolts we needed to bolt the subfloor and the walls to the trailer.
Walls in progress
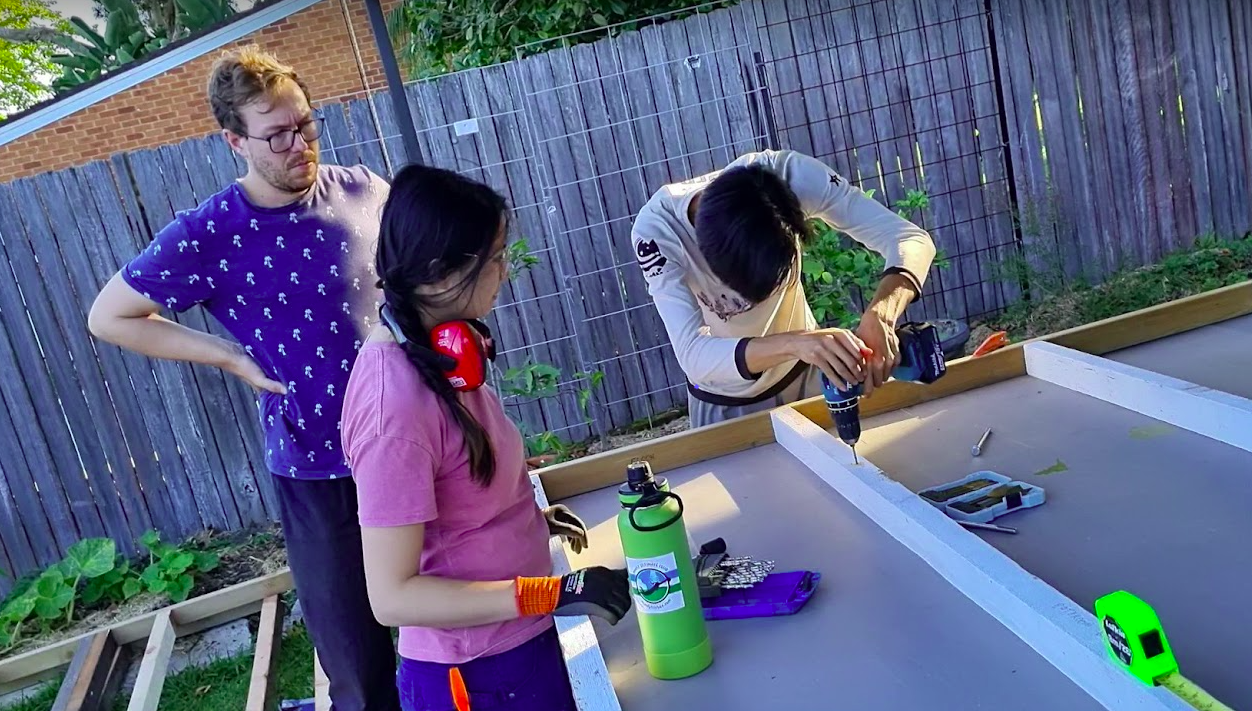
The next day was one of the most fun - our friends came around to lend a hand! We were grateful for the help of Troy, Silvia, and Jason as we framed the last wall and started drilling subfloor holes. This last wall was by far our most complex and Troy was an absolute wizard with the tape measure and Silvia took charge of cutting the last headers for our walls. Jason literally crushed putting our wall together and had sage advice when it came to the most efficient way to drill our subfloor.
We also made a few booboos here. It turns out the the headers in the model were the incorrect size which meant our loft windows were not perfectly aligned. Additionally Erny cut a king stud too short even though we had always measured twice before we cut. On top of this - we discovered that because of the bottom and top plates of the short walls being 45mm thick and the bottom and top plates of the long walls being 35mm our whole plan was just a little bit out of whack. How frustrating!
But alas we pressed on and together, Silvia and Jason made light work drilling through the subfloor and using a very blunt spade bit to make the insets for the bolt heads. Making things with friends was a rewarding experience, and building a big thing is made better with banter, laughs and collective problem-solving. Big thanks to Jason and Silvia for bringing over their gear and (perhaps more importantly ) their pizza oven for a delicious dinner! We also learned that even the best-laid plans, such as our Sketch-Up model, can differ from the reality of construction, and we had to make adjustments based on practical considerations. Delicious sausage rolls, courtesy of Troy’s partner Deborah, were a welcomed treat after a productive day.
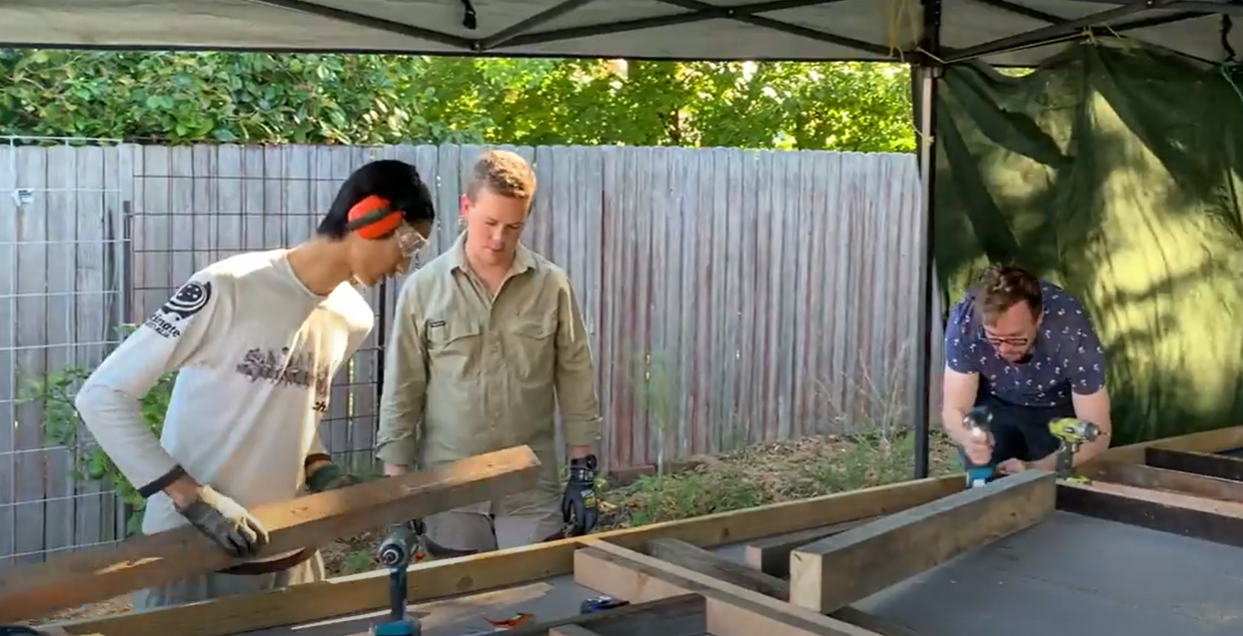
Friends lending a helping hand
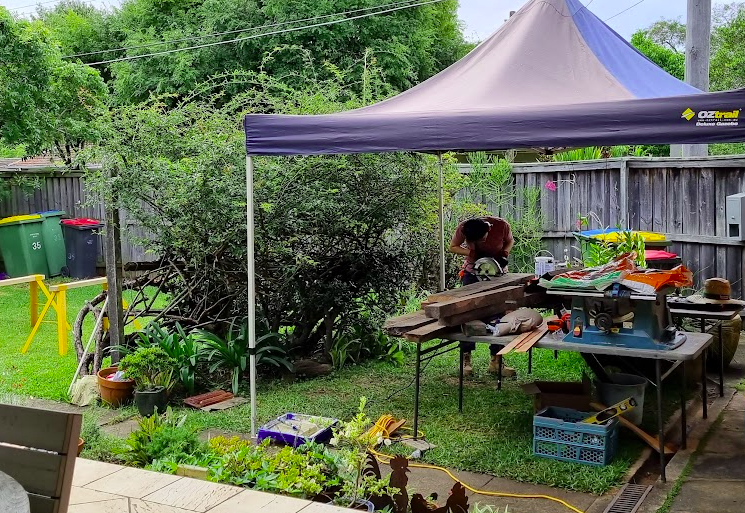
Silvia on the circular saw
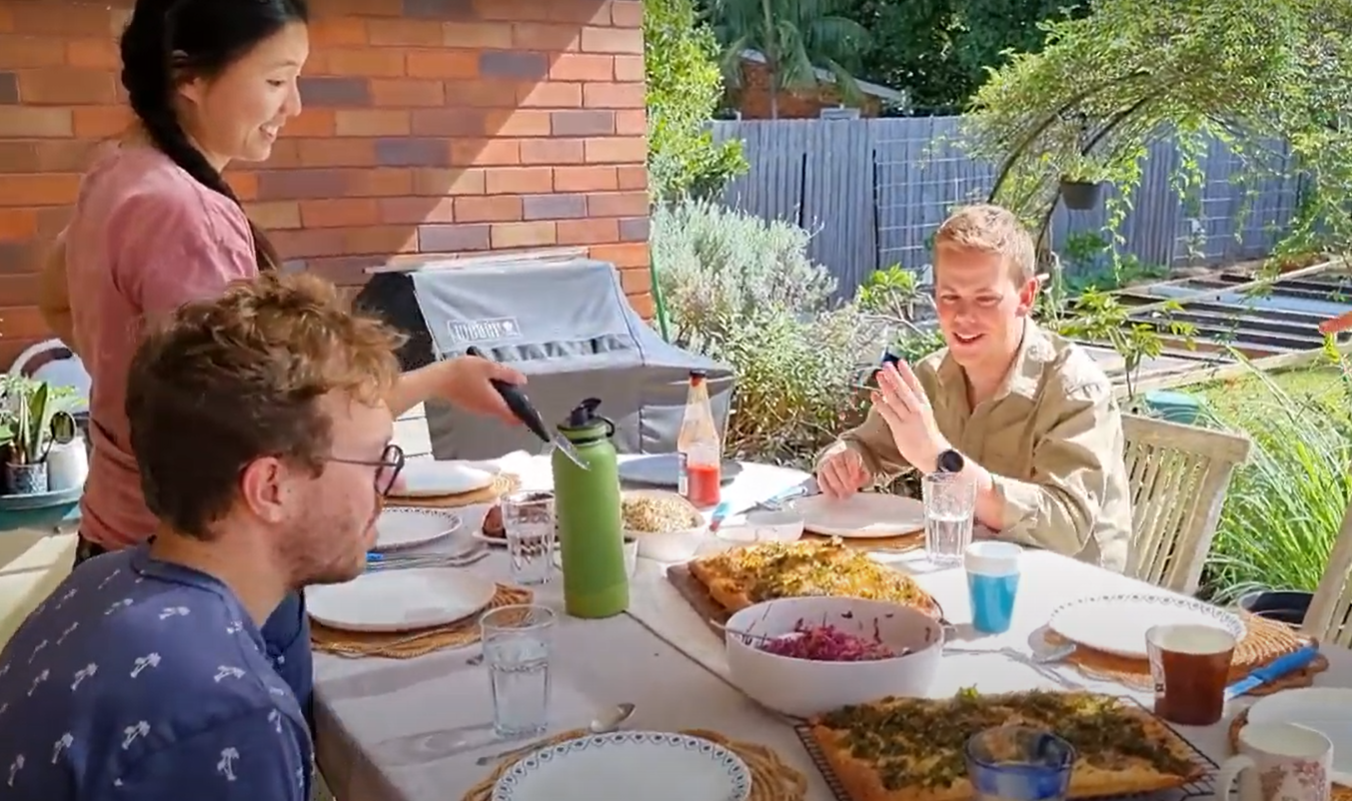
There is always time for lunch 🥪
Drilling holes
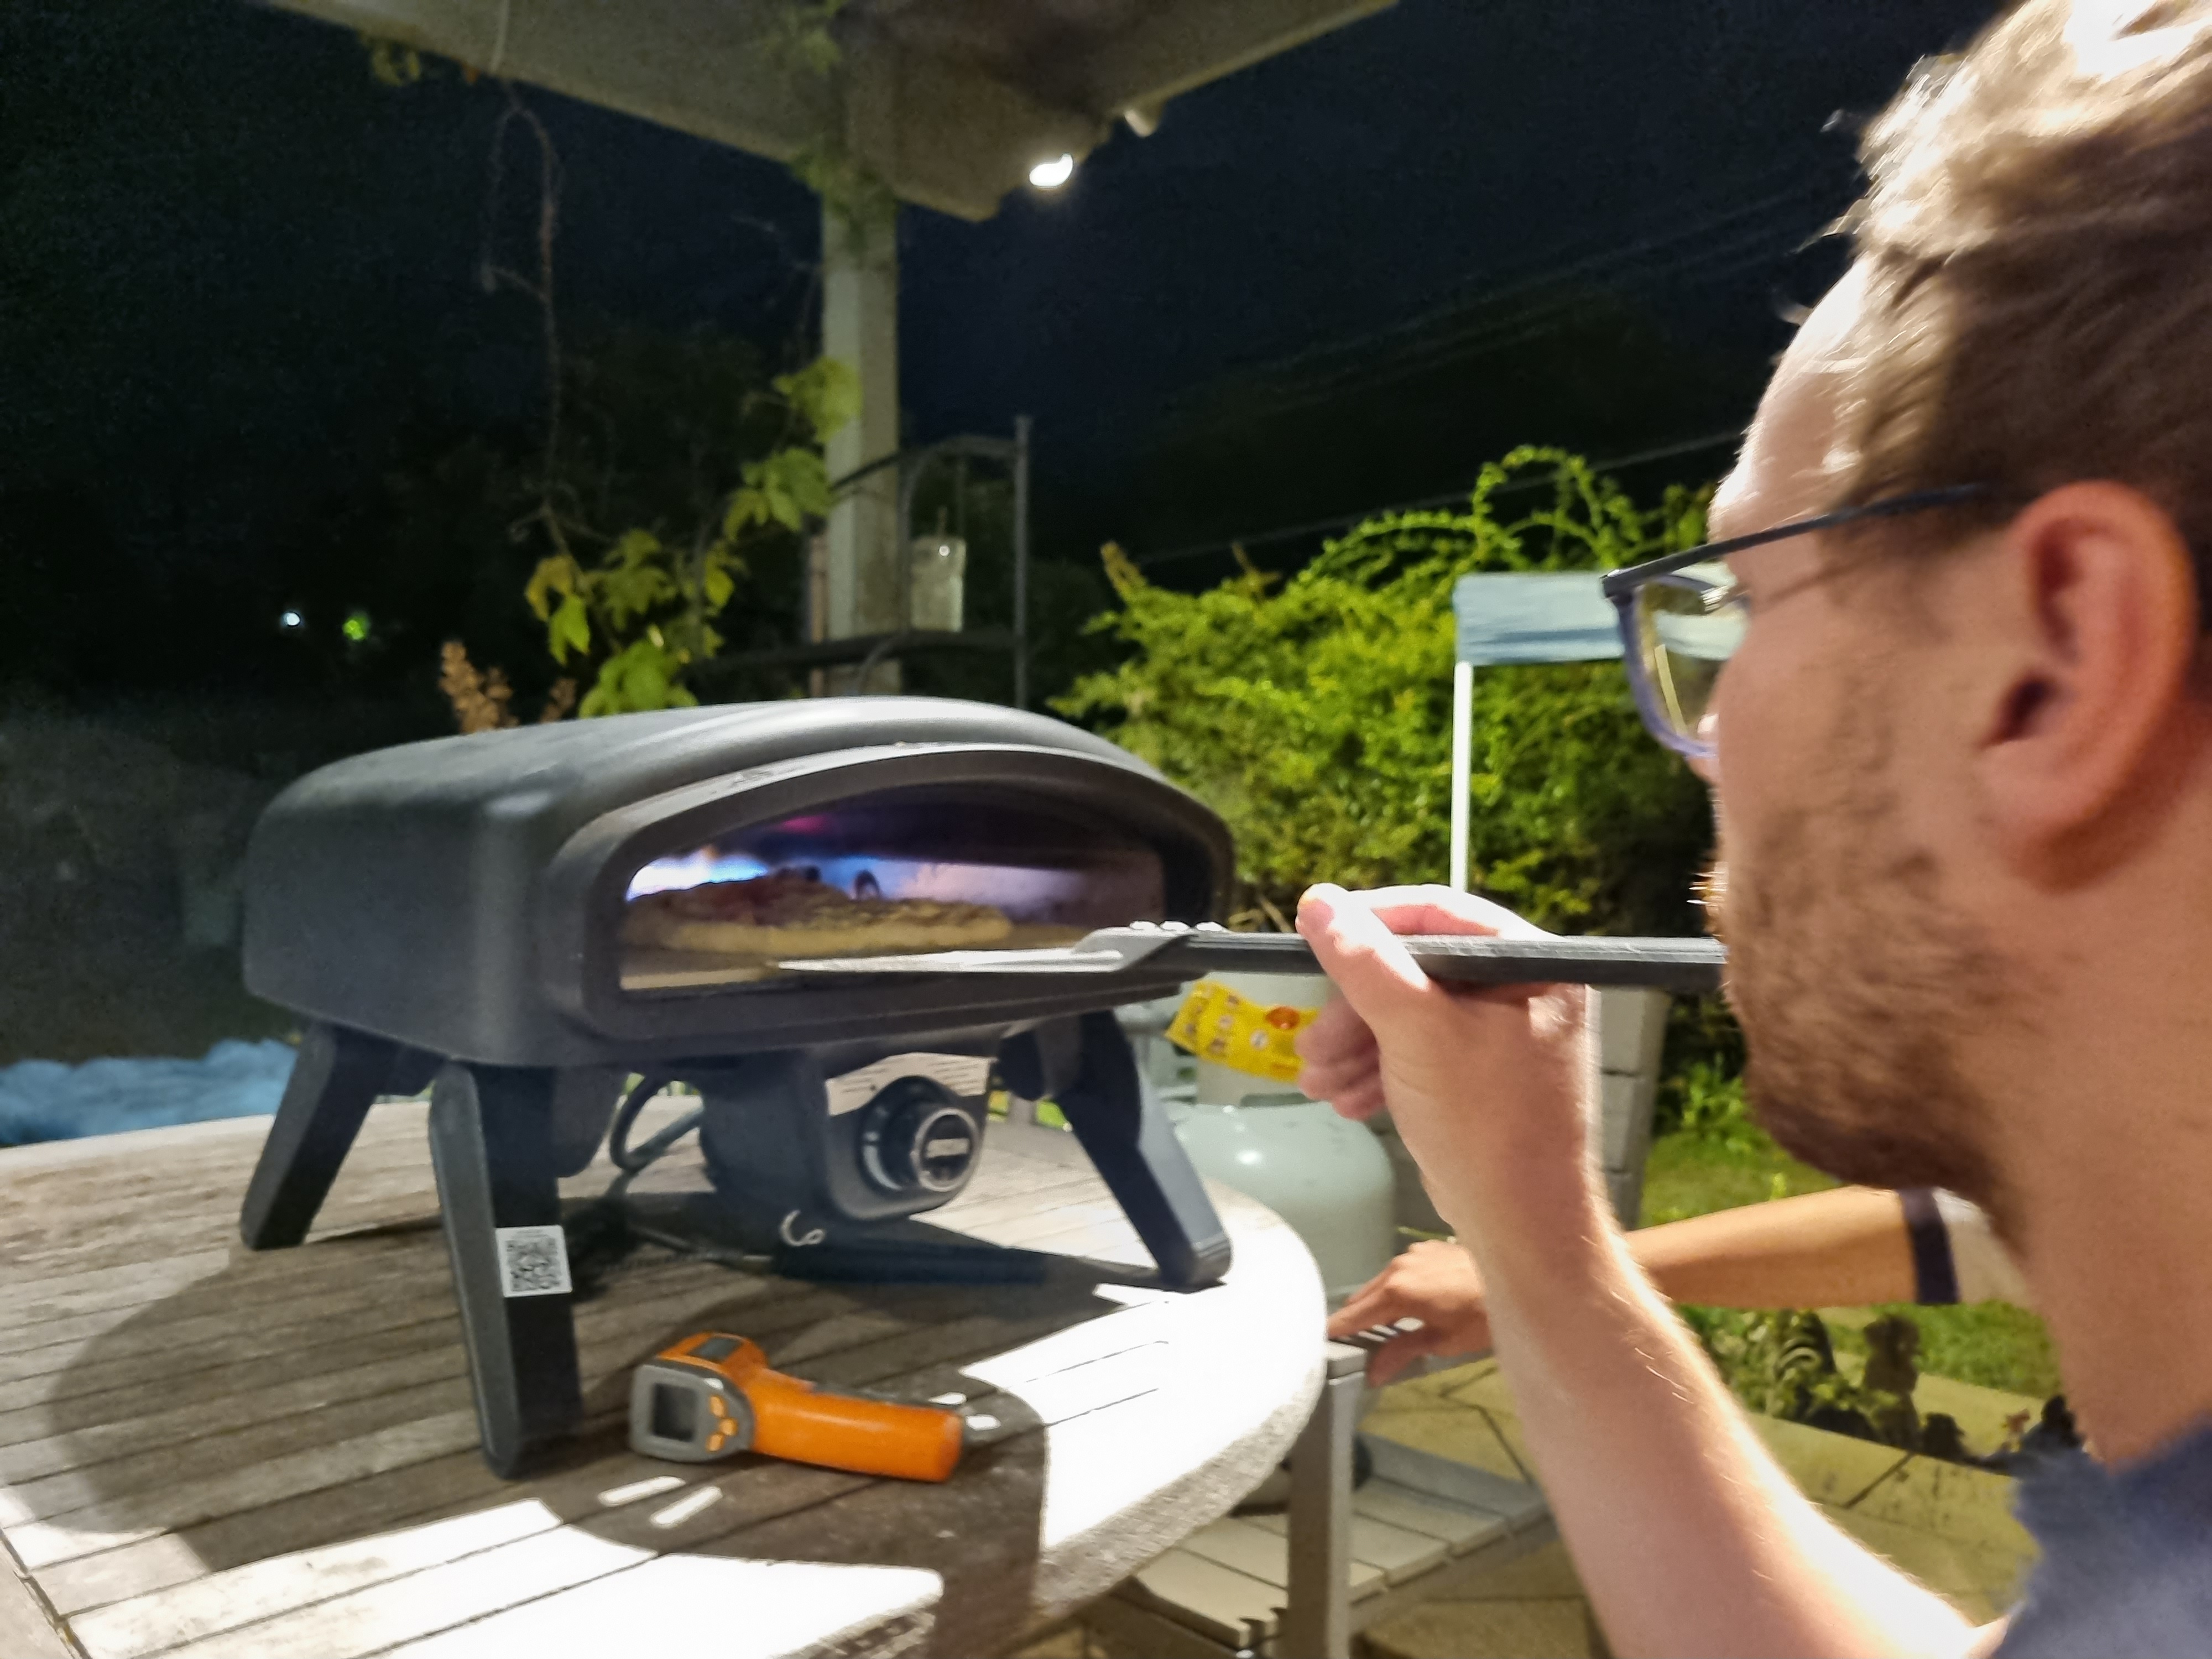
Jason on the pizza oven
We had a life break on Saturday but Sunday was a day of significant progress as Erny made the first full hole through the trailer, marking a significant milestone. We had made yet another stop to Bunnings to purchase an extra long drill bit to give us the best chance of drilling through over 12 cm of wood and steel. It was a great decision but it was very slow going - a solid 9 minutes per hole at top drill speed! Everyone lent a hand - drilling a hole into through the trailer steel. A huge shout out to Lys’ dad who put in some serious elbow grease drilling through the steel.
We also decided to strap and square the walls while they were on the ground instead of when they were vertical on the trailer. This way is easier for just the two of us and allowed us to maximise all the hands we had. Remember those fastener connector nails that we couldn’t find earlier? Well, soon we would be finding out if a little 250-gram box would successfully strap 4 walls of a tiny house… Somehow, we squared and strapped most of our walls, relying on tensioners to keep them square and rearranged our timeline to increase our chances of getting the walls up. Bel came to lend a hand in the afternoon, and her assistance with drilling holes helped us work faster and prepare for the wall raising on Monday. Lys brother’s chickens kept her good company pottering about the trailer while Bel drilled. It may have been because Bel brought the best snacks (nothing like some Kettles chips). You could feel the toll of the week set in a little as we were getting a little frustrated as progress was slower than anticipated.
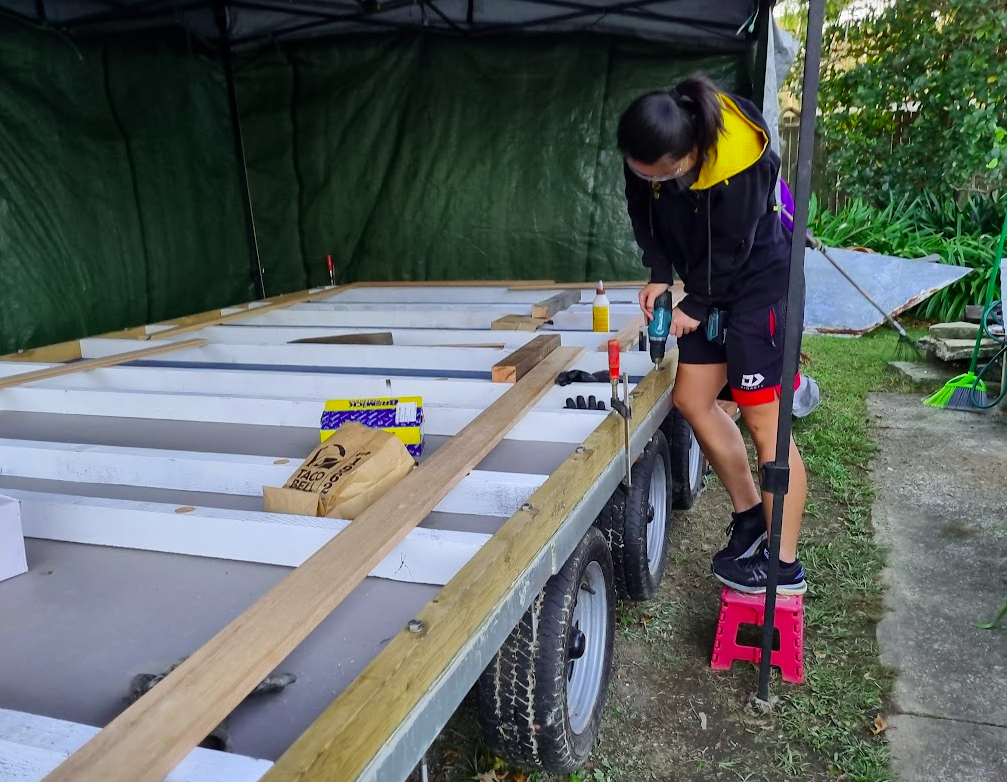
Bel on the tiny stool drilling through the metal
By the time Monday rolled around again we were determined to have these walls raised, despite the chilly Autumn weather. We started the day by watching Laura Kamp for inspiration as we worked. The day did not start off well - Lys’ wrist felt so sore she couldn’t hold a drill or an impact driver. We felt like we were slowing down big time and we still needed to finish drilling and bolting the subfloor down. Luckily help was on the way with our good friends Dan and Michael. Dan - also known as drill man came to our aid and absolutely obliterated (in a good way) our holes through the trailer. Forget 9 minutes per hole - Dan was finished in 5! Michael also finished hammering in the metal strapping to our final wall - and as a bonus - added stud ties to each stud. That little box of nails covered all four walls with strapping with a few nails to spare😛
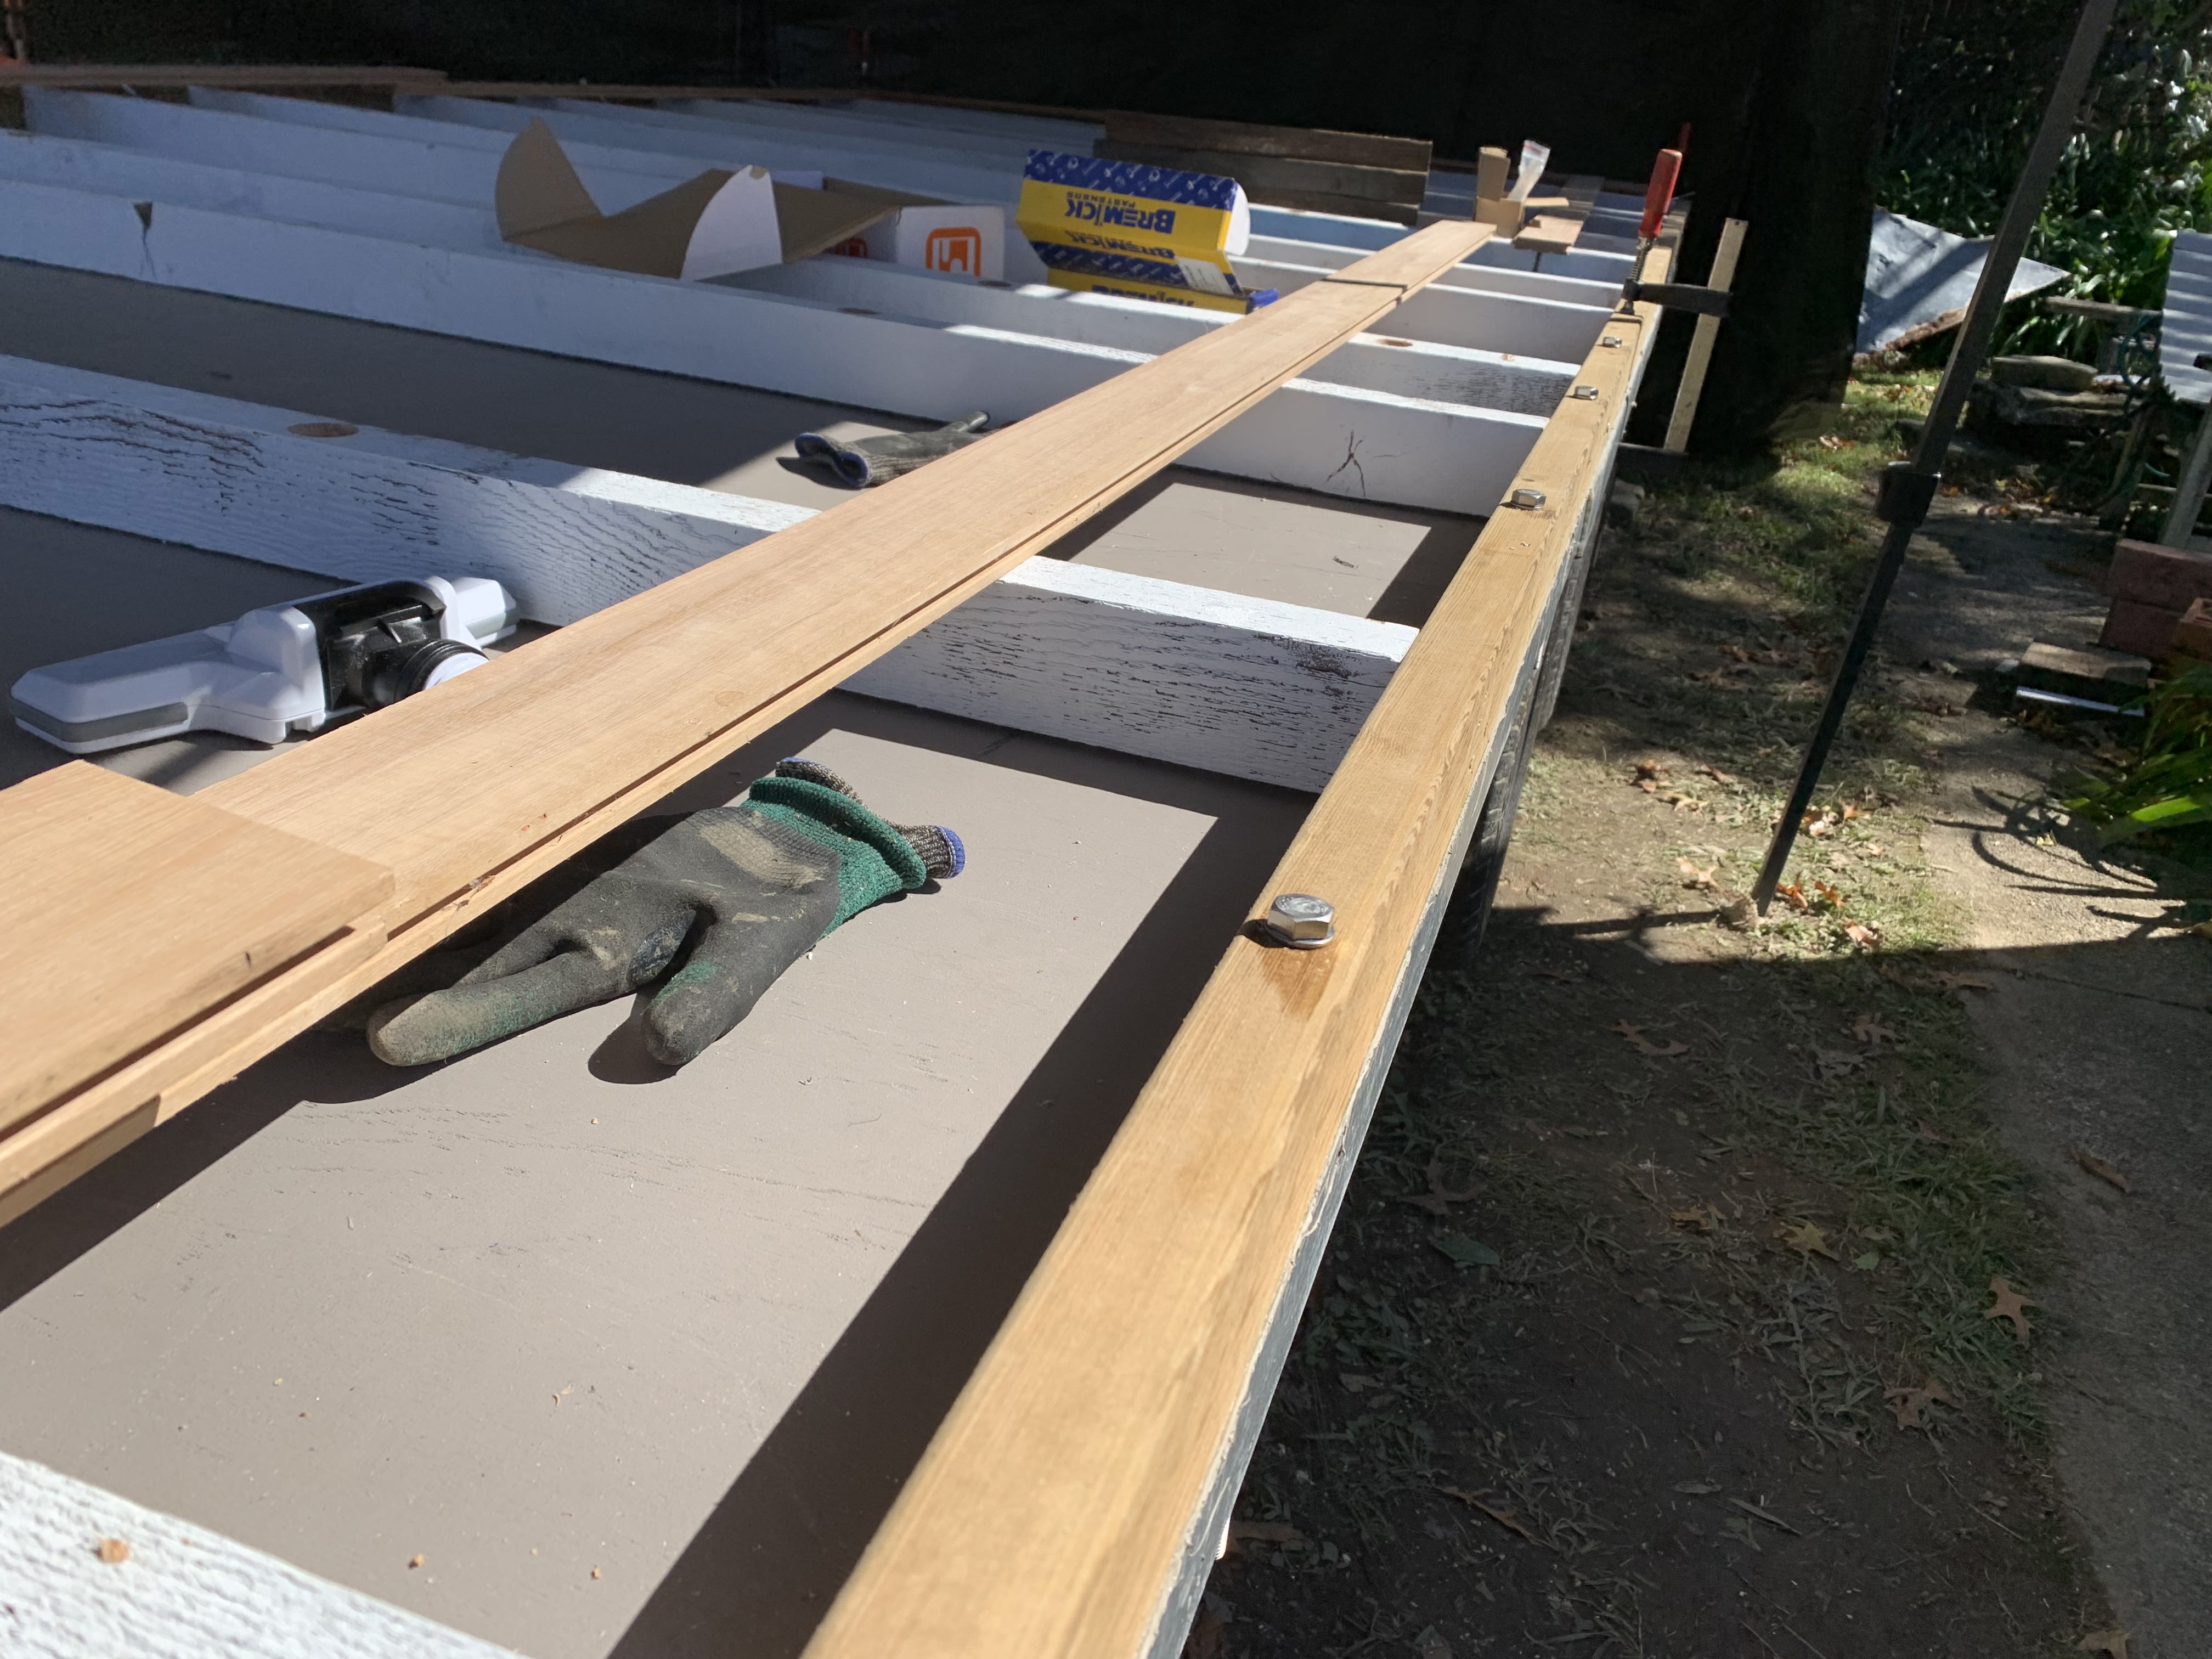
With holes now drilled, we then proceeded to bolt our subfloor down. We had a scare with bolts and fasteners going missing but it turned out that they were hiding, being misplaced in a screw box. Then, with the the help of drill man Dan, we installed the perimeter floorboards onto the subfloor. We had actually originally decided to fasten the entire flooring down and insulating before we raised the walls however, to save time, we instead just put in the floorboards around the perimeter of the trailer to support the framing. It was not ideal and we will probably encounter some difficulties down the track but we really wanted to maximise the time we had working on the house.
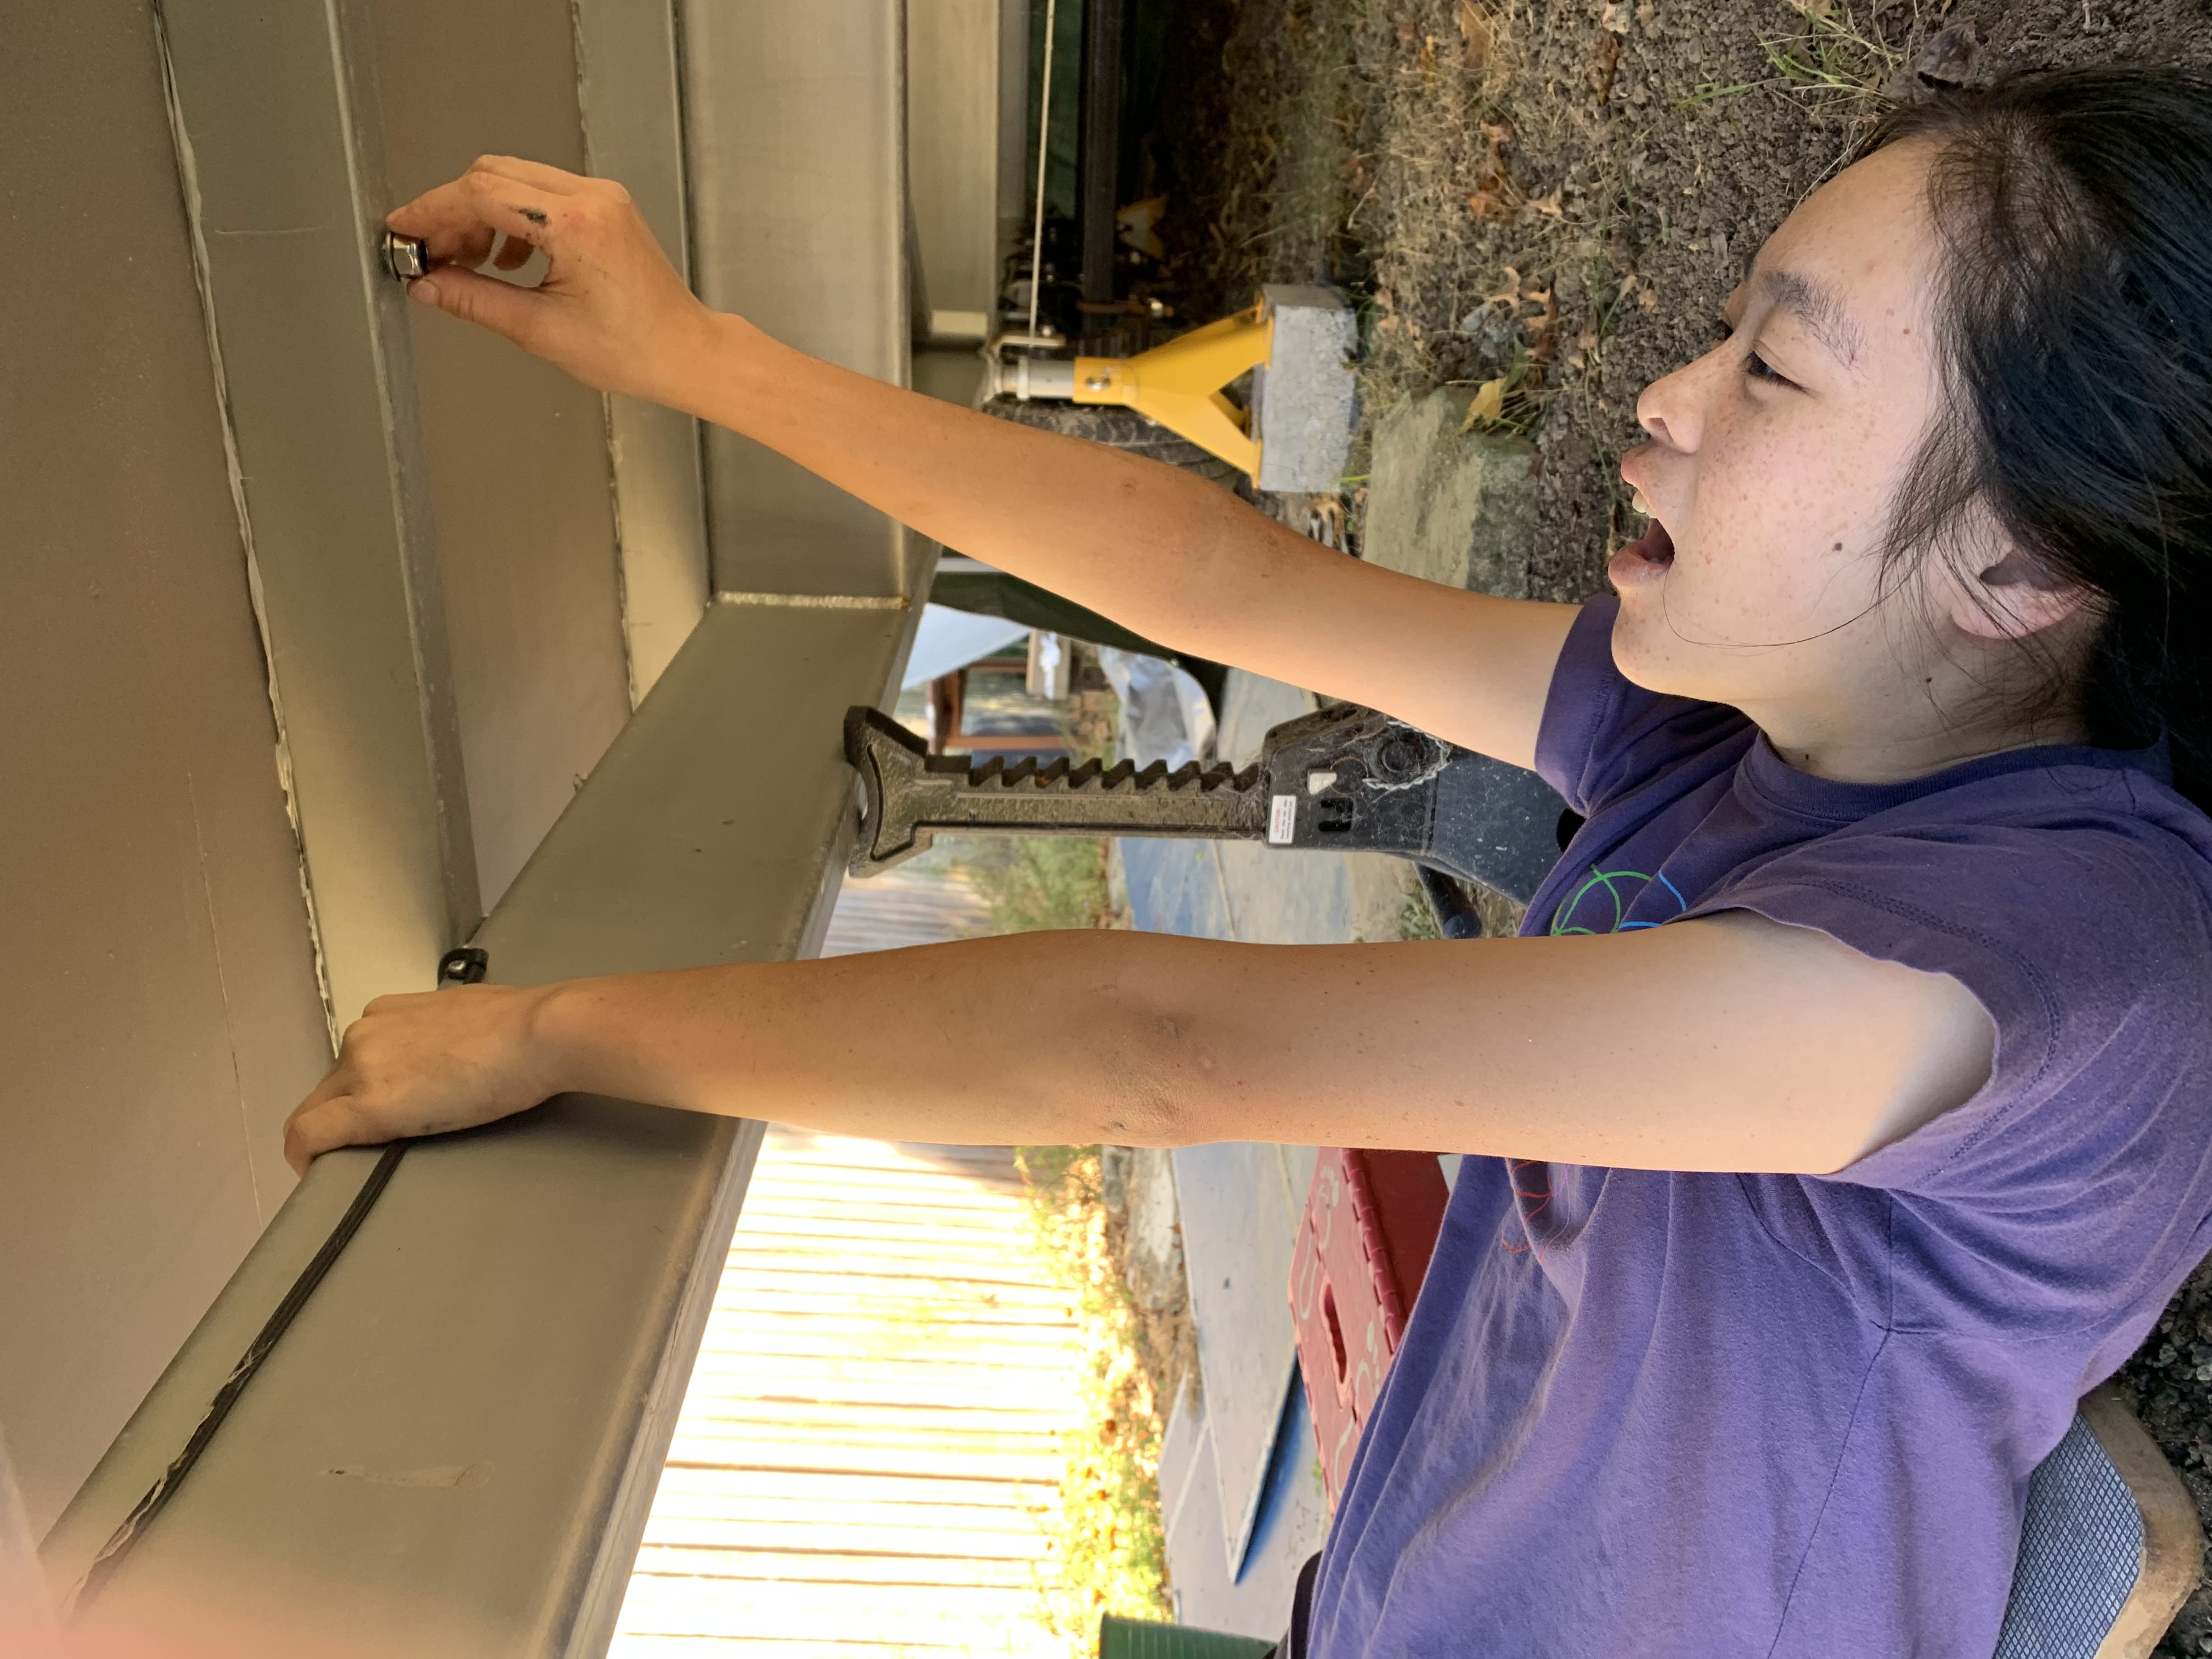
Lys under the trailer bolting screws
Bolts are in
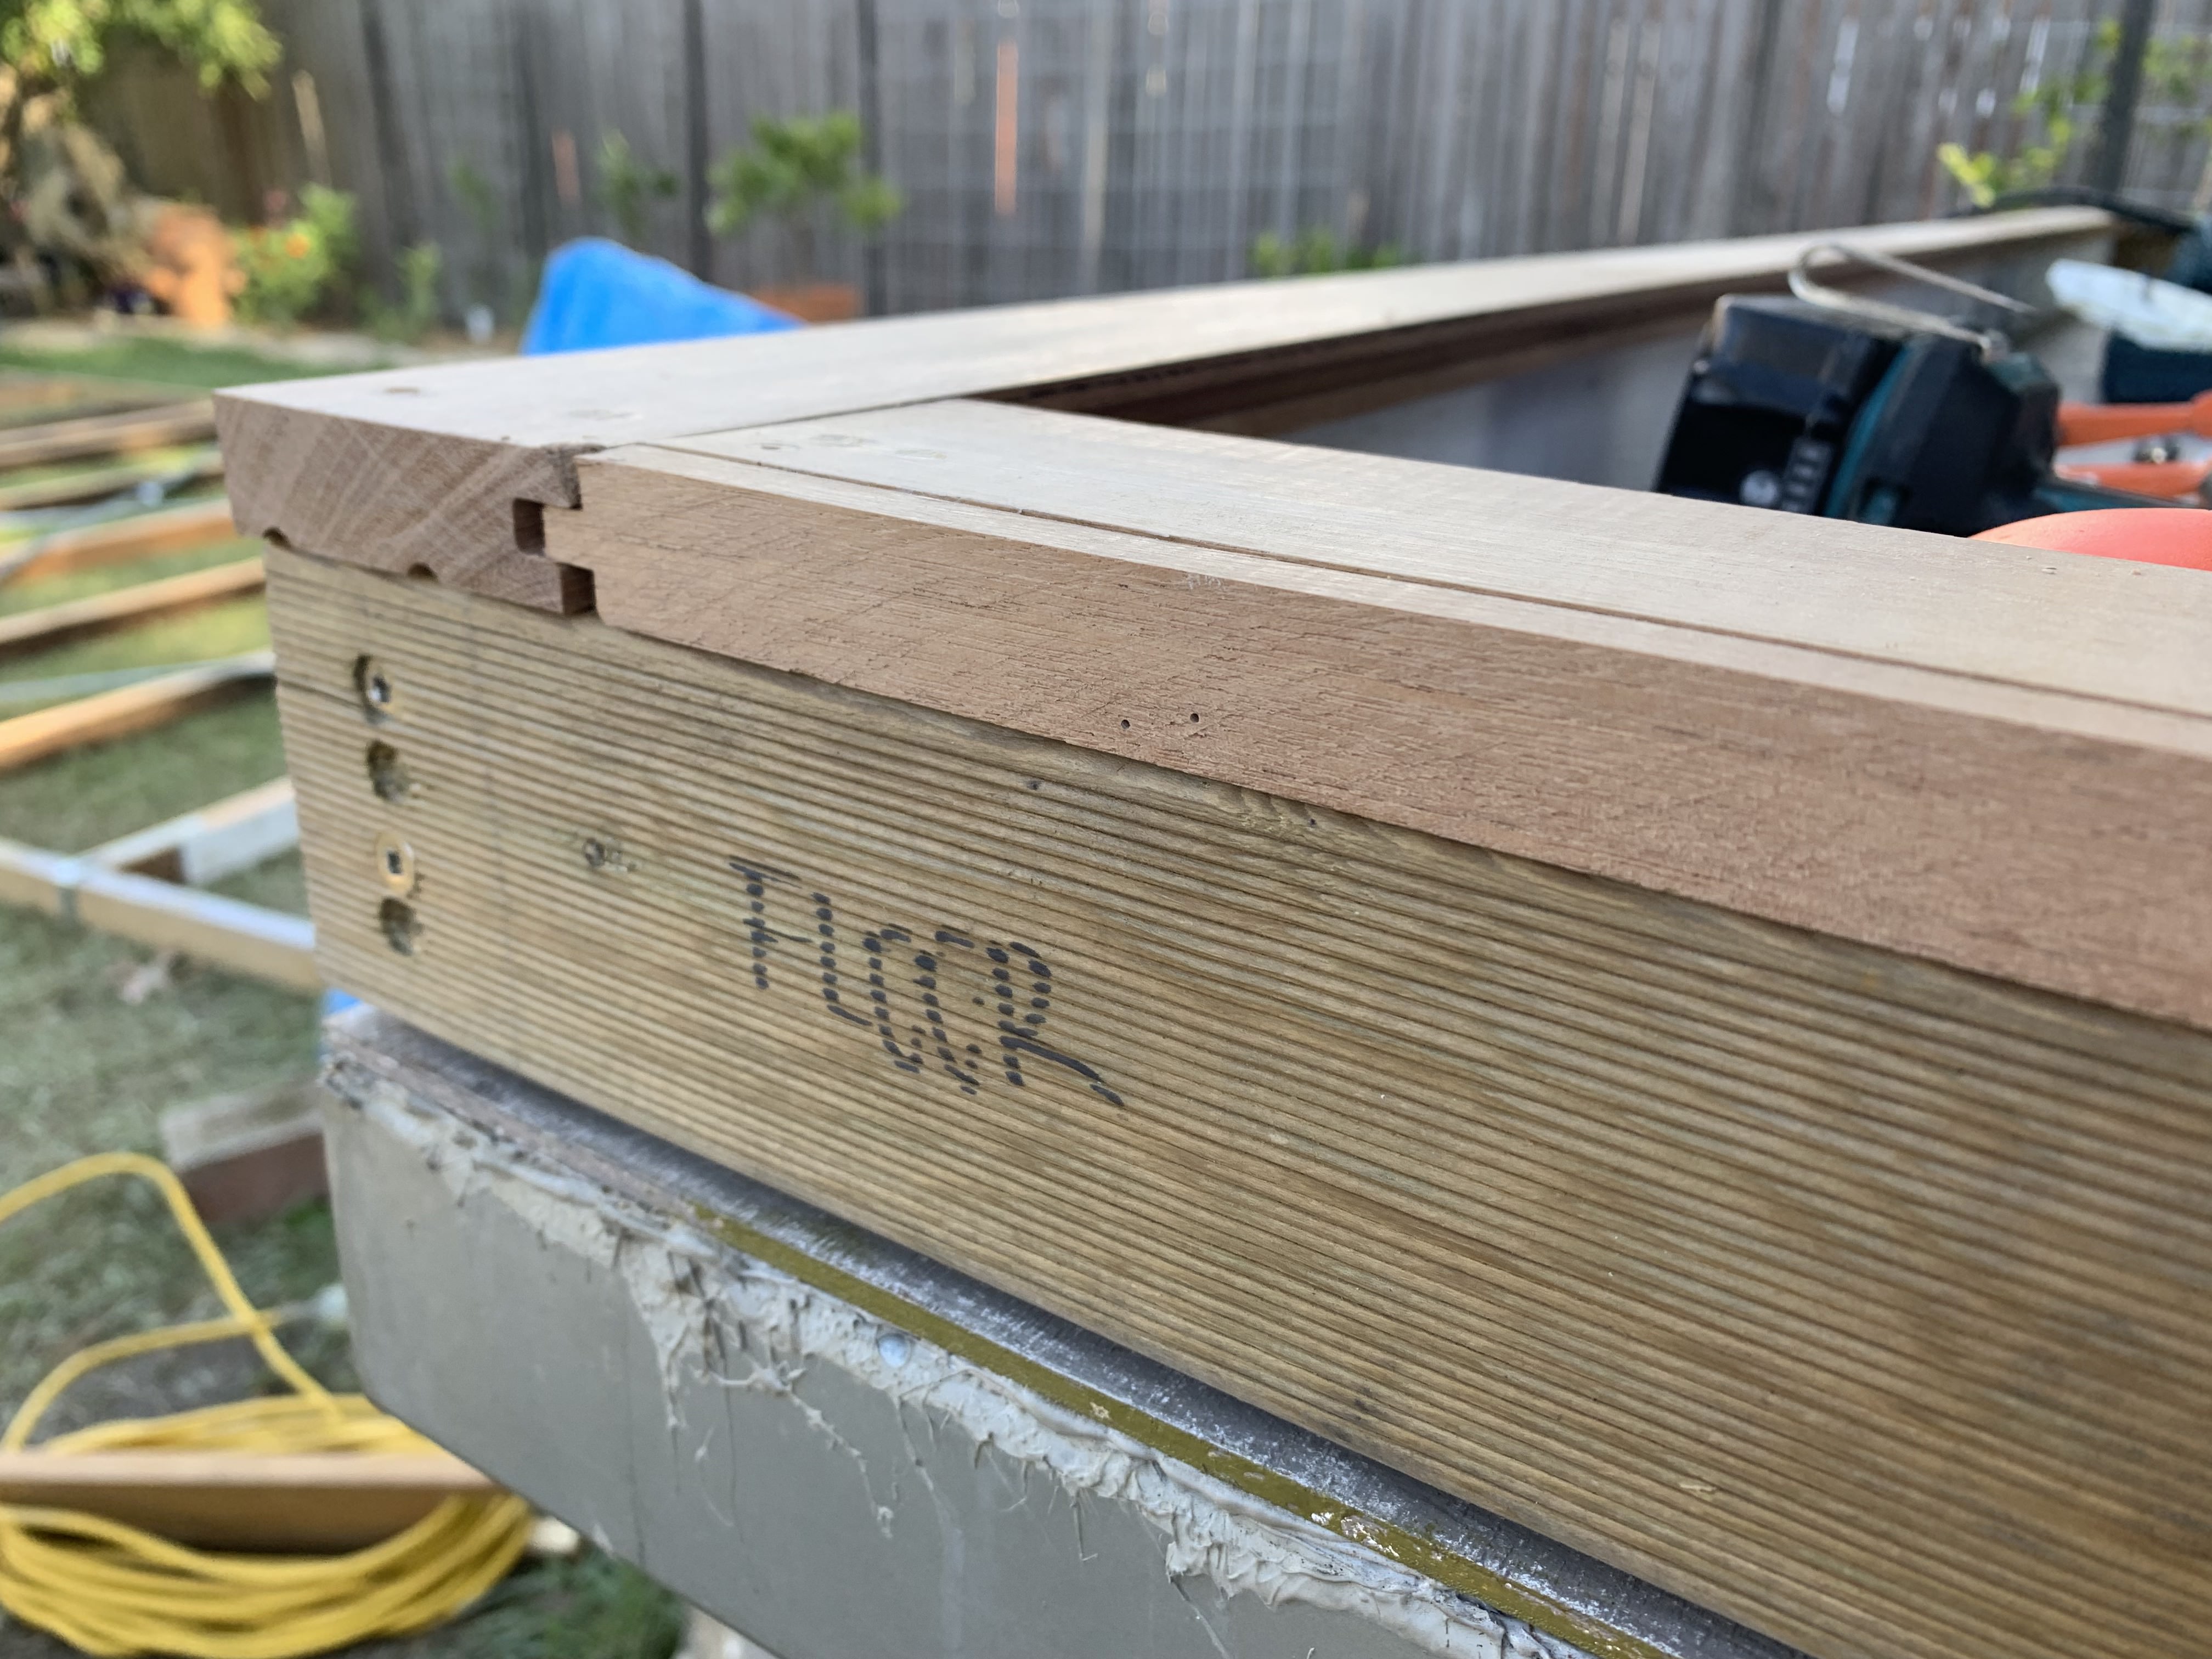
Adding the perimeter floorboards to the subfloor
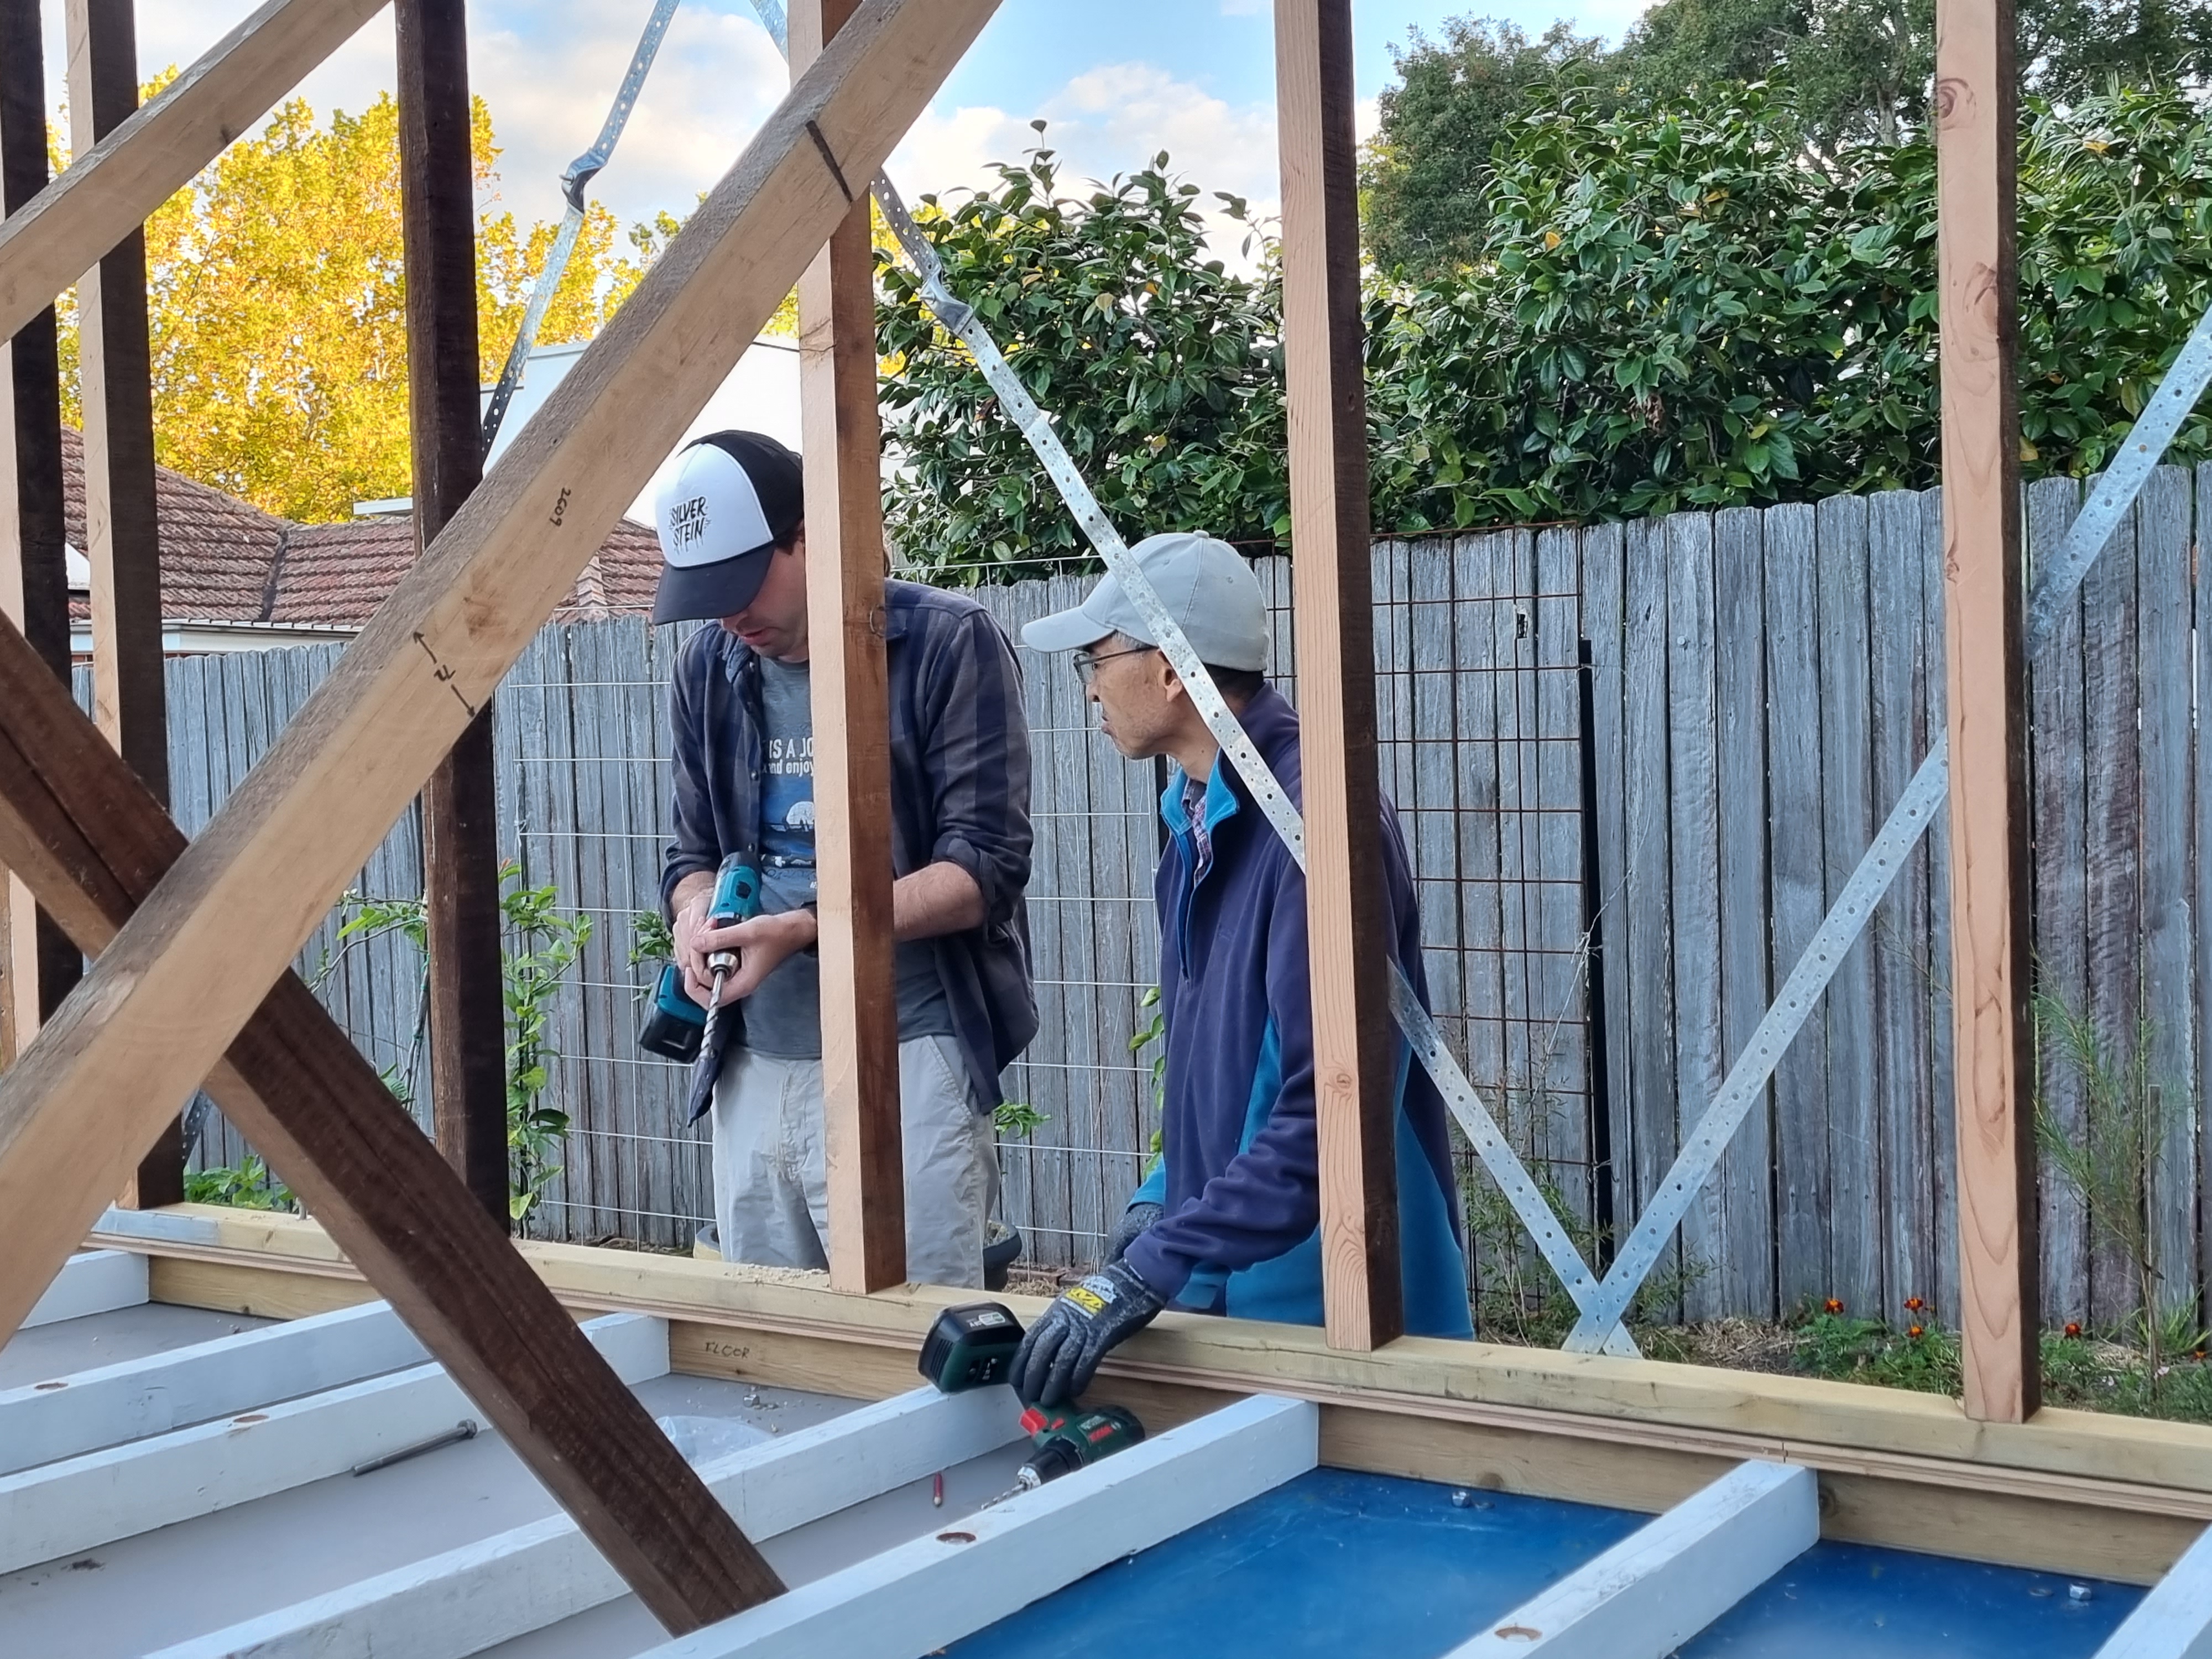
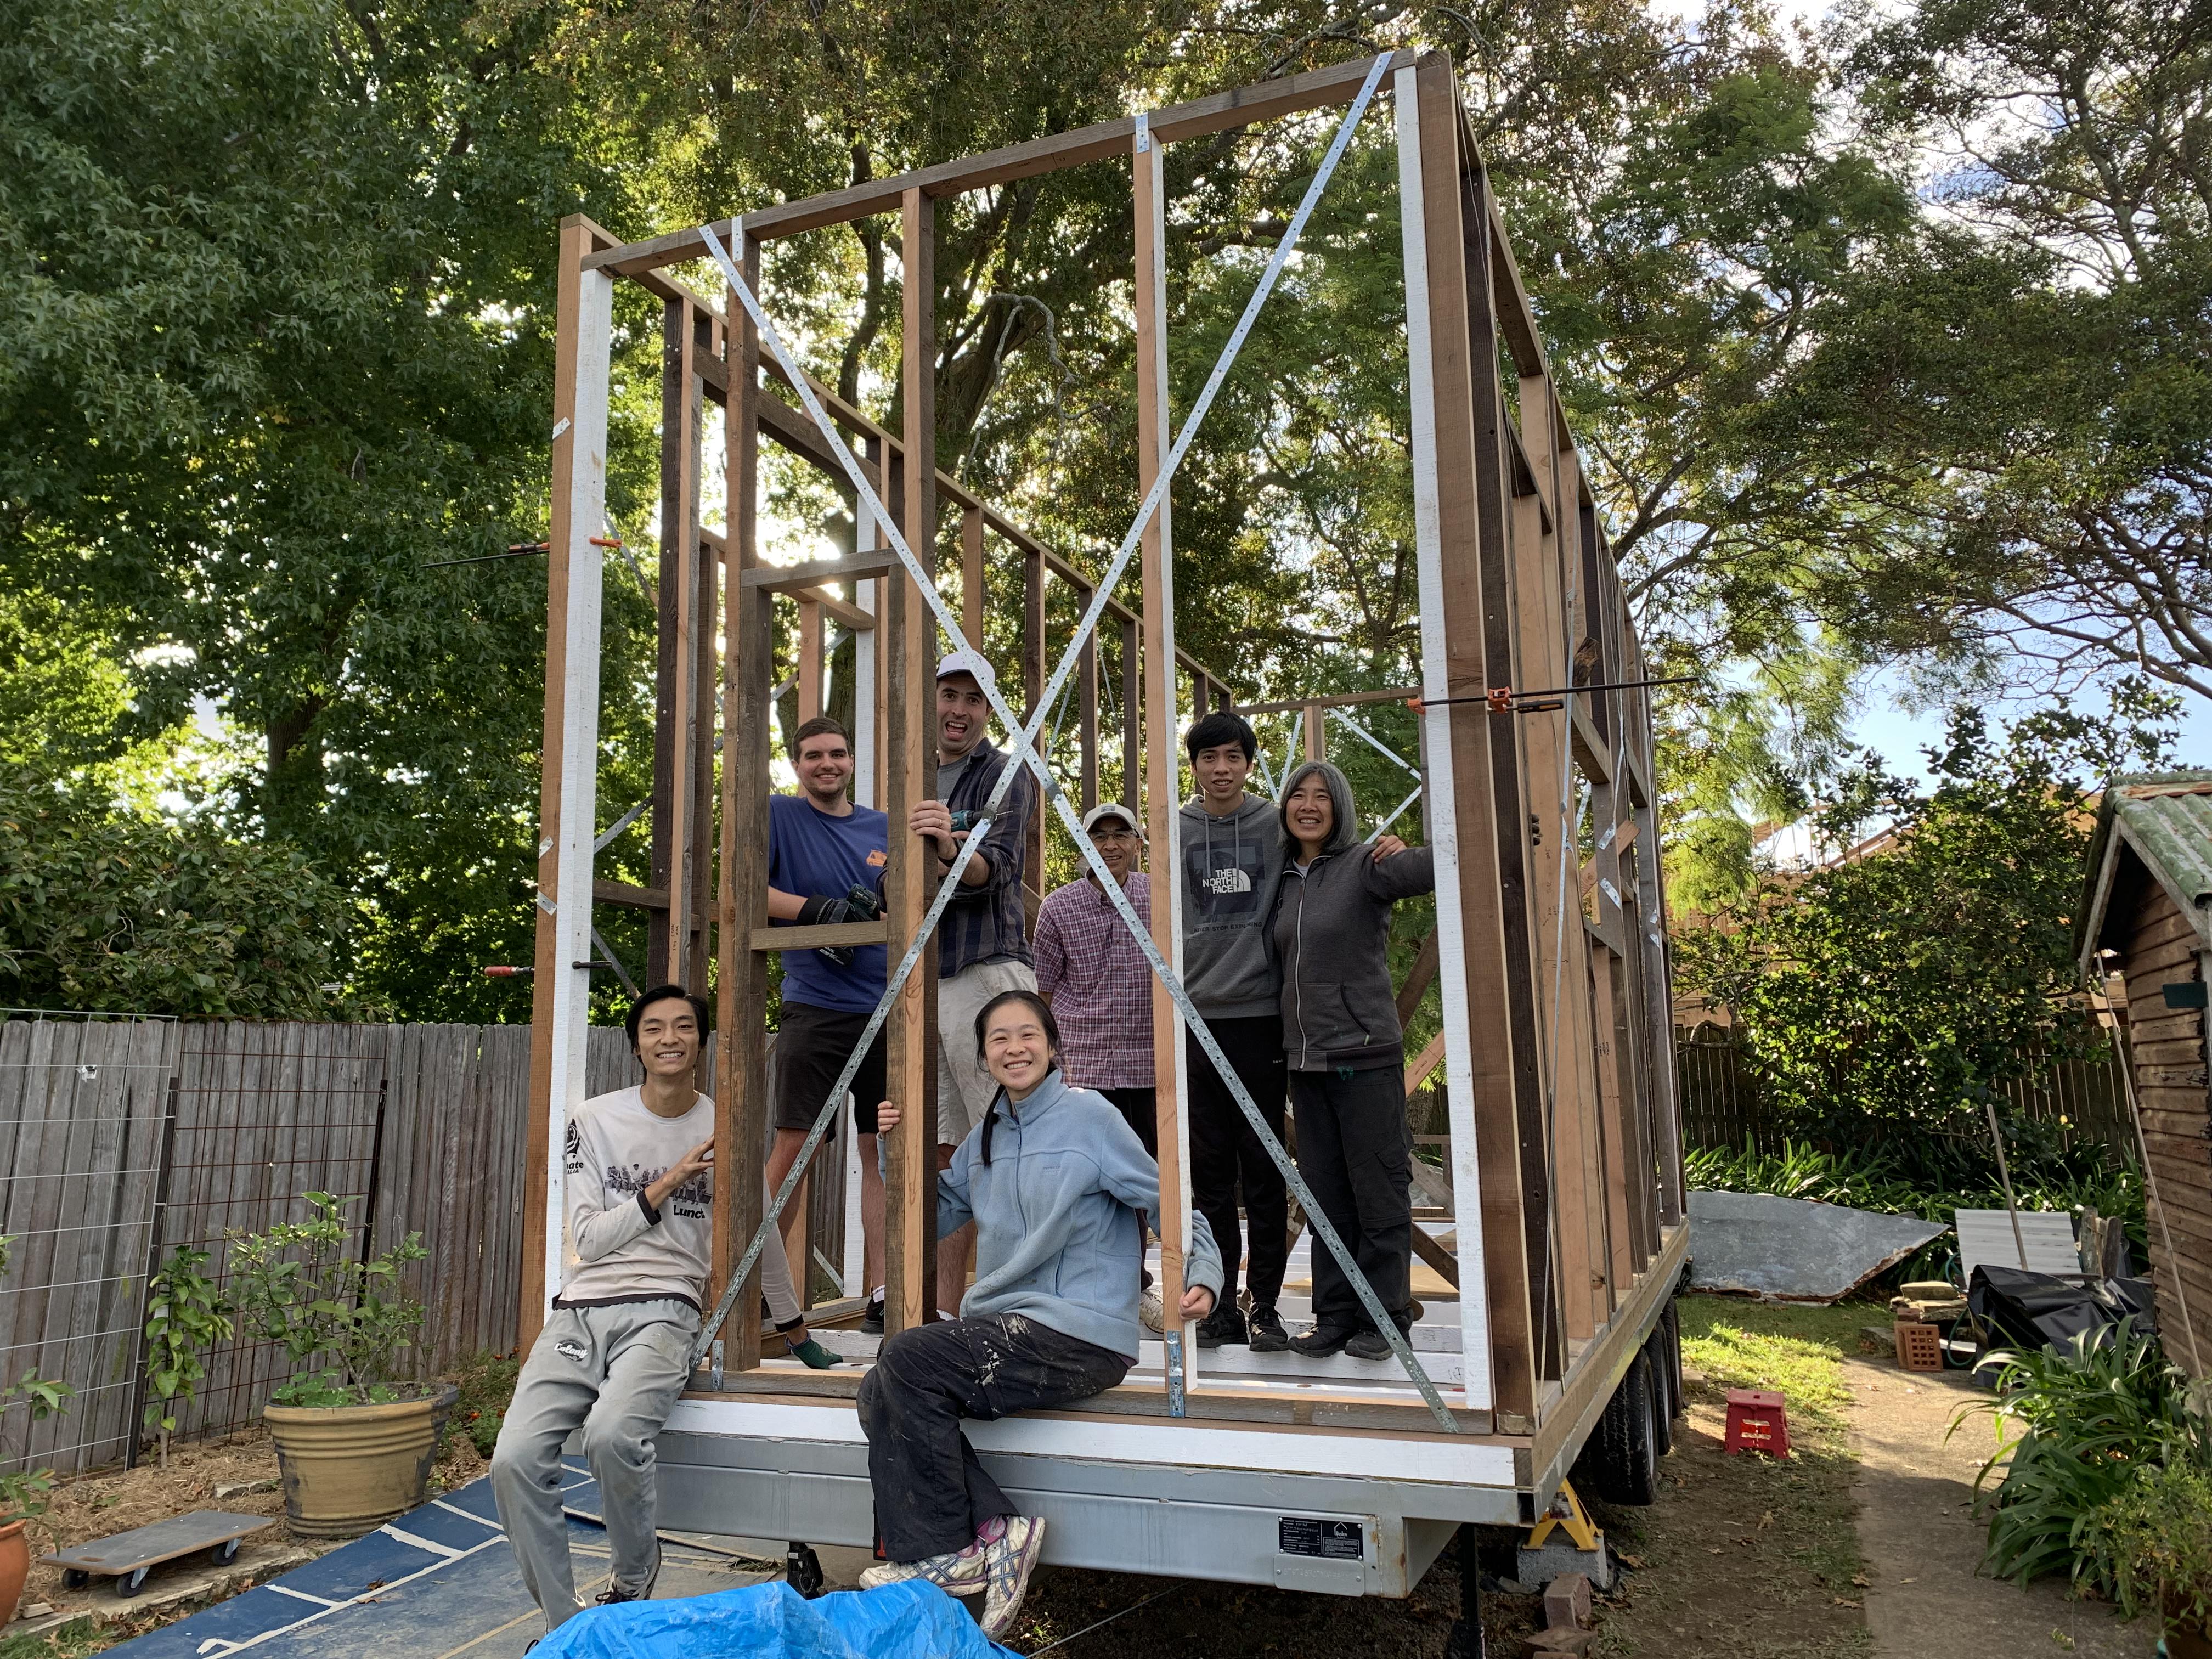
It really felt like it was all coming together! We took a break to enjoy a delicious lunch of truffle brie cheese and late-season tomatoes, a little indulgence to fuel our bodies for the hard work ahead. Then with many hands and lots of positivity, after lunch, we raised the walls! It seriously took a small village. We lifted, coordinated and maneuvered these heavy walls into position. Using extra bracing, we secured our walls to the subfloor and then ensured that everything was as square and plumb as possible. It was overwhelming to see the whole wall frame come to life, and it still felt surreal. Honestly - the walls are so much taller than we expected…and it didn’t have a roof yet. Huge thanks to Dan and Michael for staying that little bit longer to put these walls up - we could not have done it without you both!
Michael strapping the walls
Dan and Lys’ dad chatting about drill bits
Completed walls
The excitement was not over, however - Erny and Lys were also mindful of an upcoming storm on Thursday that could potentially cause issues with wood swelling and mould. Water makes wood swell and that causes issues when dealing with framing if it shrinks back to normal size. There’s a fancy word for this actually - hygroscopy! High levels of lumber moisture content may also result in mould - and we can’t have that happen! Lys is frantically googling how to keep worksites as dry as possible and Erny is strategizing how we can put the roof on as quickly as possible.
On the last day of our Tiny House blitz, Erny took on the task of working on the roof alone with Lys being back at work. He attached the frame securely to the trailer and installed Simpson hurricane ties, which proved to be a challenging task at height. High up on the ladder he methodically worked his way around each stud, 3 meters in the air. Then he with Lys’ mum, sanded into our rafters that we had made the month before. Later in the day, Lys joined after work, and together with the help of Lys’ parents, we managed to get seven out of eleven roof rafters up, racing against time and impending Thursday rain. To protect the frame from said upcoming rain, we used a large gazebo tarp as a makeshift roof. It is not perfect, but it served its purpose and hopefully will keep our progress safe from the elements - watch this space!
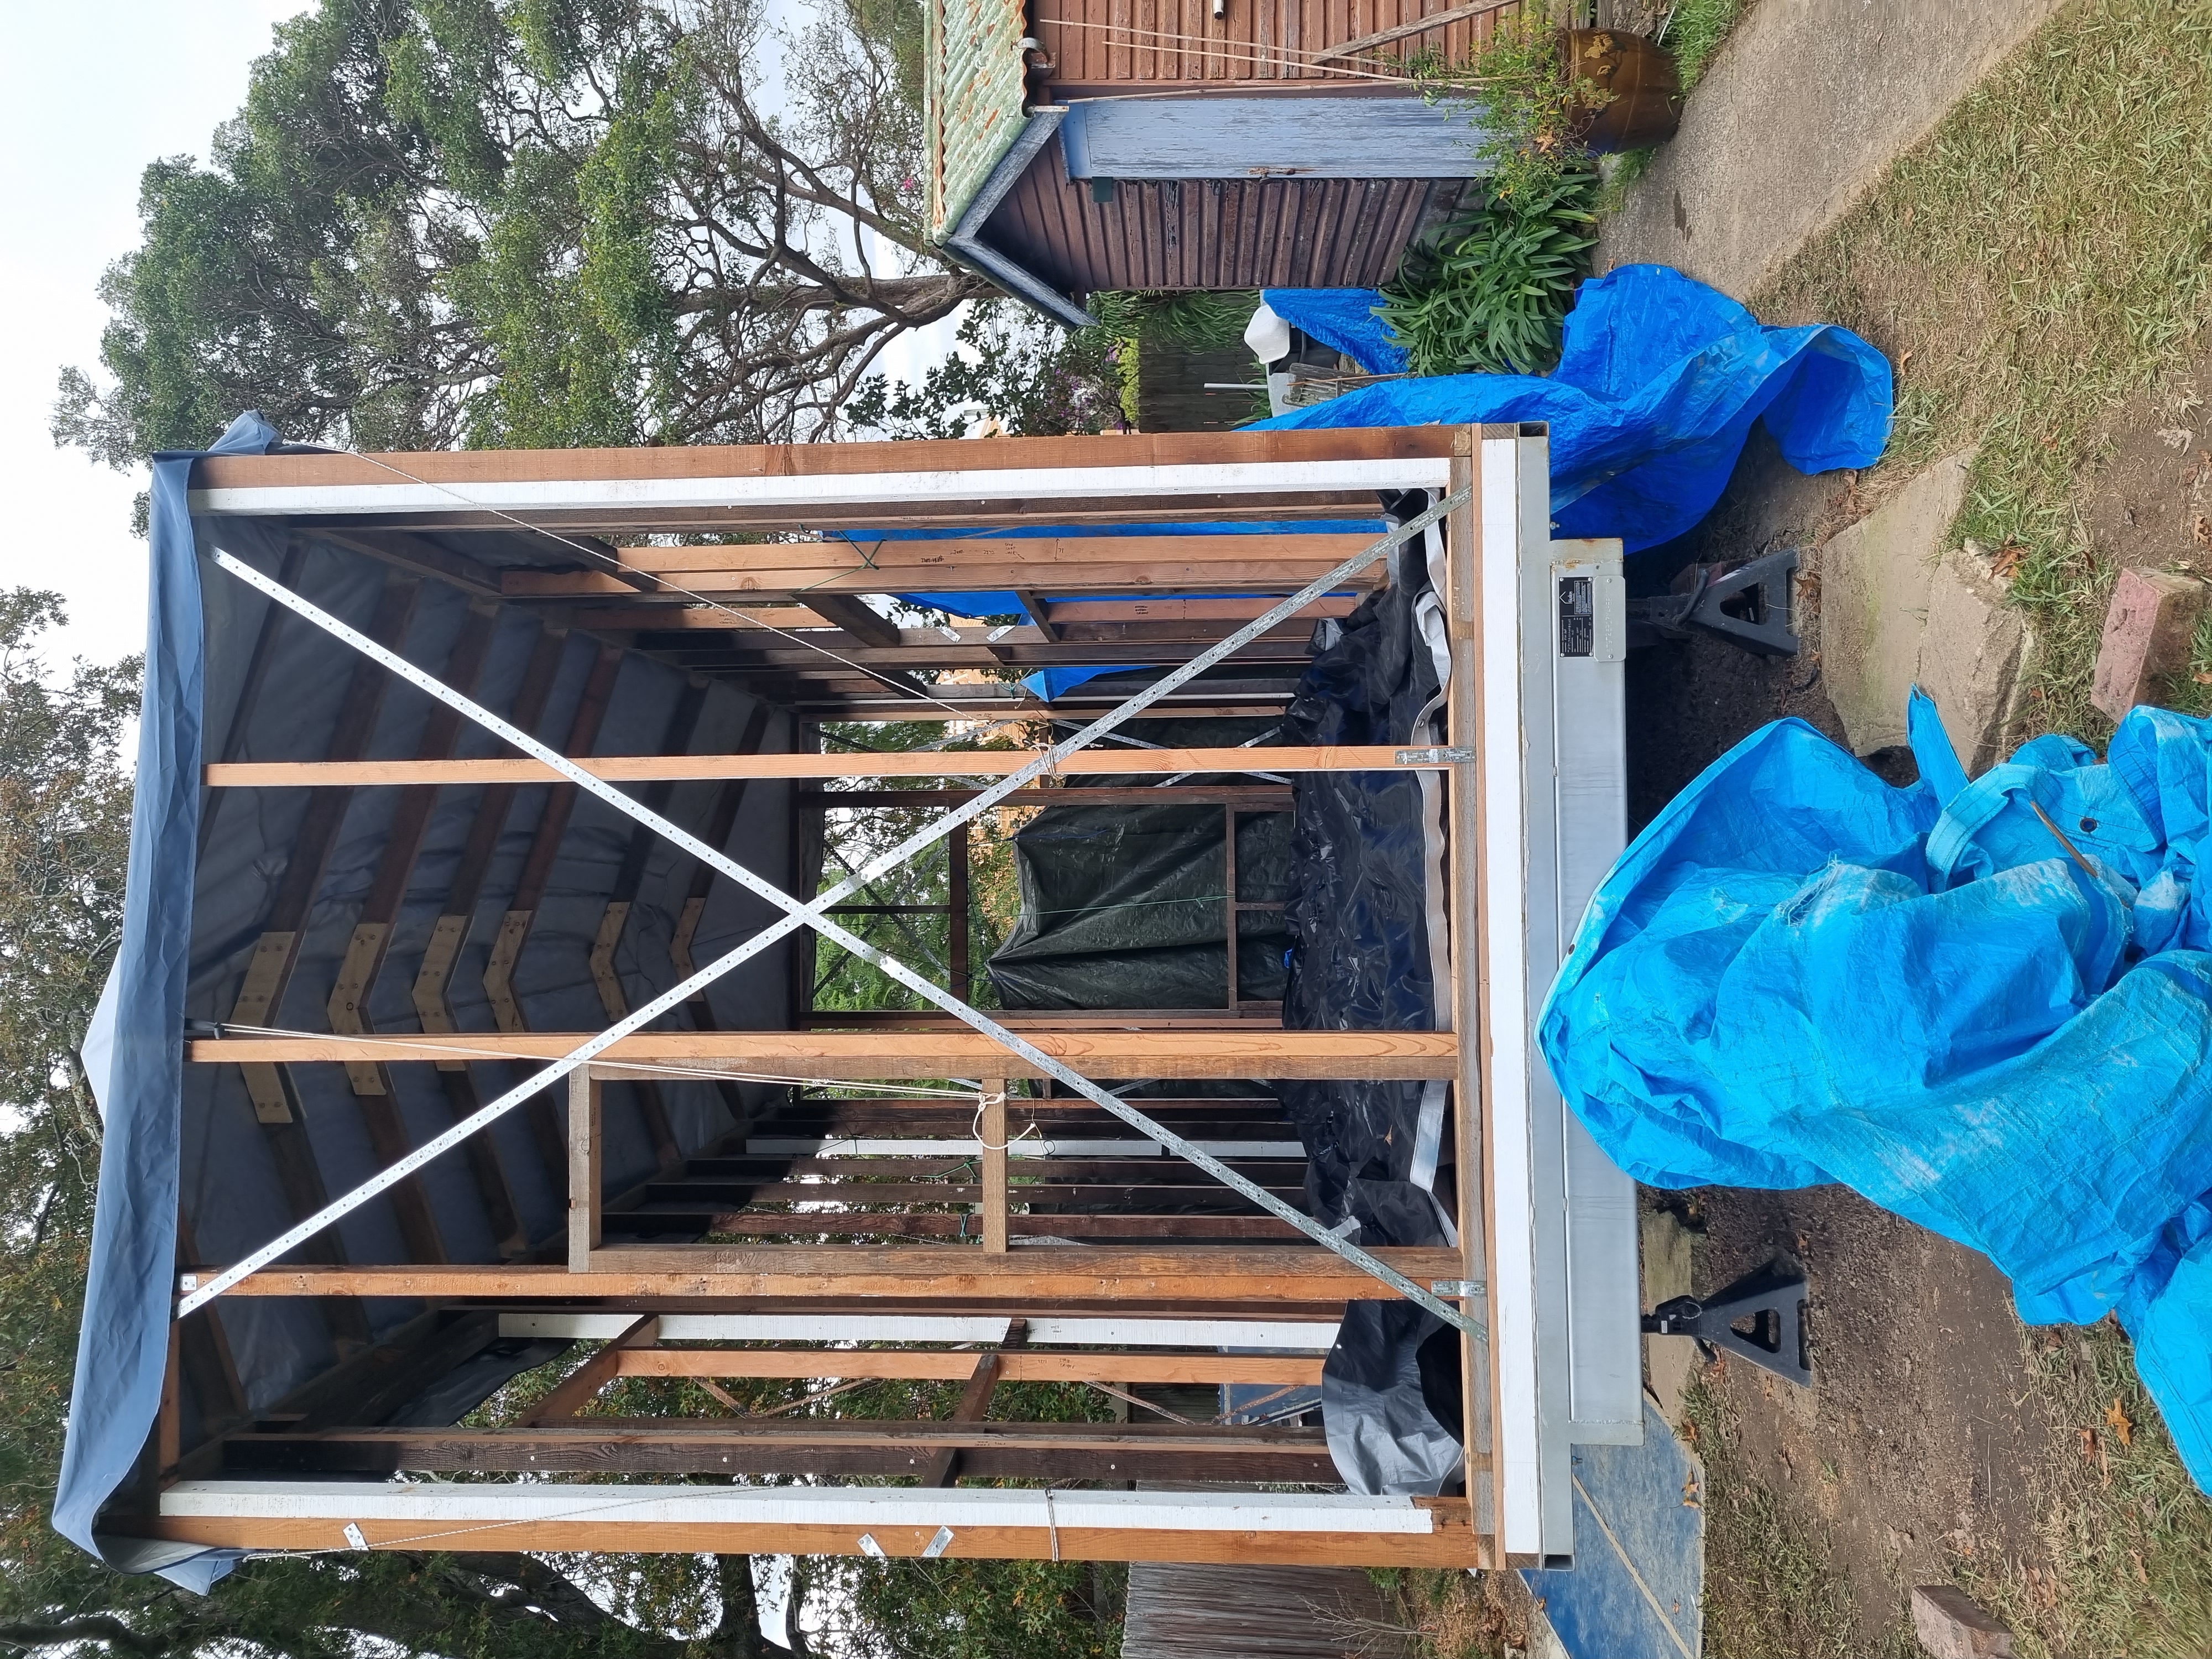
Roof rafters are half on
Reflecting on the past break, it’s been a whirlwind of activity. We’ve had our fair share of slip-ups and mistakes - like our emergency bolt purchase and cutting studs too short, but we’ve also learned a lot along the way. It’s been gratifying to see all of our weeks and months of prep come to fruition, and it feels like it’s all coming together. We’ve also learned the importance of working with others and how to make use of their strengths at short notice. As a duo, it’s sometimes hard to delegate and make use of multiple people, but we’ve found that when we work with friends, it’s much more enjoyable and productive. Sometimes we felt like we were rushing so we would not waste others’ time but we definitely learnt to slow down and trust the process by the third day of working with friends. A huge thank you to our family who were so supportive and accommodating - thank you for keeping us fed, making sure we slept, being always on stand by and ready to lend a hand. To Silvia and Jason whose extra drills were an absolute lifesaver and Troy who provided delicious sausage rolls and buckets of positivity. A huge thank you to Bel for bringing the best snacks. Finally, mega claps to Dan and Michael who were absolute troupers, rolling their sleeves up to lift some heavy Douglas fir walls, helping us get close to making this tiny house a reality.
Looking back on the schedule, we did not manage to achieve everything we had hoped for. Due to rain and setbacks, we ended up 2 days behind schedule and we have not dried in our house which means that we are at the mercy of the elements. We suppose that, like most things, construction and DIY take longer than we expect. However, we did not expect to come this far and seeing walls up is such a huge milestone - something truly to feel proud of😄.
Finally, we’ve discovered the joys of using screws! They’re like a CTRL-Z button, allowing us to undo our errors and easily reuse them.
Frame is up!
What’s next?
Obviously we want to get to dry-in but Erny is off to Bendigo and Lys is going to have a long, long nap 😴
Catch ya later, Lys & Erny
Thank You!
Your comment has been submitted. It will appear on this page shortly! OKYikes, Sorry!
Error occured. Couldn't submit your comment. Please try again. Thank You! OK