August Build Update
An August build update
Table Of Contents
We’re back with another exciting update from our construction escapades. August has been a whirlwind of challenges, cleaning, and mad dash purchases but we’ve managed to make some significant roofing progress on our tiny house. Buckle up, because we’ve got quite the adventure to share!
What we’ve done
As we kicked off August, we found ourselves juggling two passions: our relentless dedication to our tiny house project (read as: desperation to finish the roof before we leave for the US) and the thrilling tension of the Women’s World Cup (go the Matildas!). Our multitasking skills were put to the test as we cheered for our favourite teams while meticulously measuring and constructing.
Firstly, we spent an absolute age on a cleaning mission, Our surf mist colorbond, which we had purchased from a finished renovation on the Central Coast had been sitting in the garden for quite a while gathering leaves, dirt and the occasional leech. Armed with water pressure and determination, we worked to restore these pieces to their former shining glory (in some sense quite literally - the surf mist colour really reflects the sun). Note to self - store your materials properly to avoid having to clean them when you need them 8 months later.
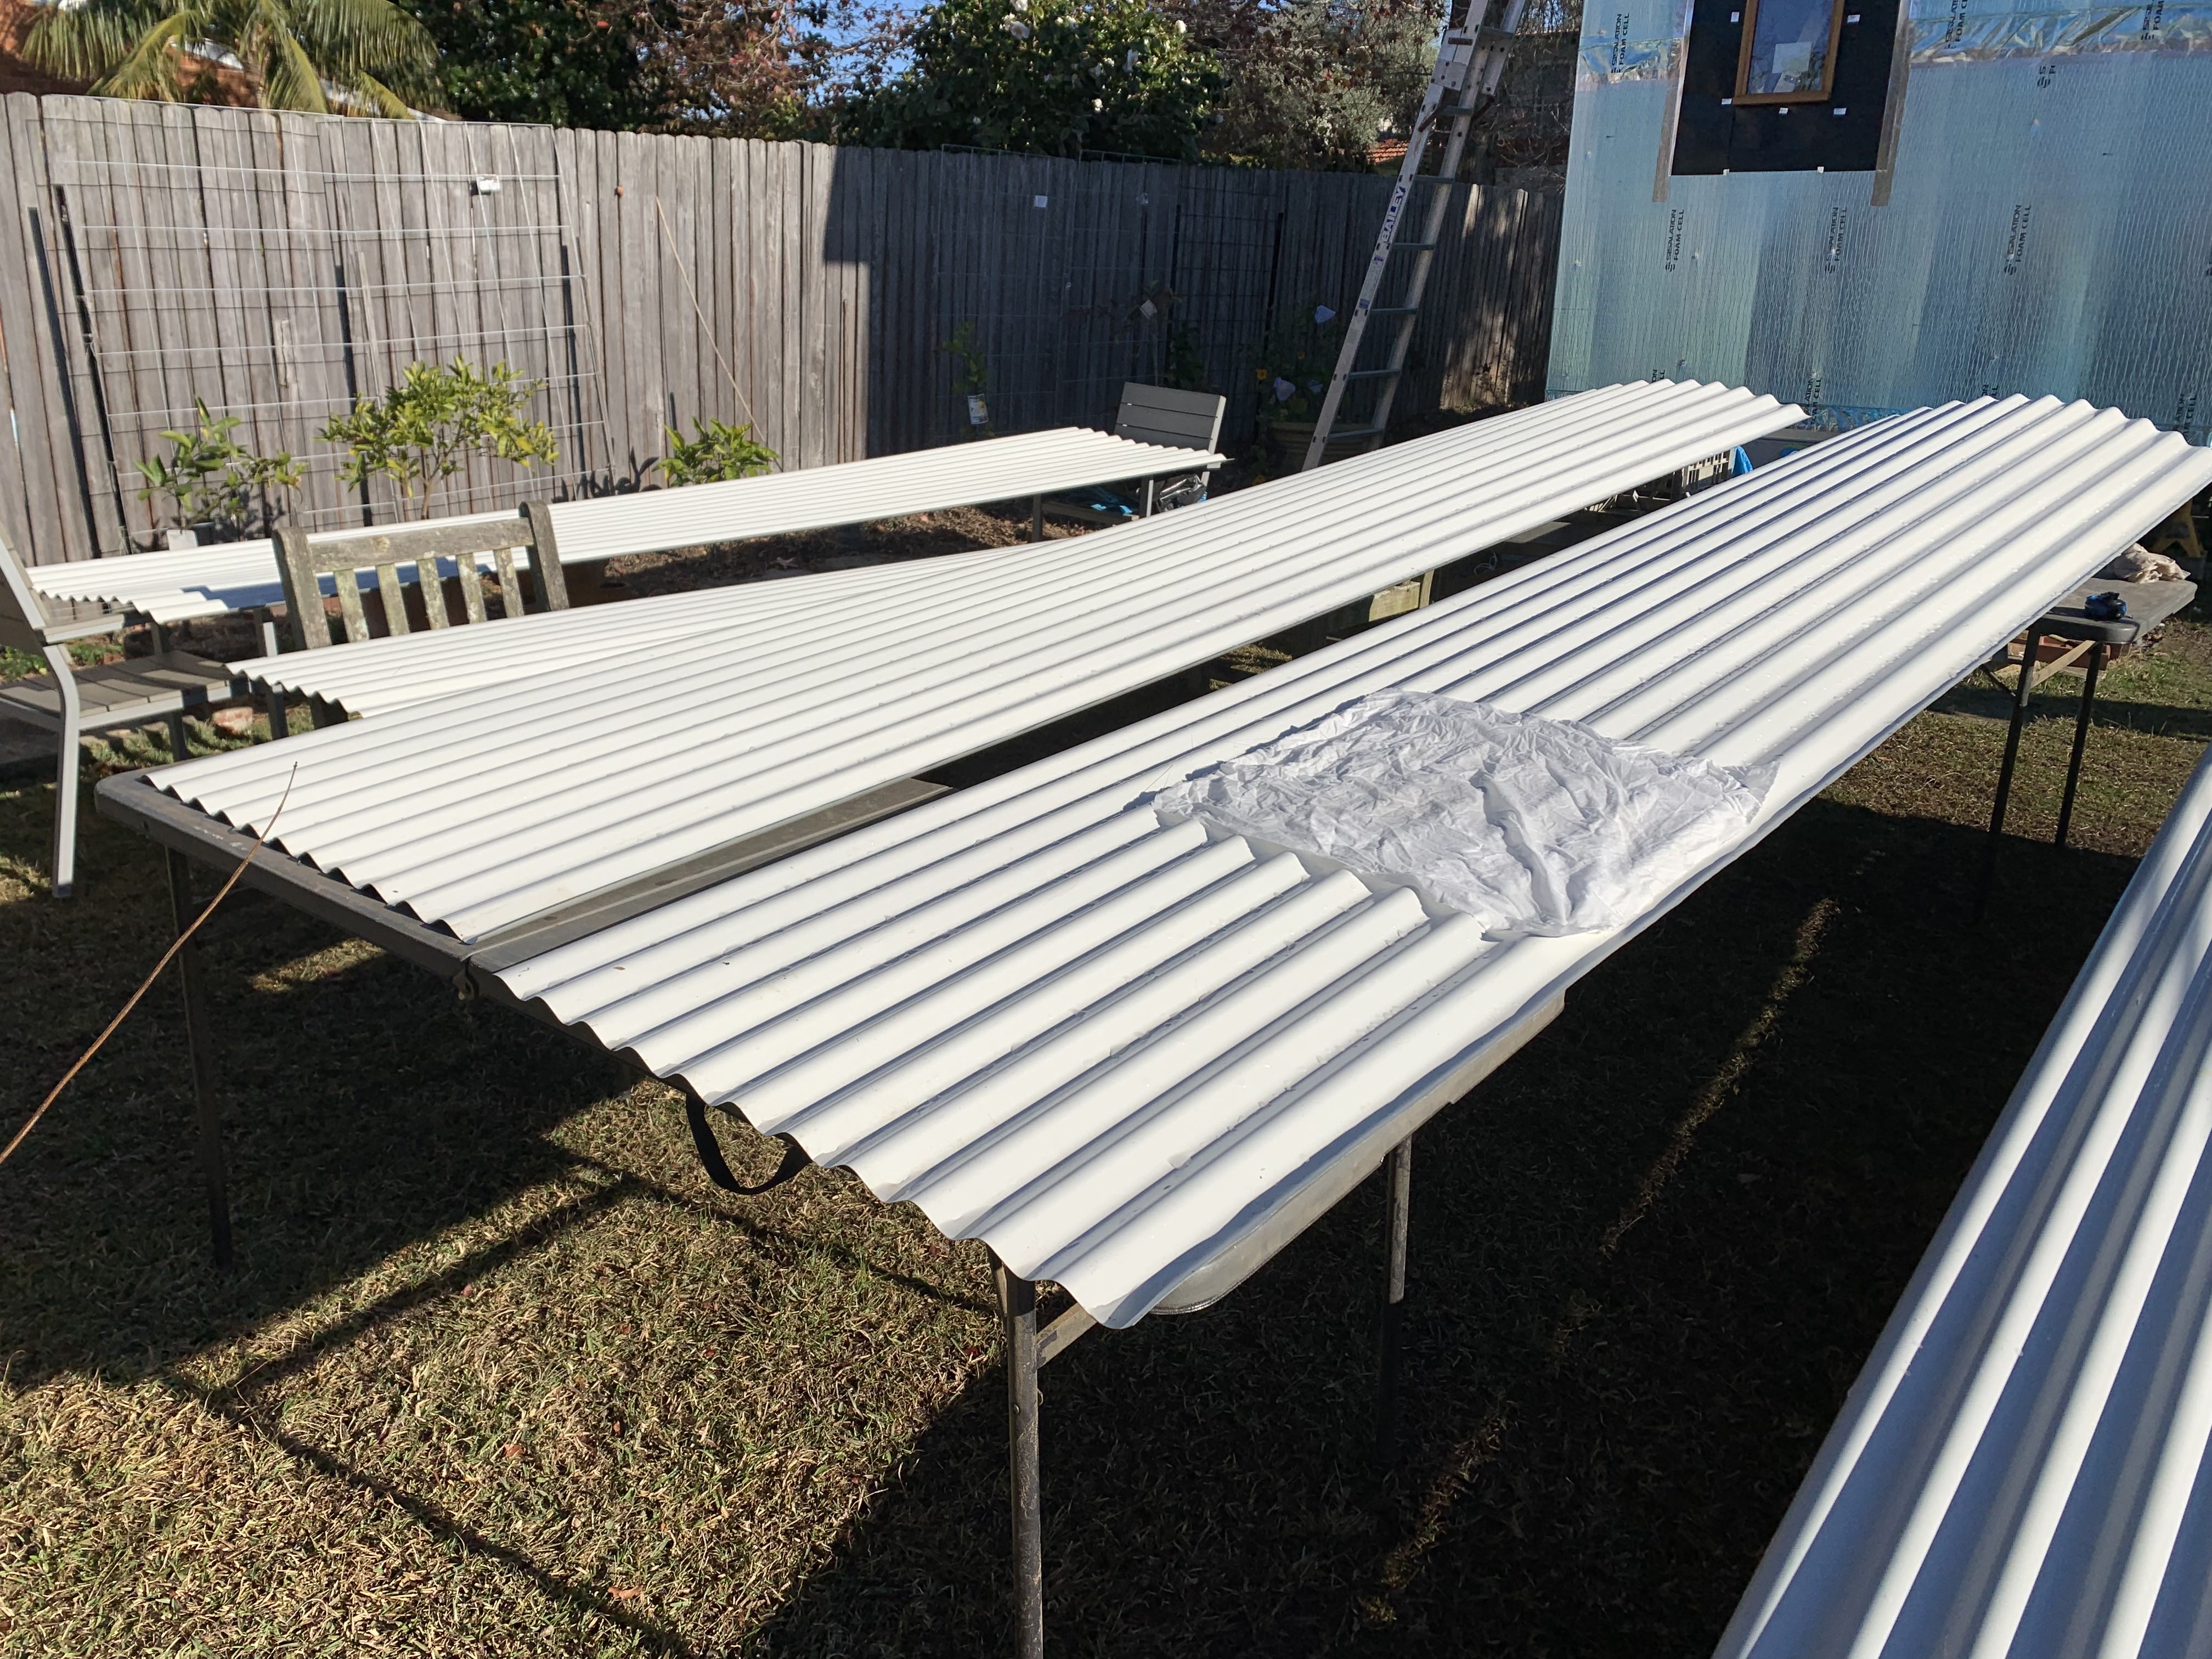
Cleaning our surfmist colorbond roof
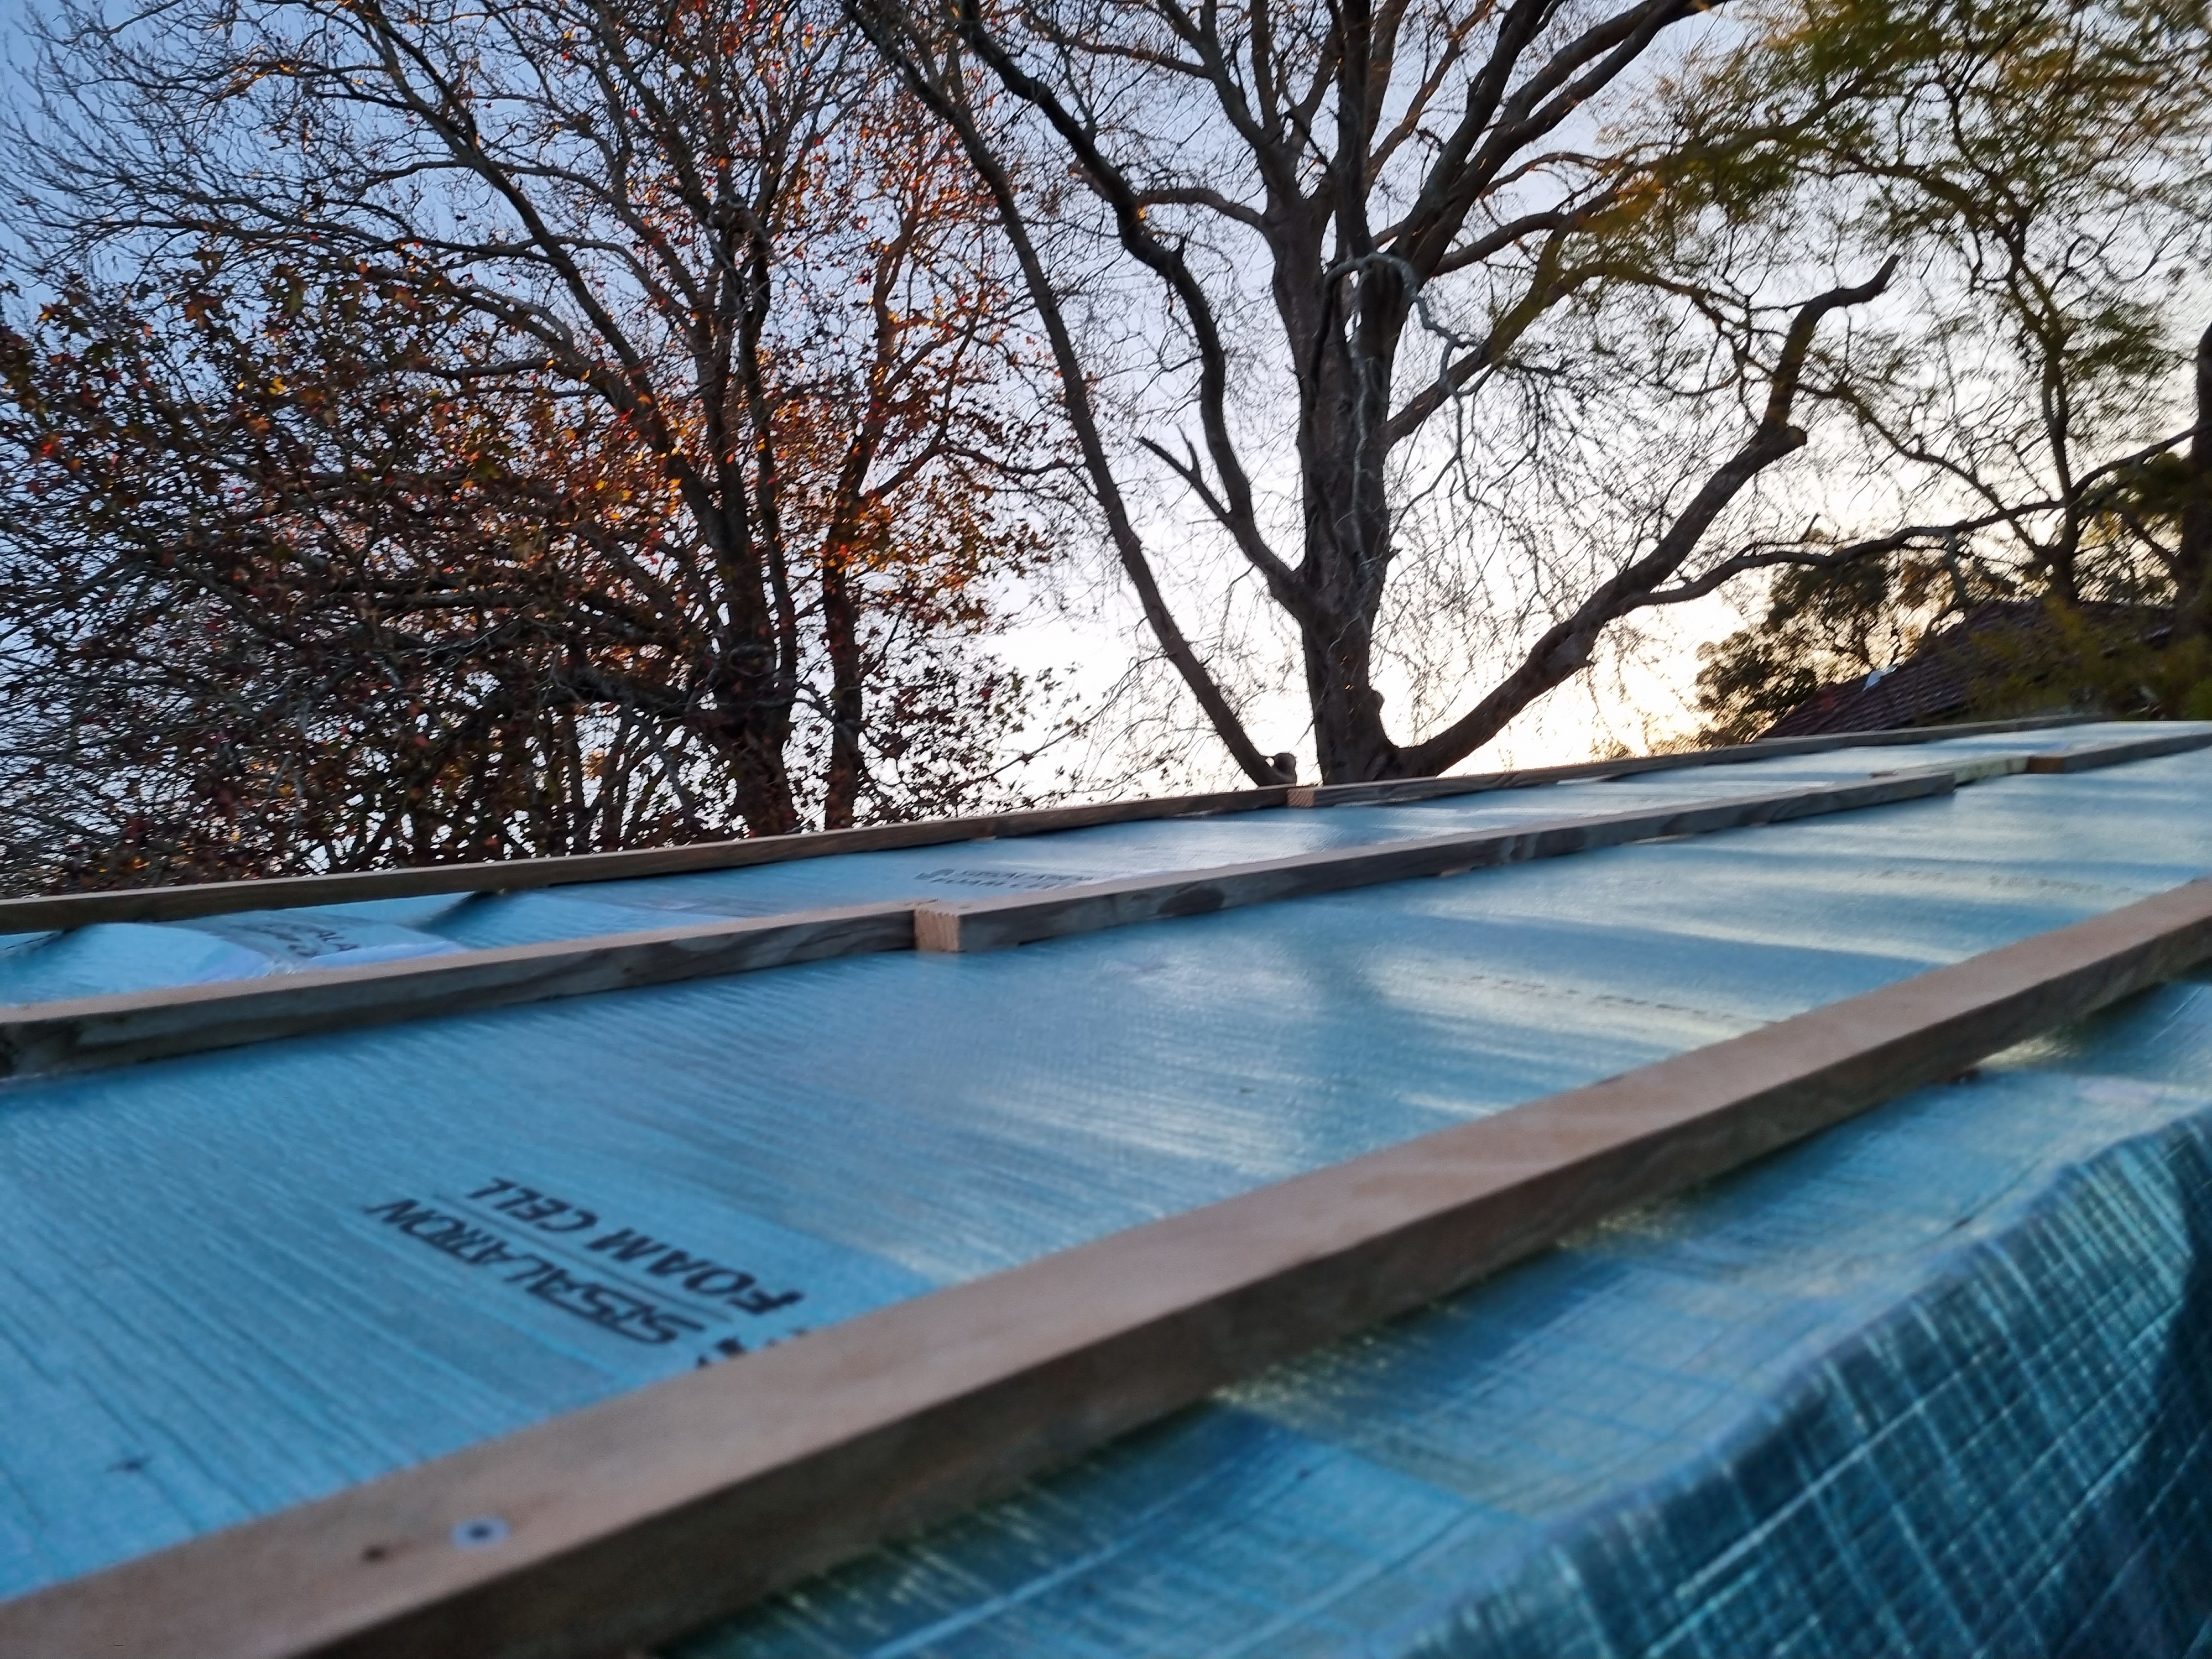
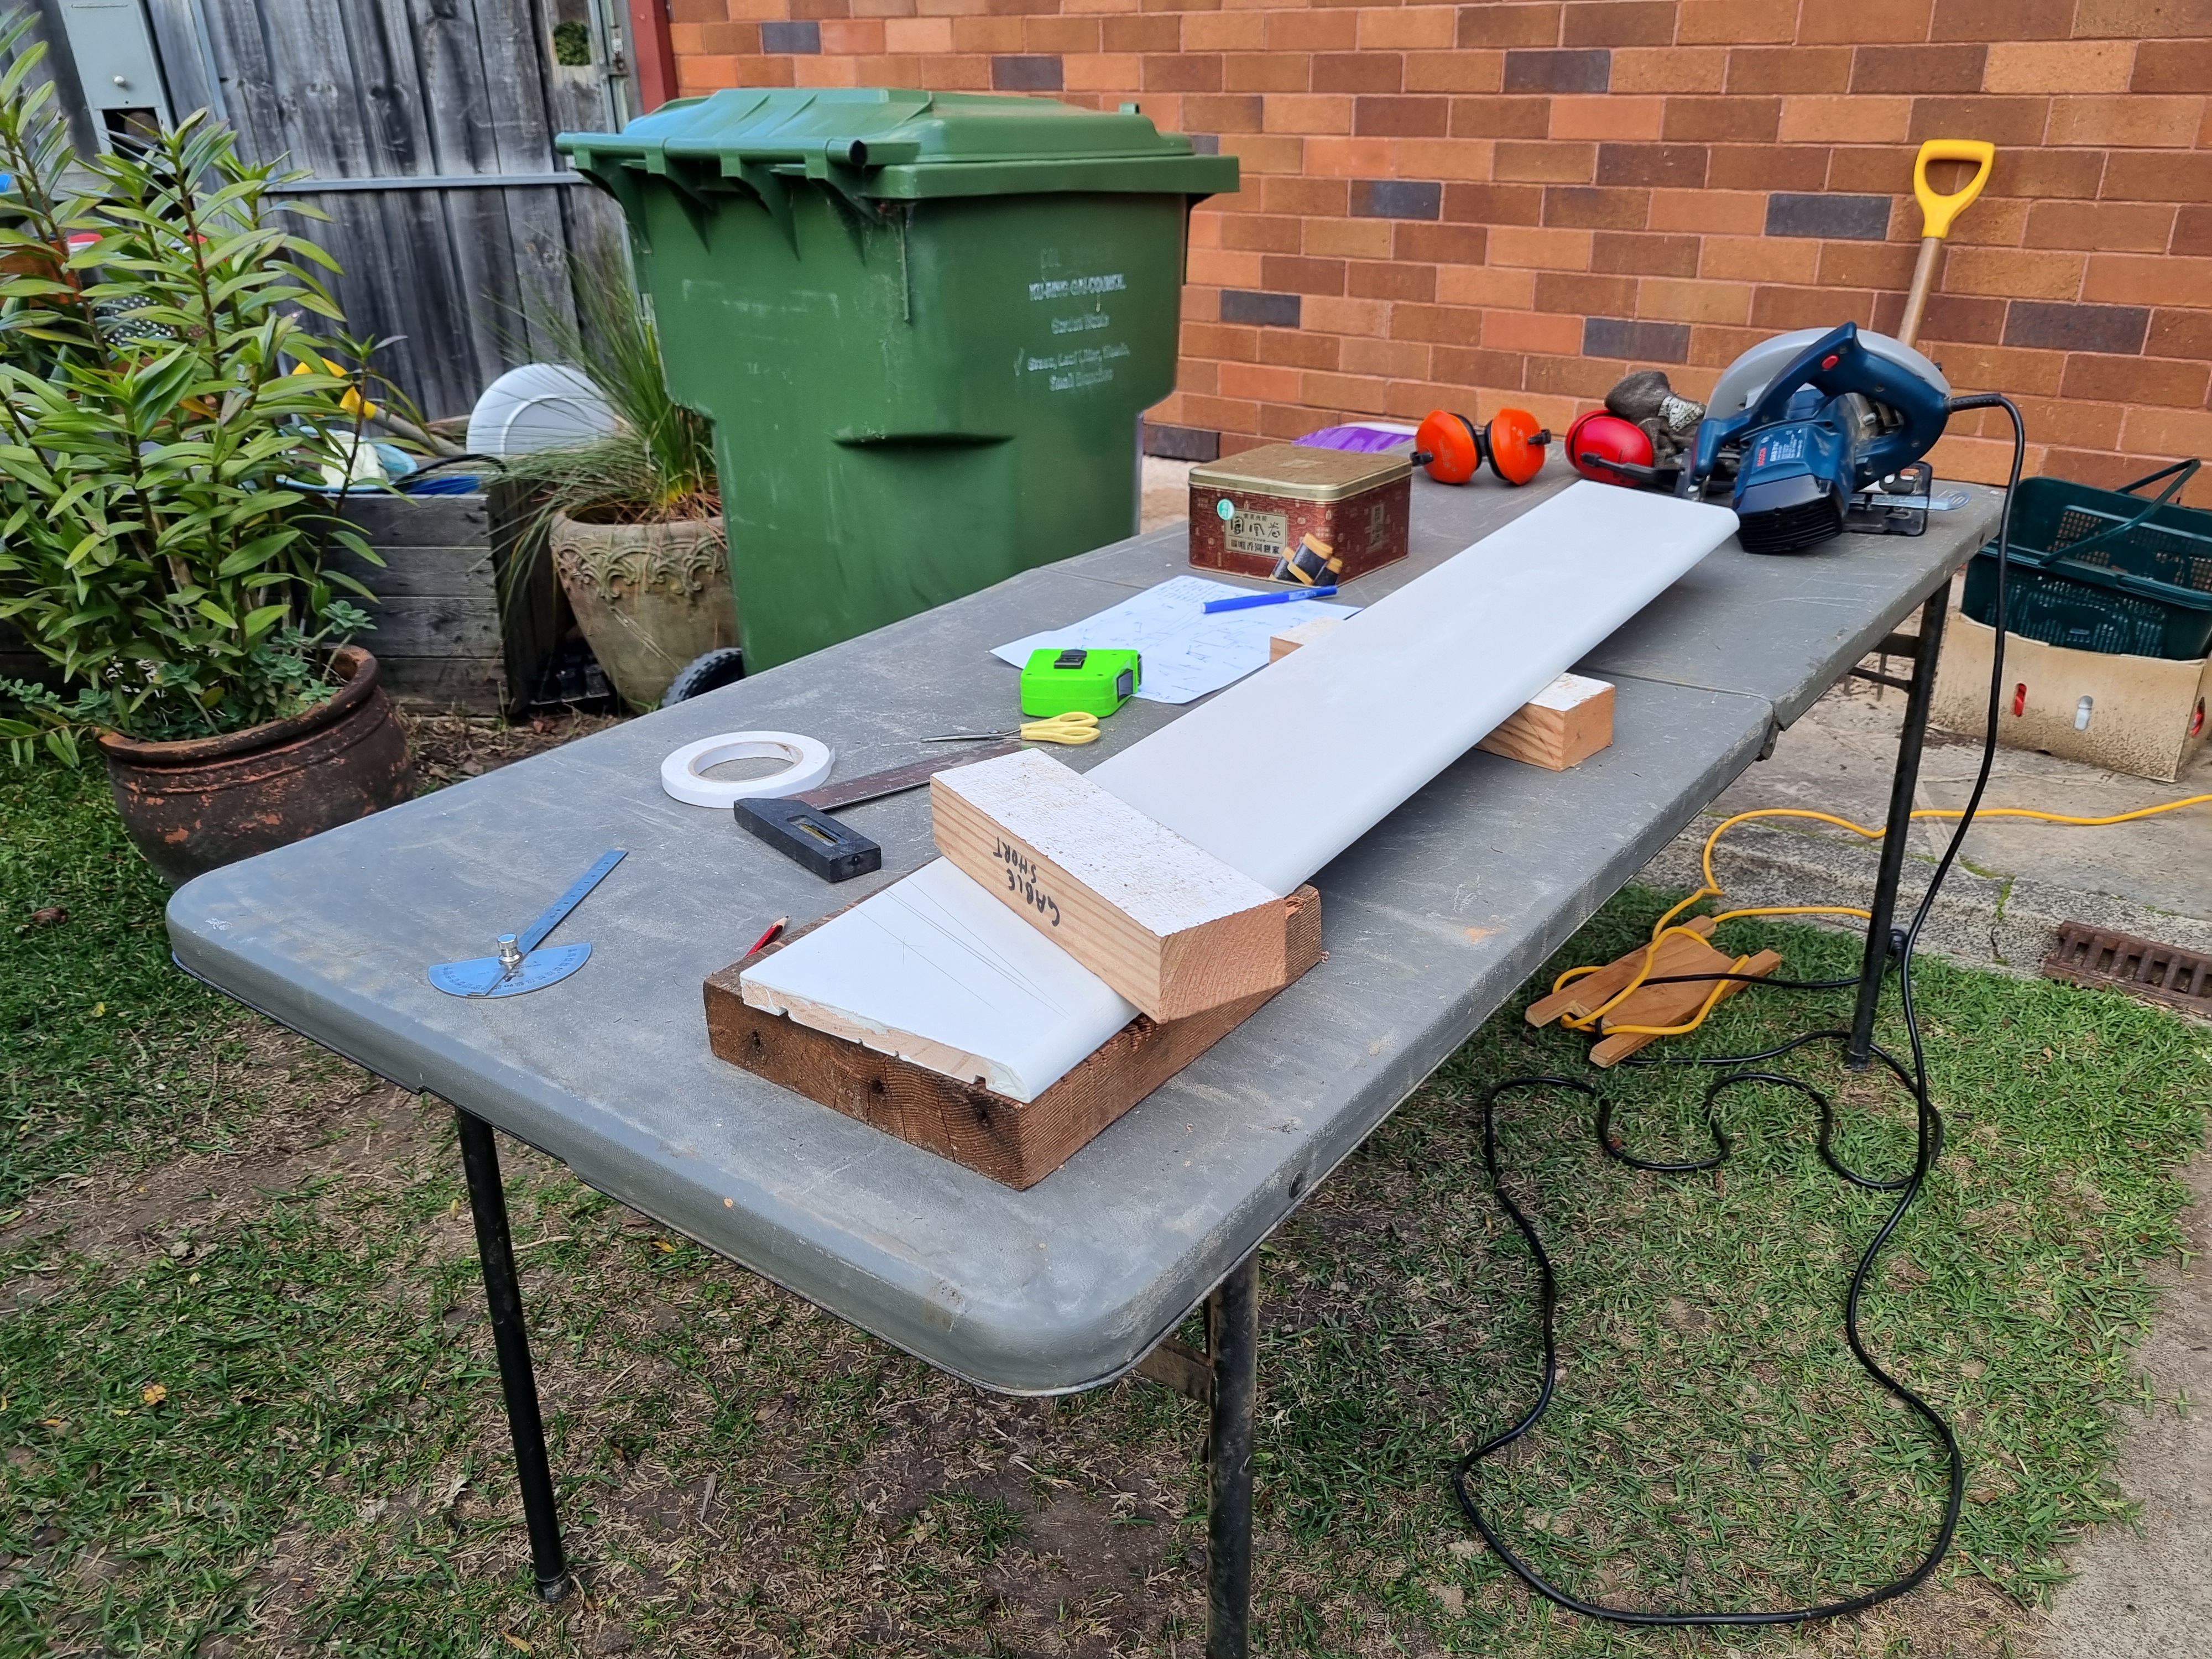
Installing battens
August also saw Lys stepping into the role of an angle grinder enthusiast. Armed with everyday tools - a sharpie and a bed slat - she tackled the task of precision cutting our roof pieces to size. Bricks played a supporting role, steadying the pieces and she has worked up quite a technique. Meanwhile, Erny did an amazing job installing the battens onto the roof. It was a bit of a trial and error process to cut and then install. We definitely believe he has nerves of steel, because he was definitely quite high up on the ladder. Things were going well…until an ordering mishap. The roof screws we had initially ordered were too long (50 mm), posing a potential water leakage risk - what a disaster. This really took the wind out of our sails.
In a moment of quick thinking, we devised several solutions:
- Use the screws that we had and risk the water (no thank you)
- Buy 200 screws in the correct colour from a supplier in melbourne (we need 250)
- Buy 1000 screws in the correct colour but no neoprene washer from a supplier in perth (once again we only need 250!)
- Buy 250 screws from bunnings and spray paint the tops in the correct colour
Ultimately, we decided on the last minute dash to Bunnings (you’ll soon notice a last-minute dash to Bunnings theme in August). There, we secured shorter screws and spray paint to camouflage their tops with the roof. This task also introduced Lys to the oddly satisfying world of spray painting. Bar this slight calamity, the long side of the roof went on without a hitch (all of Erny’s hard work). The battens were installed quickly, the colorbond was cut to the correct size and we powered through the install - things were looking good. We were ready for the more complex shorter side!

Mad dash to bunnings to buy spray paint
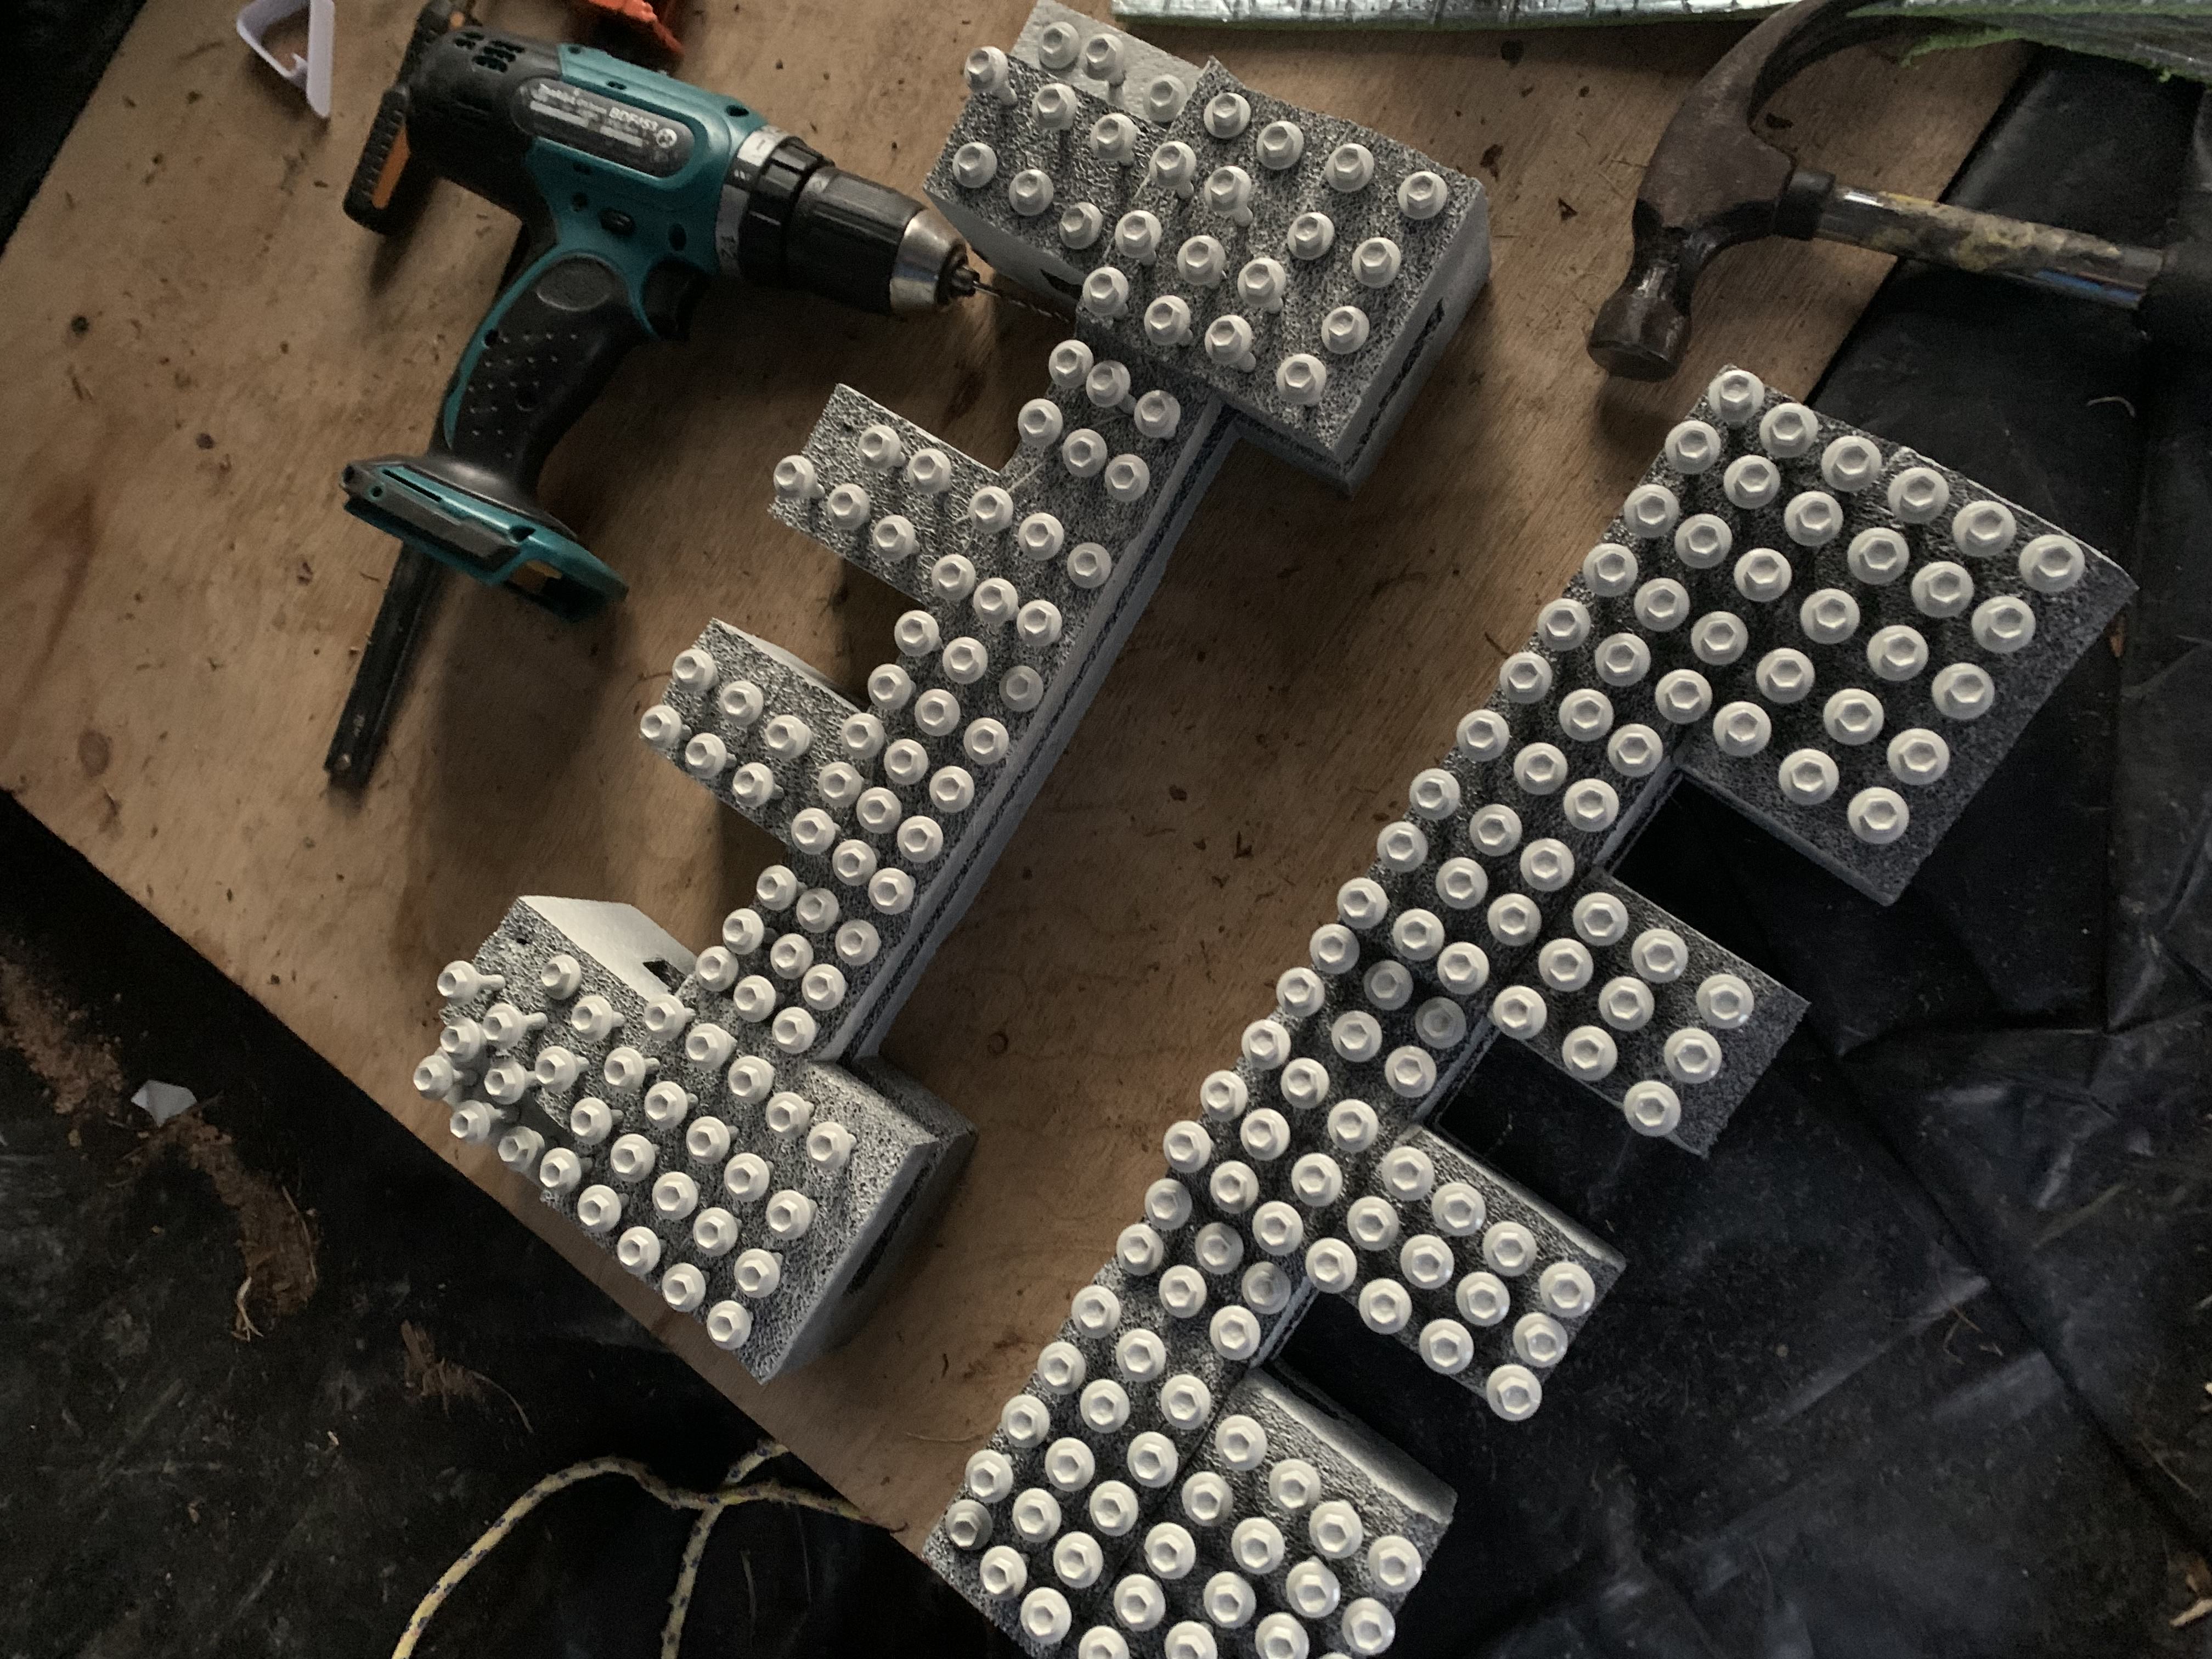
Spray painting the tops of the screws
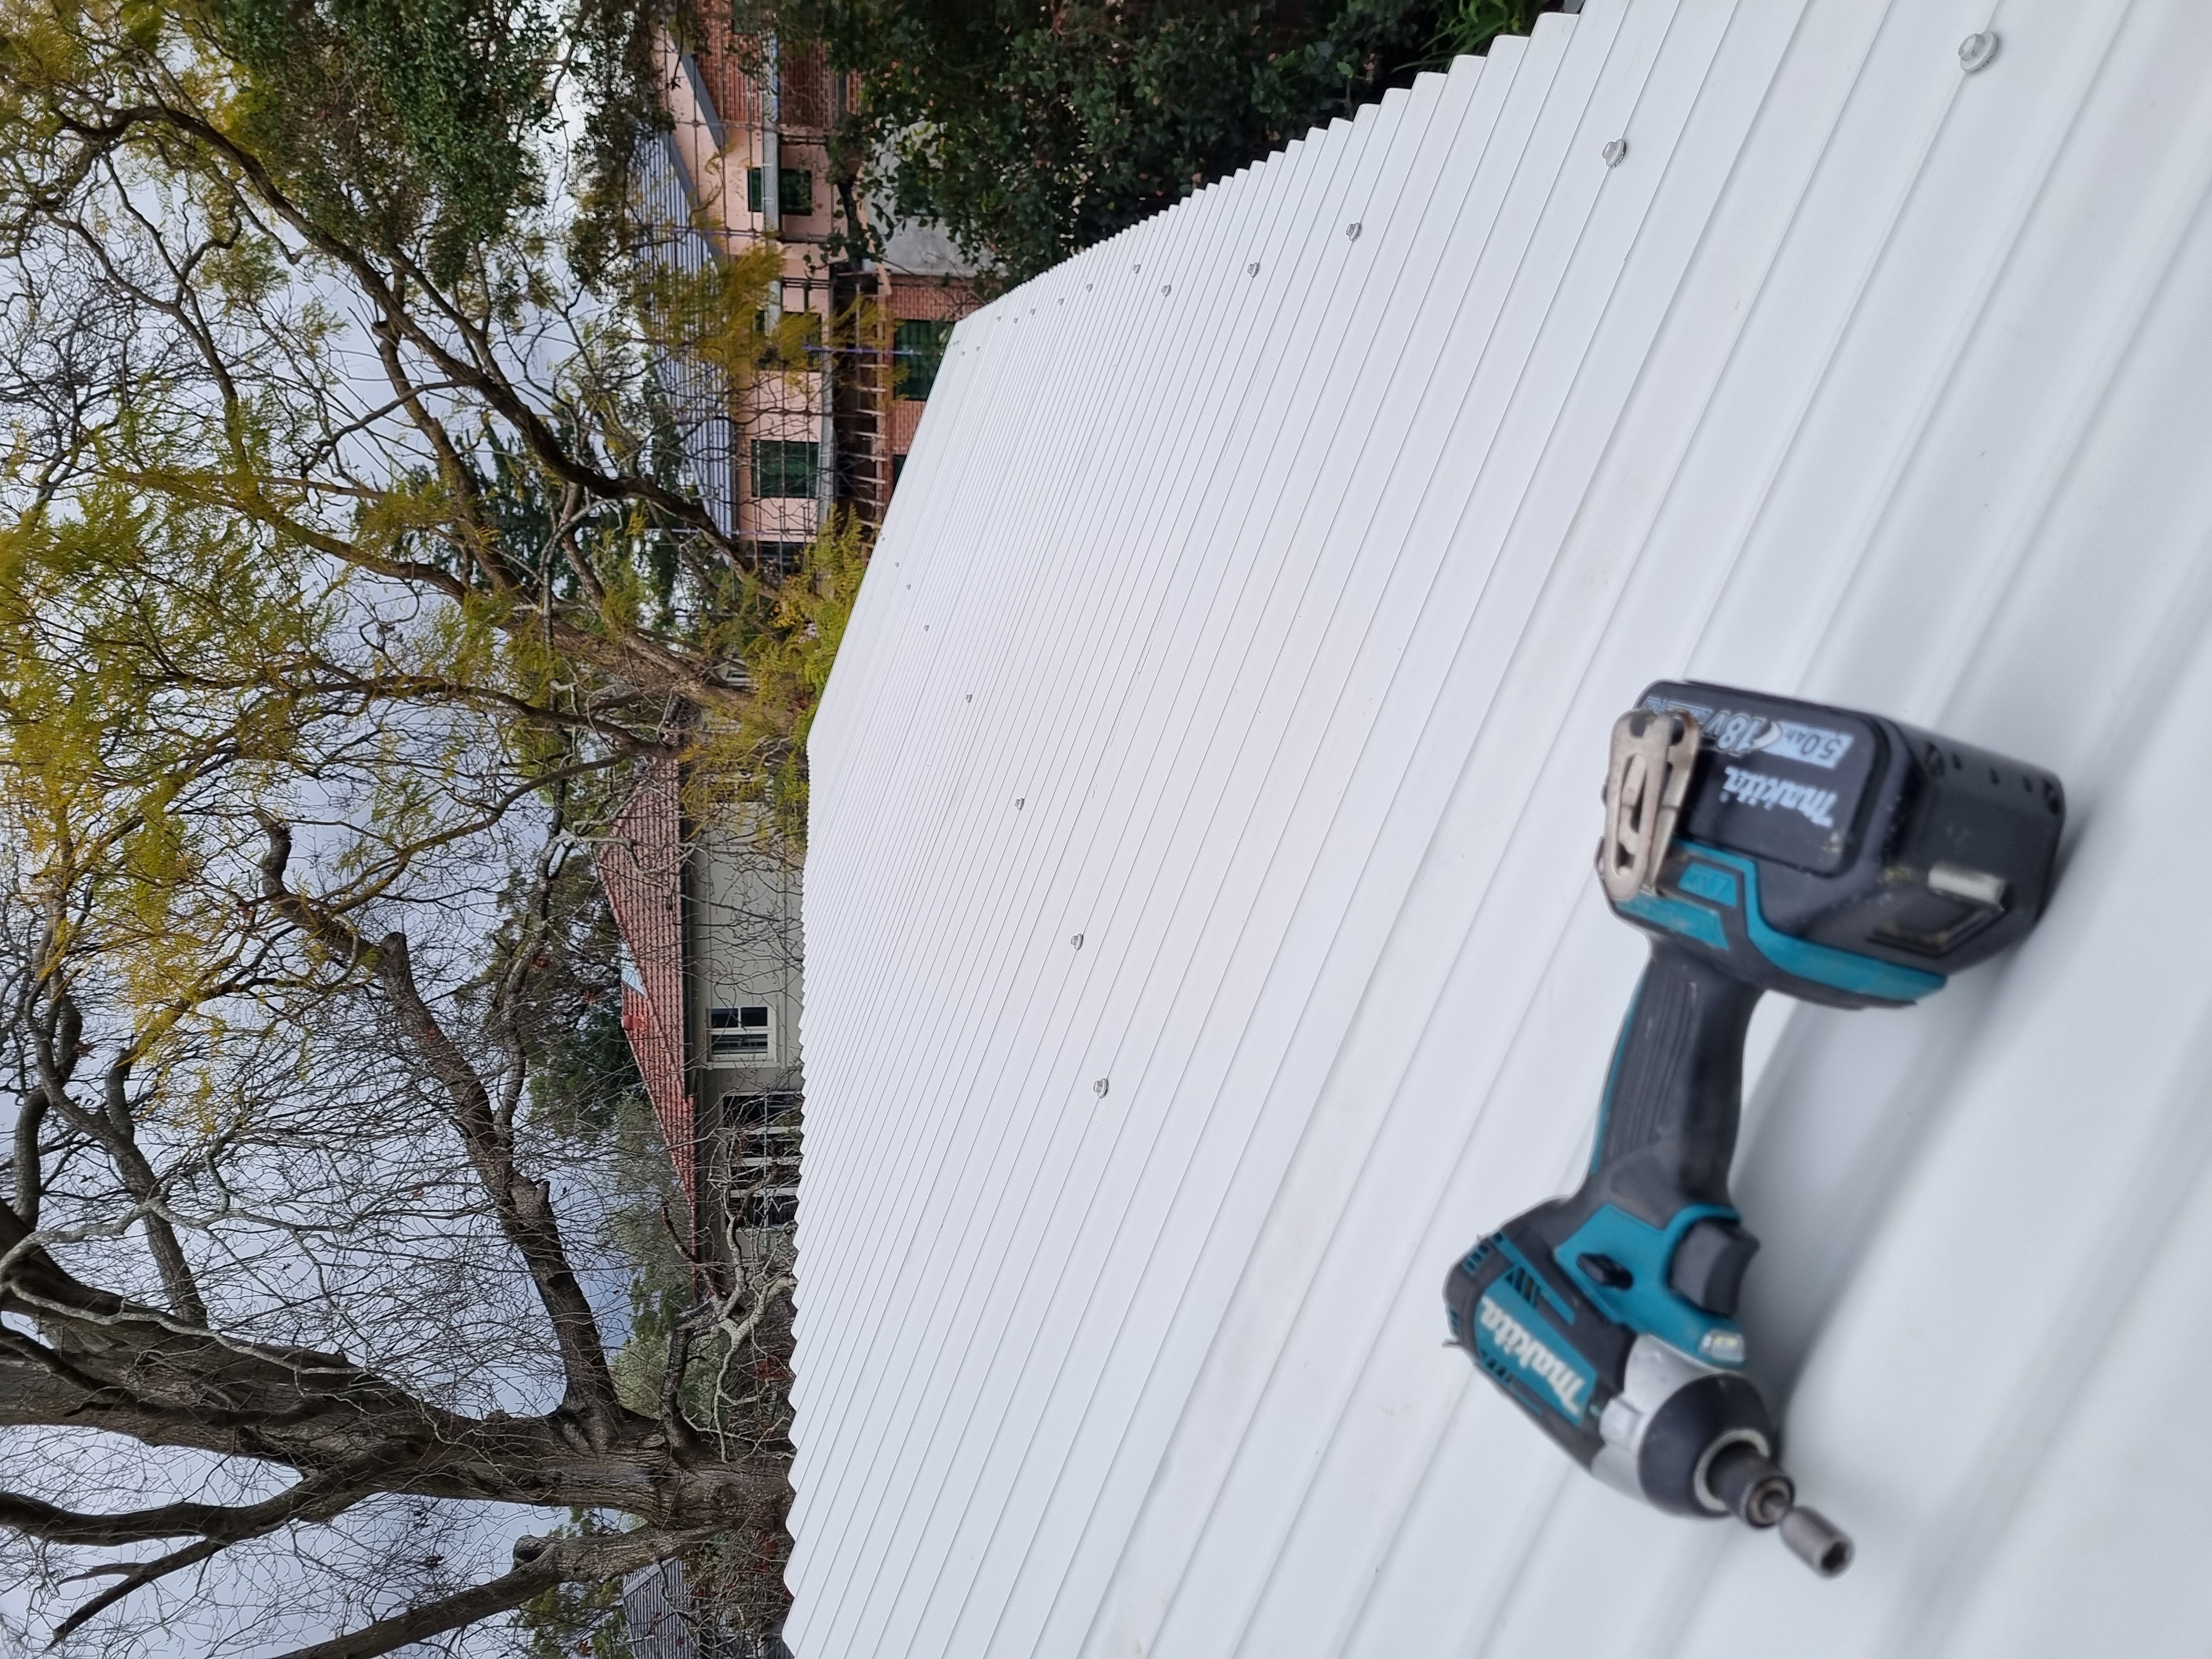
One side of the roof looking good!
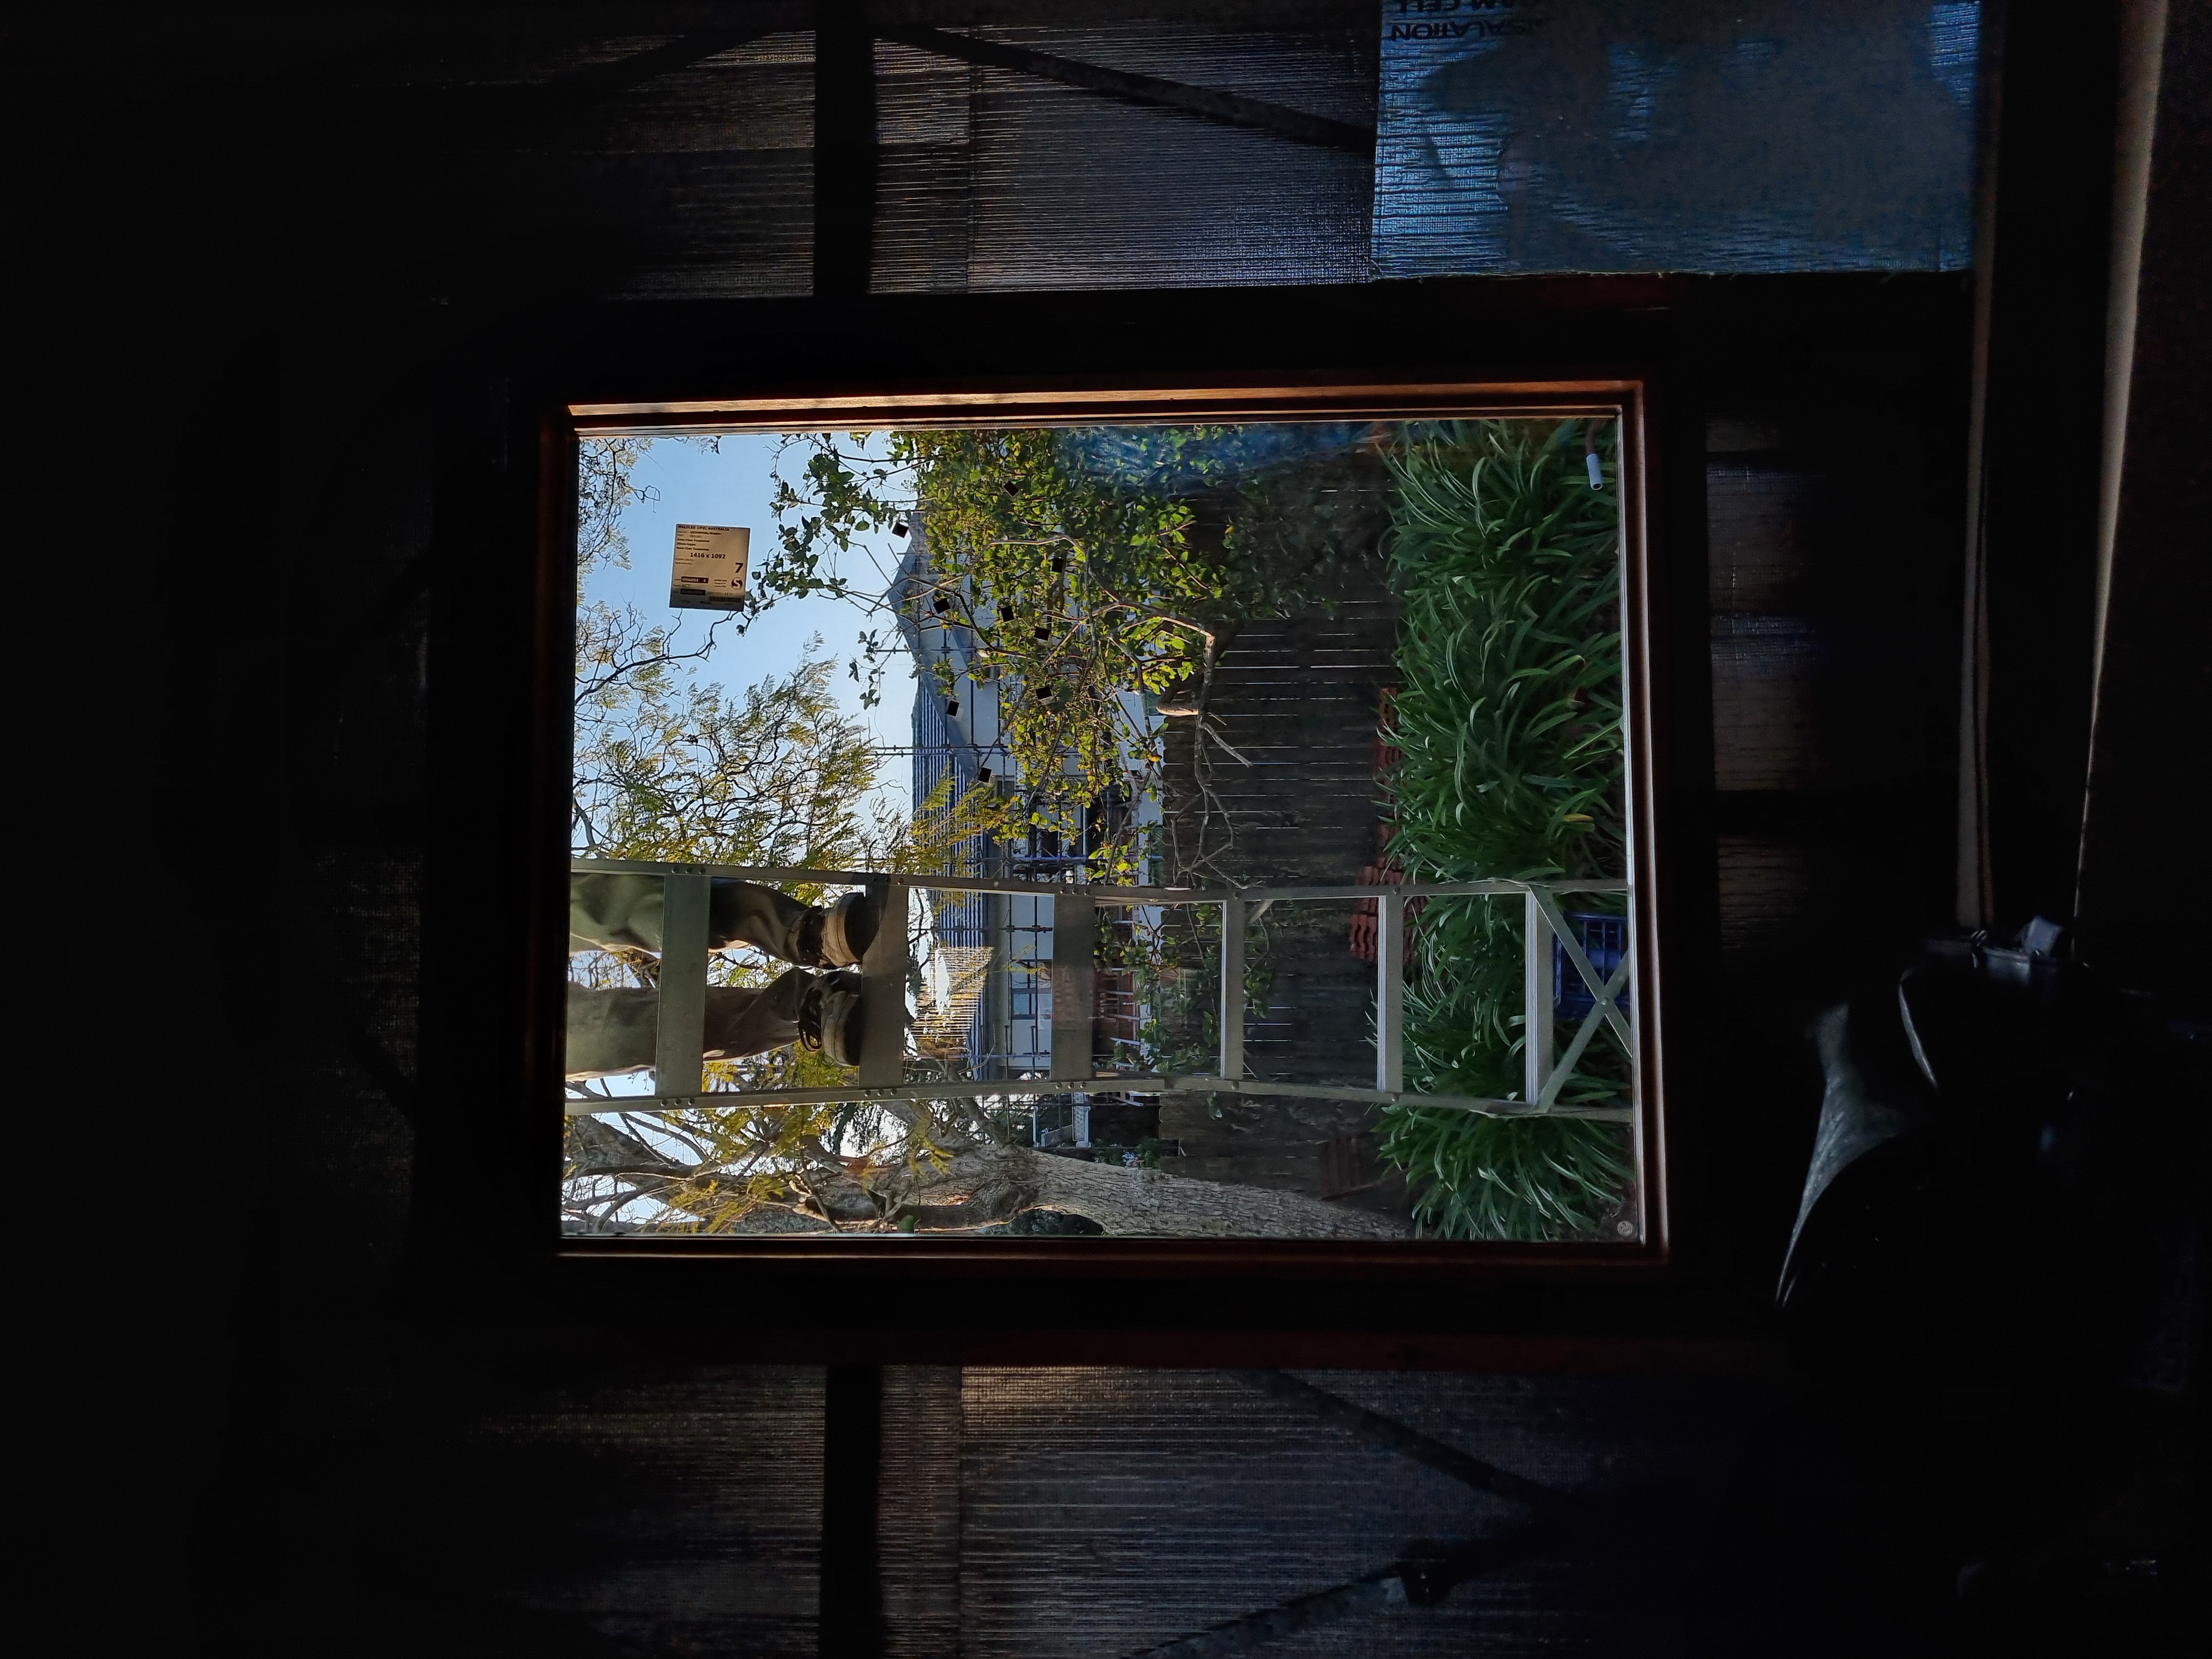
Erny working very hard
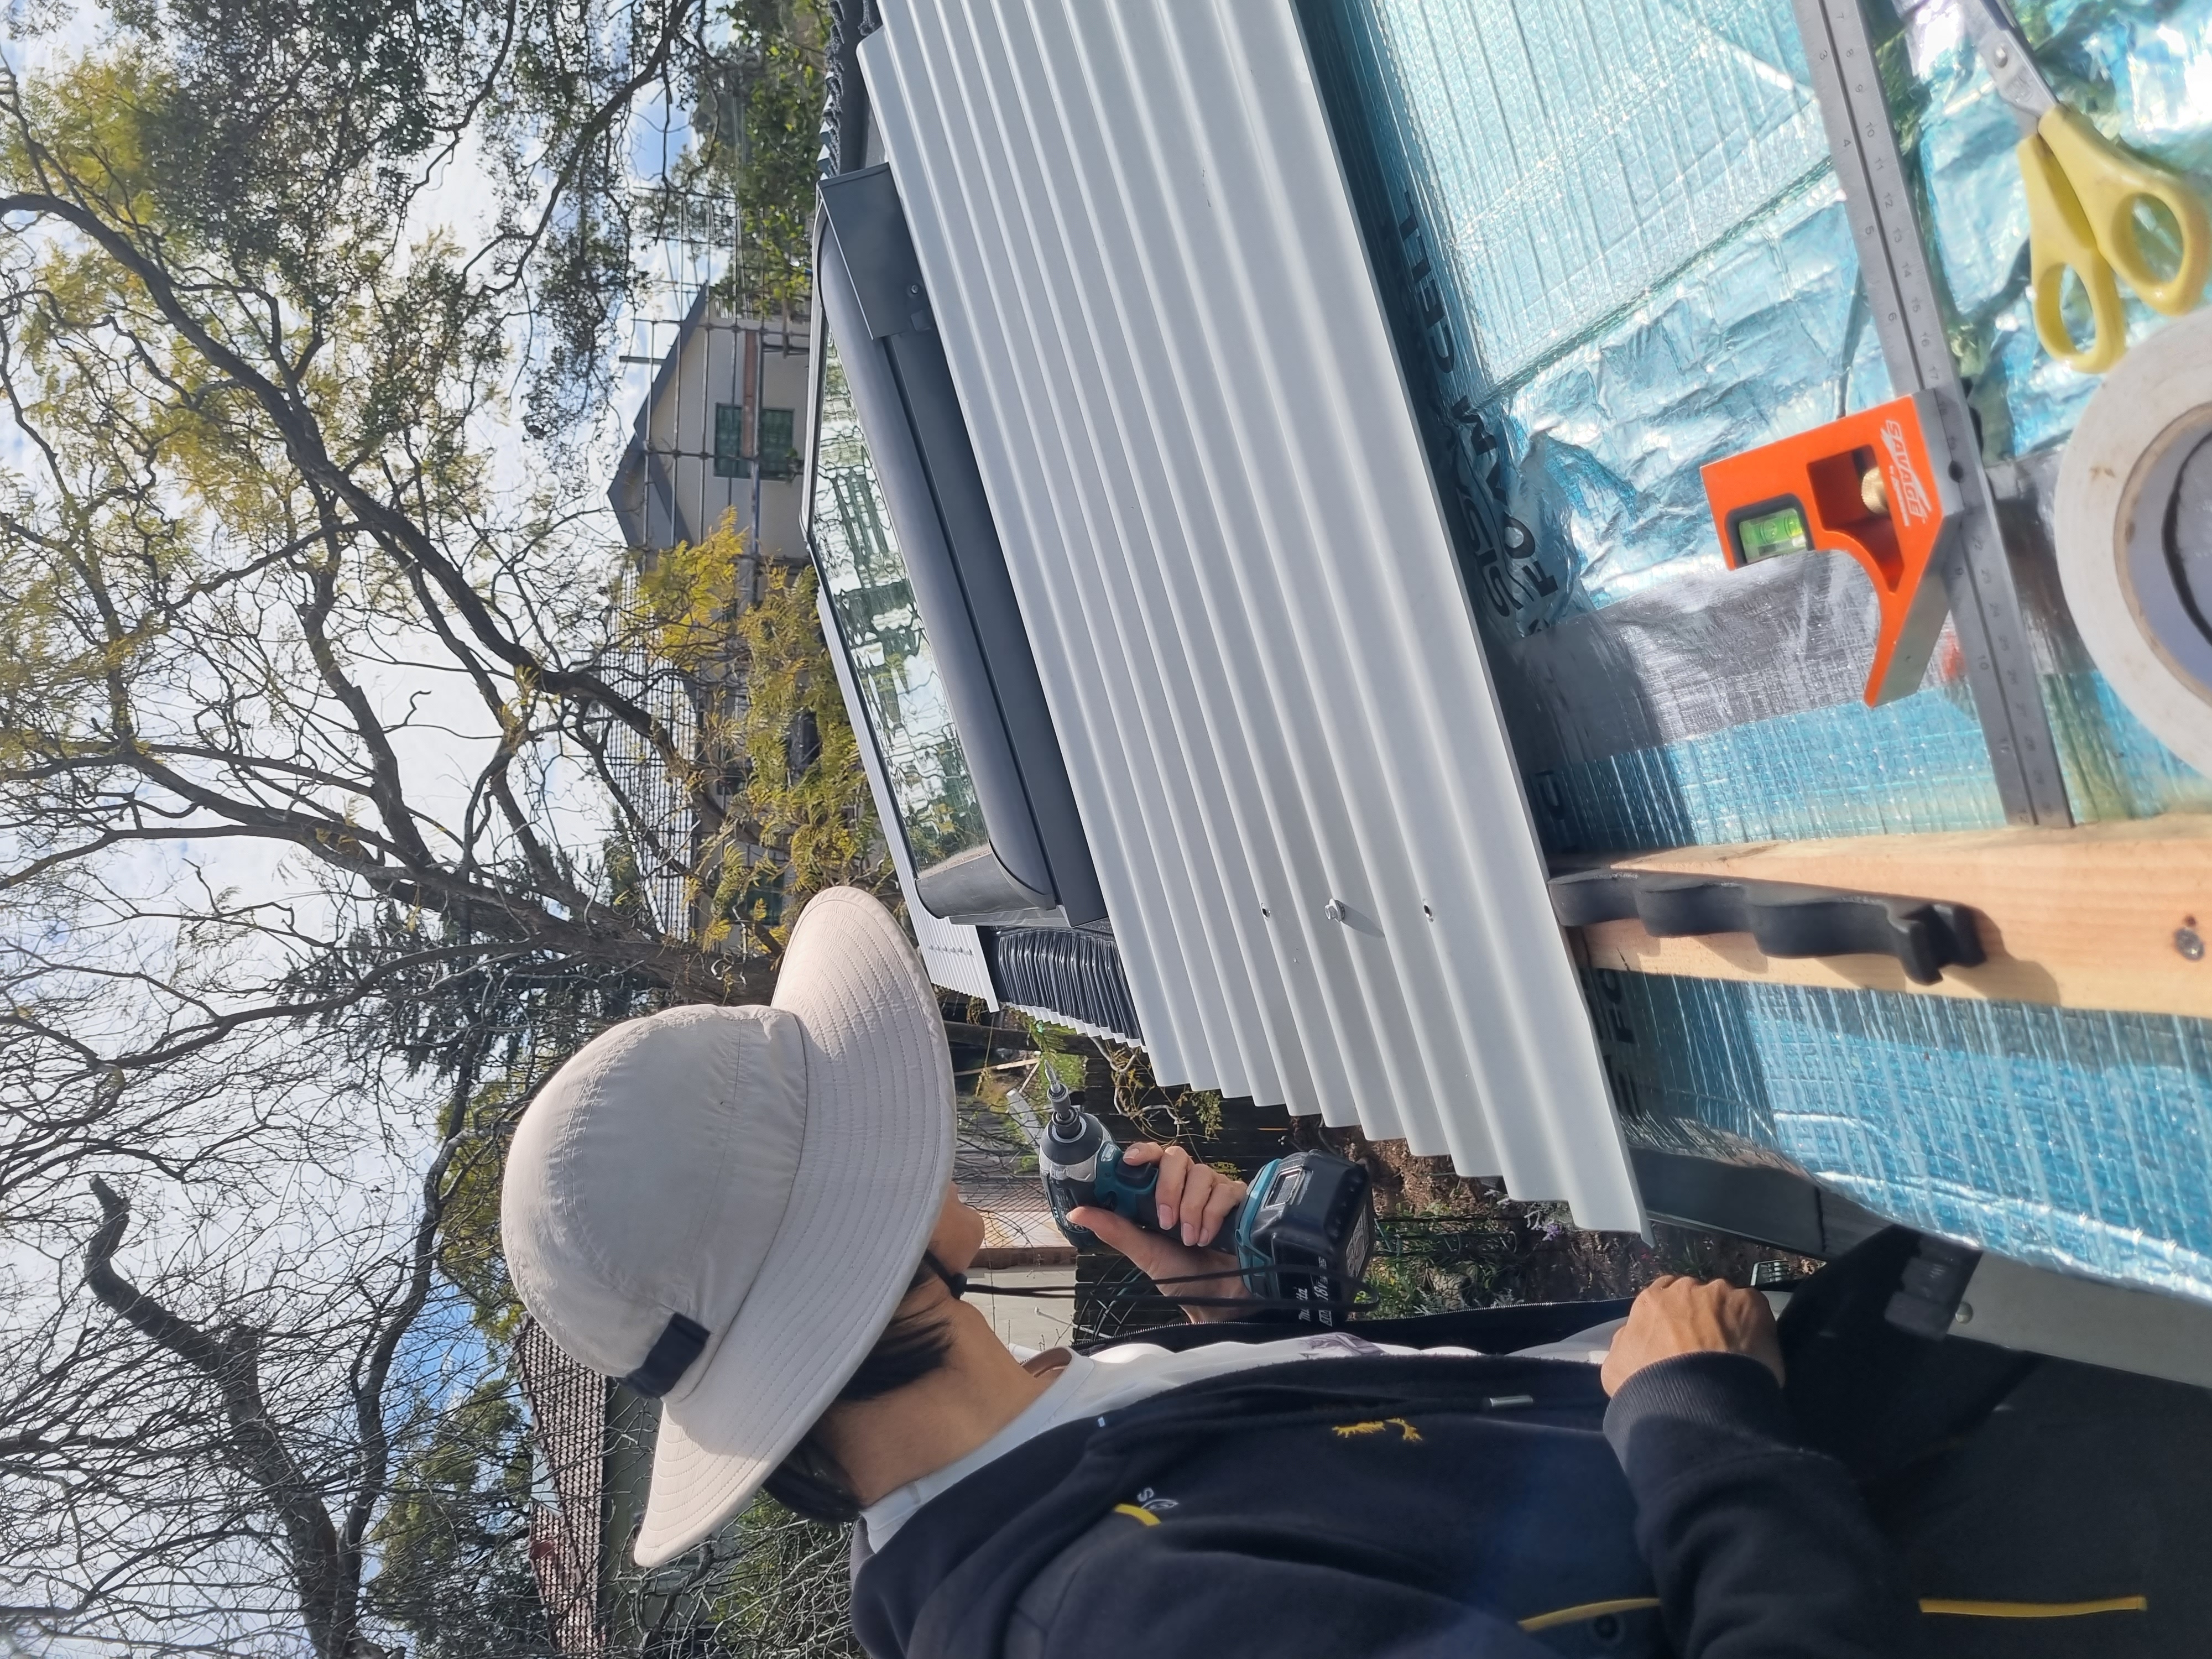
We were feeling pretty confident about installing the skylights and the flashing because it’s the first item that we’ve bought new that’s come with manufacturer instructions - think IKEA flat pack instructions on steroids. What we forgot was how heavy the skylights were. Tentatively, under the watchful eye of Lys’ parents we hauled up the skylights 4 meters up and onto the roof. We then were ready for the flashing until Erny discovered that the flashing was too large for our roof! We made some slight modifications - trimming the metal to size and fiddling with the bottom edge - hopefully the changes won’t impact the water draining qualities but that remains to be seen. We also added extra roofing underlay under the flashing to wick water away but an unexpected rain shower during installation forced a hasty application. It wasn’t a flawless job, but Lys’ excuse was a battle with laryngitis – and something is better than nothing right? Our hypothesis was soon tested with a 40 mm deluge - the skylights seem to be okay so we are confident that our waterproofing skills can handle more than a little bit of rain.

One skylight in!
An aside about our skylight flashing
We don’t know if we have written about this before but we actually bought our skylights a few months back from a nice man on the beaches. Unfortunately for us, he had a tiled roof but we were installing a colorbond roof and his roofer had removed a piece of cladding flashing away. This part is pretty important when it comes to water proofing…And thus began a wild goose chase finding a Velux supplier who would sell us this spare part (we touch upon this on our June Build Update).
We finally found a team in June who could source the parts from Velux, and we went to pick them up after 3 weeks of the order being lost, but then - it turned out Velux had delivered the incorrect part! We contacted the supplier who worked with Velux to deliver us our correct part 2 weeks later. We got the part back home - pretty relieved - only to realise that they did not provide us with enough screws for the full install. We just cut our losses and installed the cladding without the screws for now but we will need to pop our own in - what a journey!
Yet more hurdles awaited, with colorbond panels somehow ending up 8 cm too short. We were so sure that we had measured twice to cut once - but clearly we must have misread the tape measure…twice. Fortunately, the ridge capping came to the rescue, concealing the discrepancy while still remaining watertight. We decided to push forward with the colorbond install and not re-cut new pieces. This was a good decision - by the time the weekend over we had the skylights in and the second half of the colorbond installed - what an achievement! We were so close to completing the roof, or so we thought.
Installing the short pieces of colorbond
Alas, the construction journey remains an ever-evolving learning curve. Our path took an unexpected turn when we realized that fascia would be a necessary addition before installing the ridge capping – a future problem that suddenly required immediate attention. Originally we had been hoping to install the ridge capping first and leave the eaves until later. This wouldn’t have worked aesthetically as the ridge cap needs to be the final piece installed (think of it like the cherry on top of the ice cream Sunday). We would like to thank Metal Roofing Online Roofing tutorials for helping us avoid a potential aesthetic roofing faux pas.
Quick thinking and a pay to win attitude led us to purchase pre-primed fascia from Bunnings, with an added layer of convenience in having the pieces cut to size by the helpful staff. A slight consolation was that we saved $3 dollars as he didn’t charge us for the cuts (apparently it’s actually $1 a cut at Bunnings). We also needed to buy a pop rivet gun - a tool we had hoped to hire - since we had just ran out of time.
Lys got to work painting the pieces in surfmist, as Erny crafted angles to cut the pieces but we faced yet another challenge – ensuring that barge capping would align seamlessly with our varied cladding designs. We halted the build to labour on the problem with Erny uncovering more problems. This intricate process demanded meticulous mathematical calculations, quite a bit of trigonometry and an abundance of patience. We think we have a plan (it involves purchasing a different style of metal cladding) but it’s a puzzle we’ll continue to solve as we progress, post our planned US trip. We also battled a new product called butyl tape. This tape is like bluetac on steroids - it sticks to everything in sight! We also learnt that it’s harder to work with as the ambient air temperature cools - something we discovered as we were racing against the afternoon sun. Bar the maths and the stickiness, the install went very well and it we are quite pleased with our handy work! The barge capping over the eave really adds to the feel of the house and we are quite pleased with our colour choice.
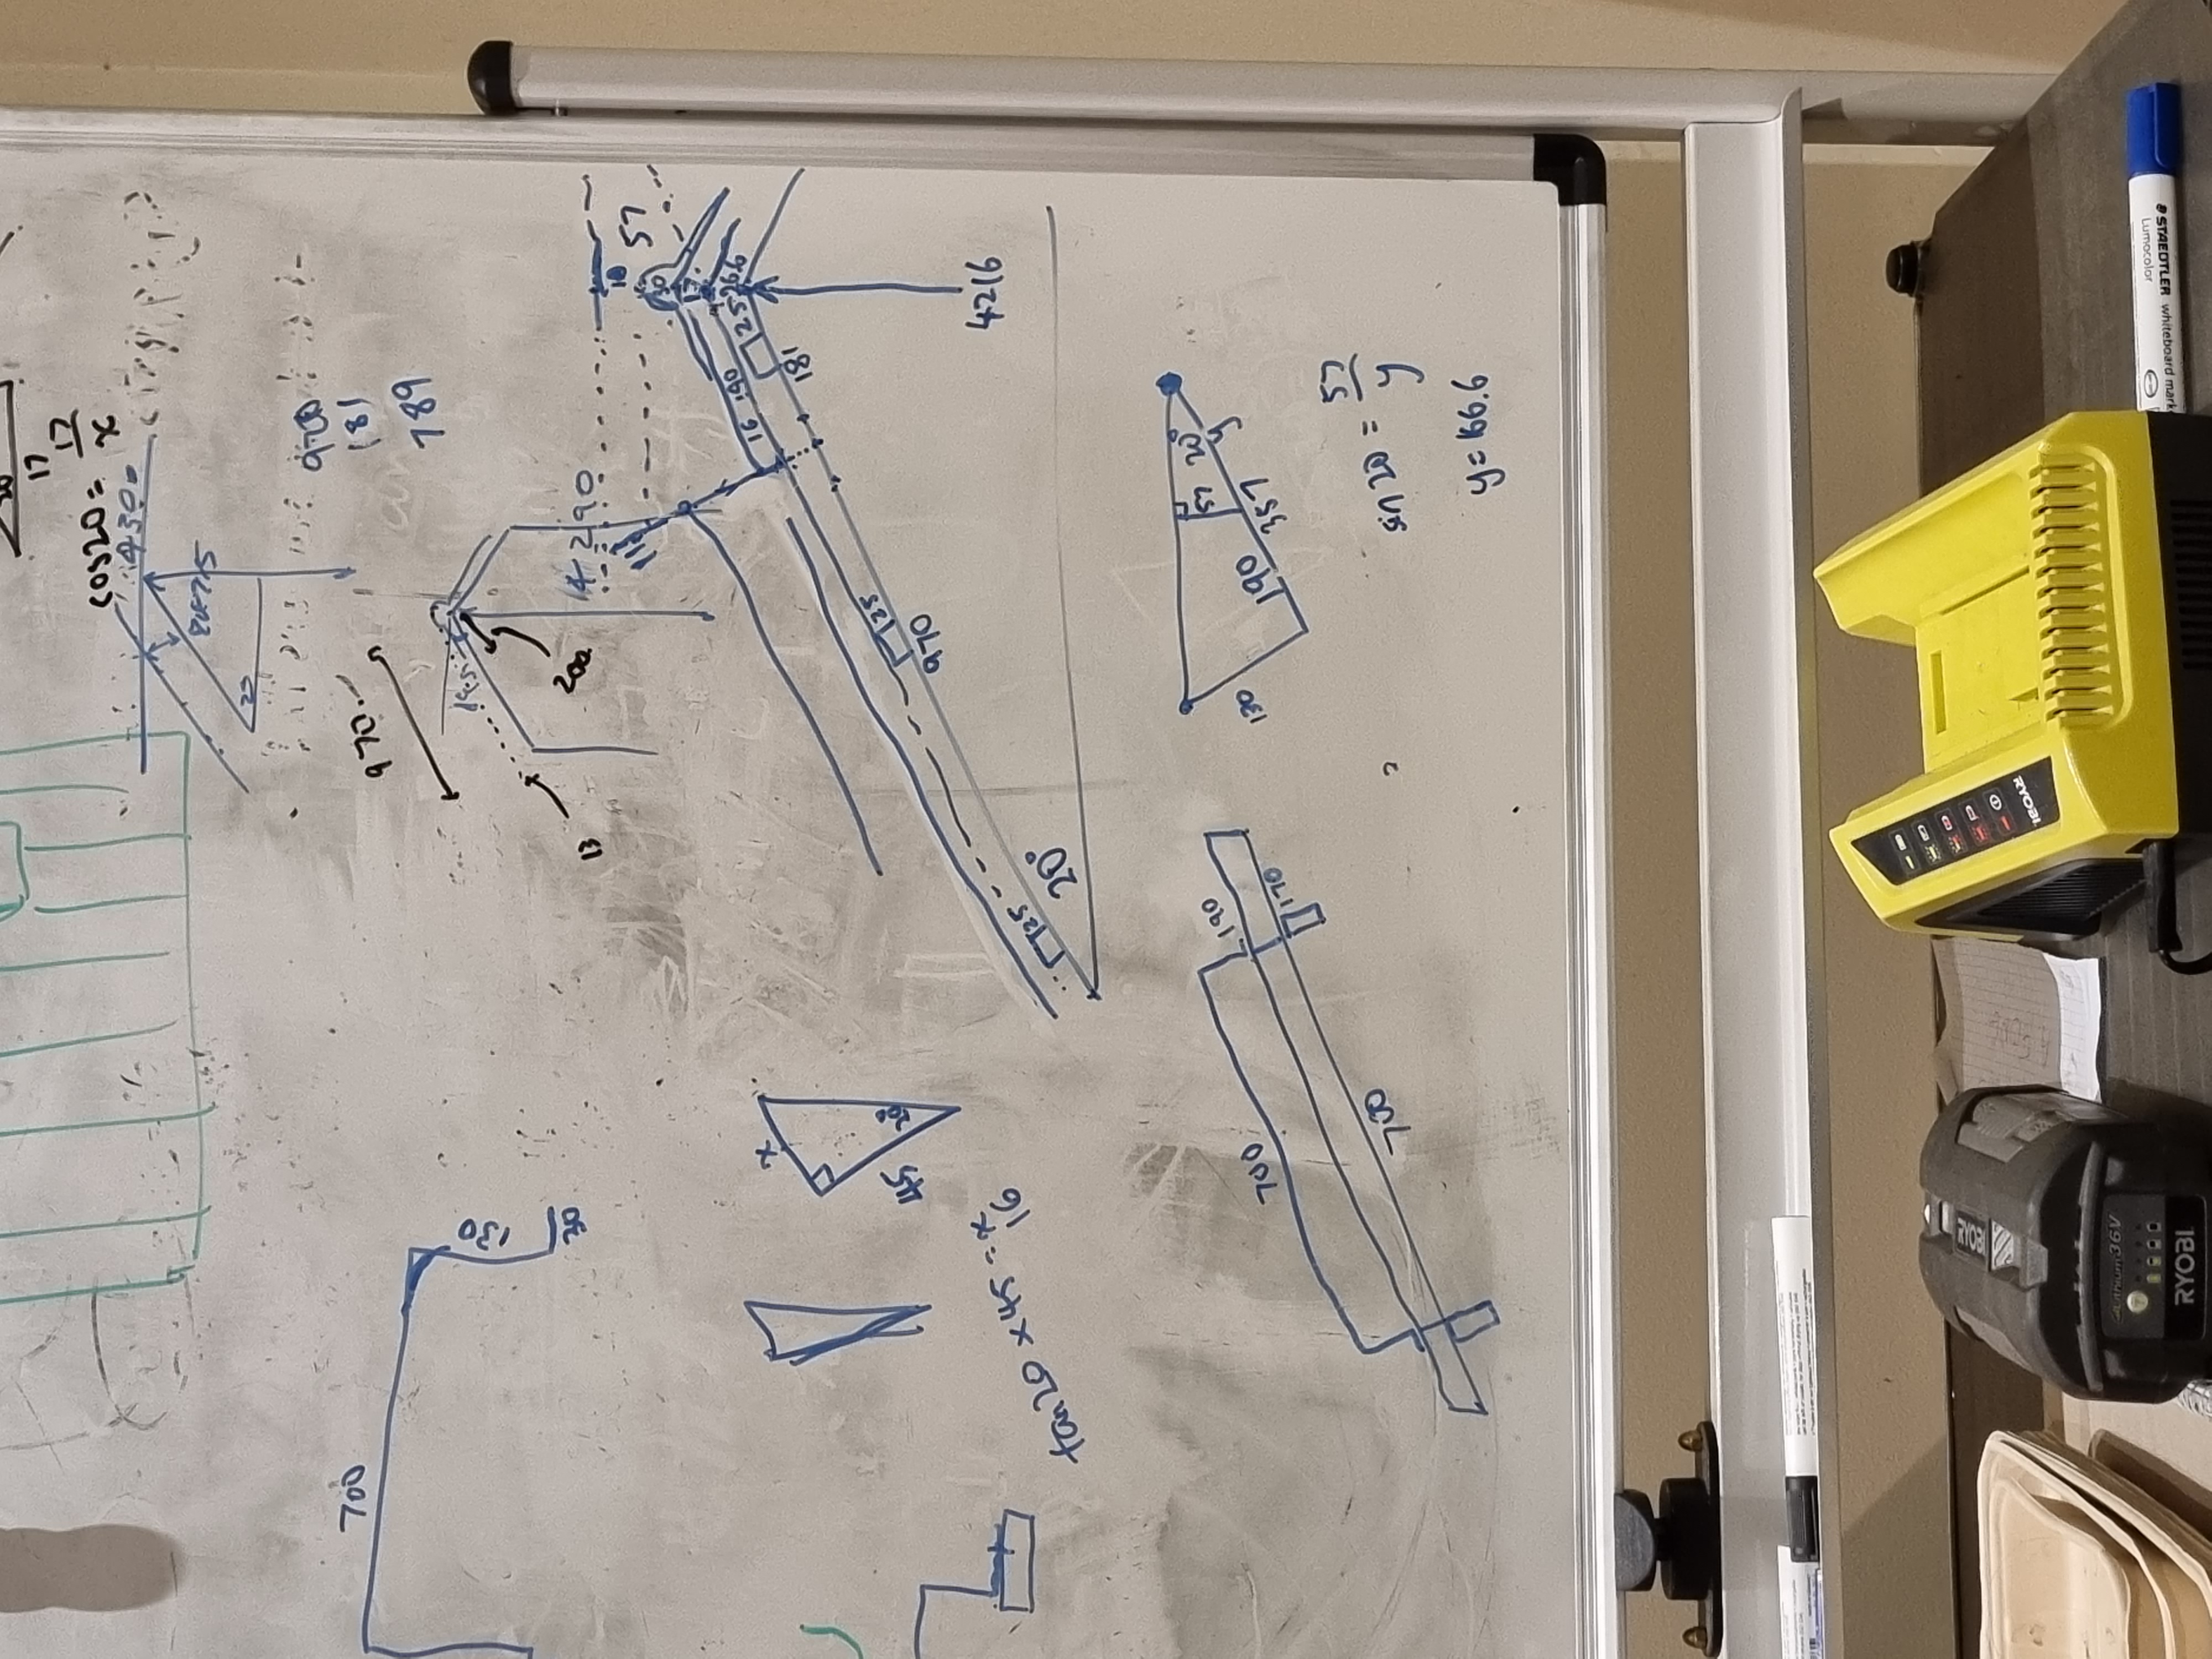
Late night whiteboard maths to make sure everything fits under the height limit
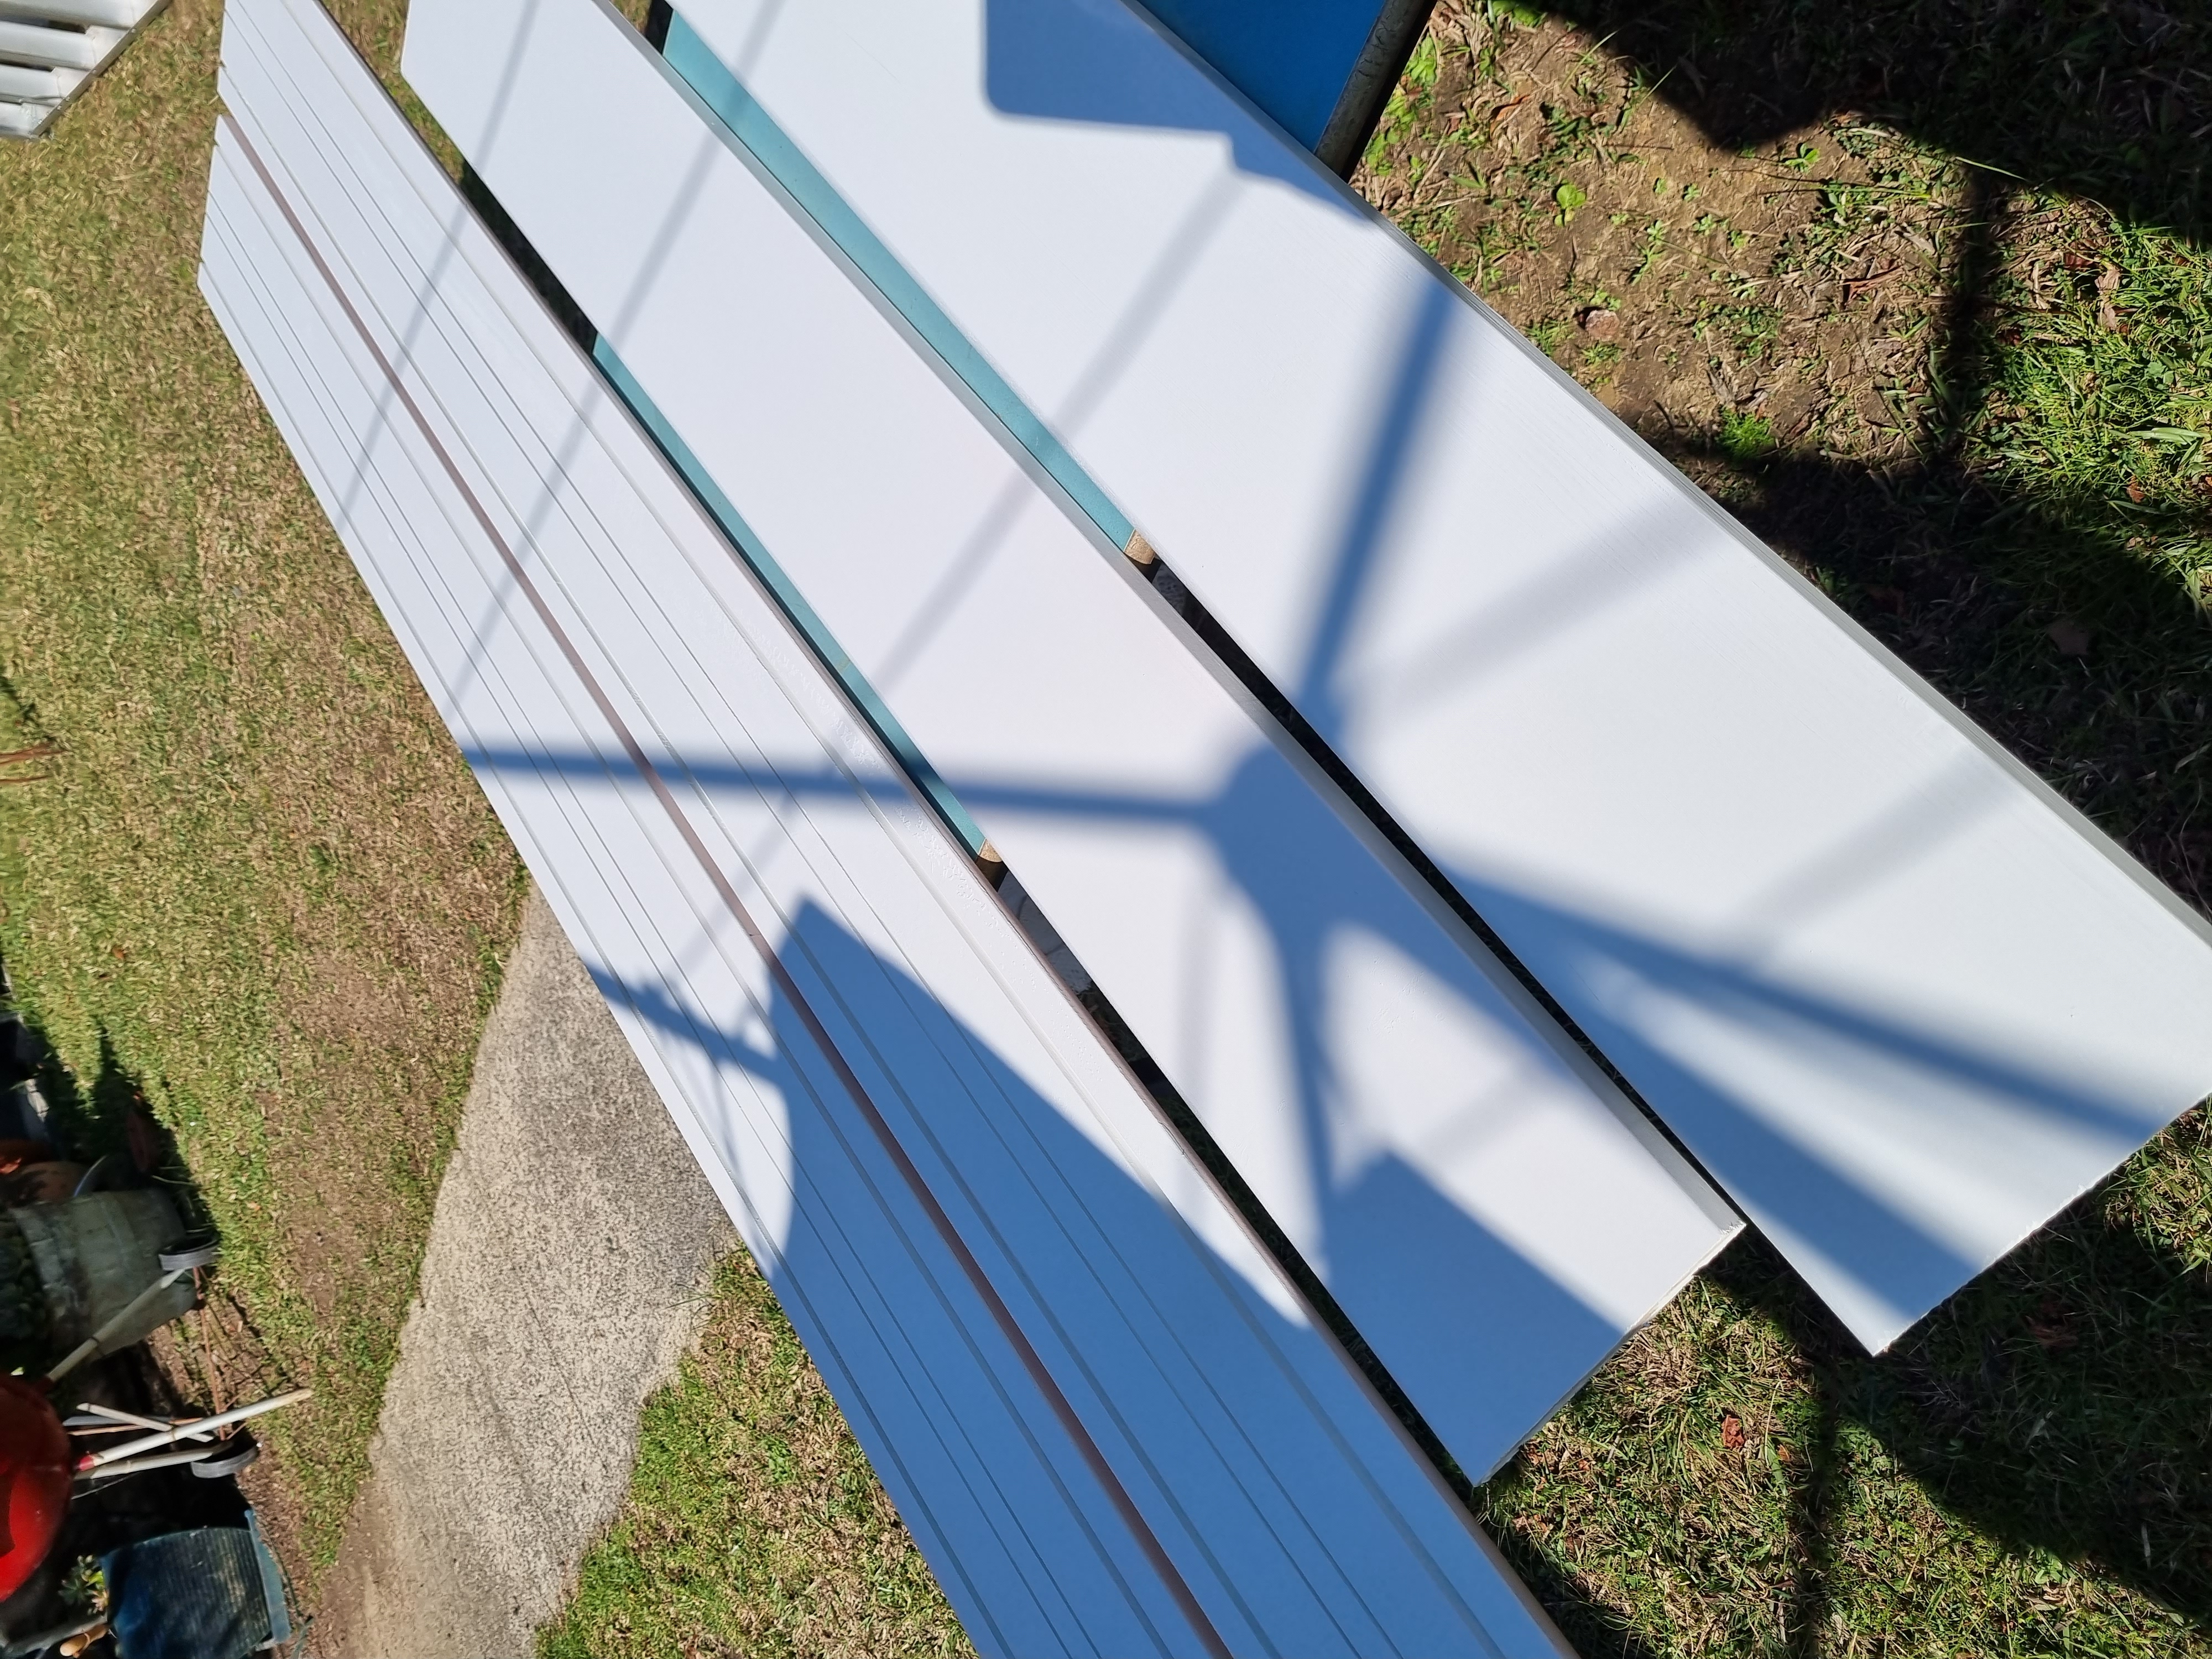
Painting the facia board
Cutting facia to size
As we observe the barge capping, fascia, and the evolving roof of our tiny house, we acknowledge that while it might not be perfect, it certainly holds character. A friend with experience in construction aptly put it: “If you look at fully constructed houses, it never looks perfect. I guarantee you 9.8/10 people won’t be able to tell. But you never notice because it’s all chaos which falls into a nice harmony.” We are taking comfort in the very statistically accurate 9.8 people who won’t notice the minor flaws in our install and grateful for friends who know just the right things to say 💕.
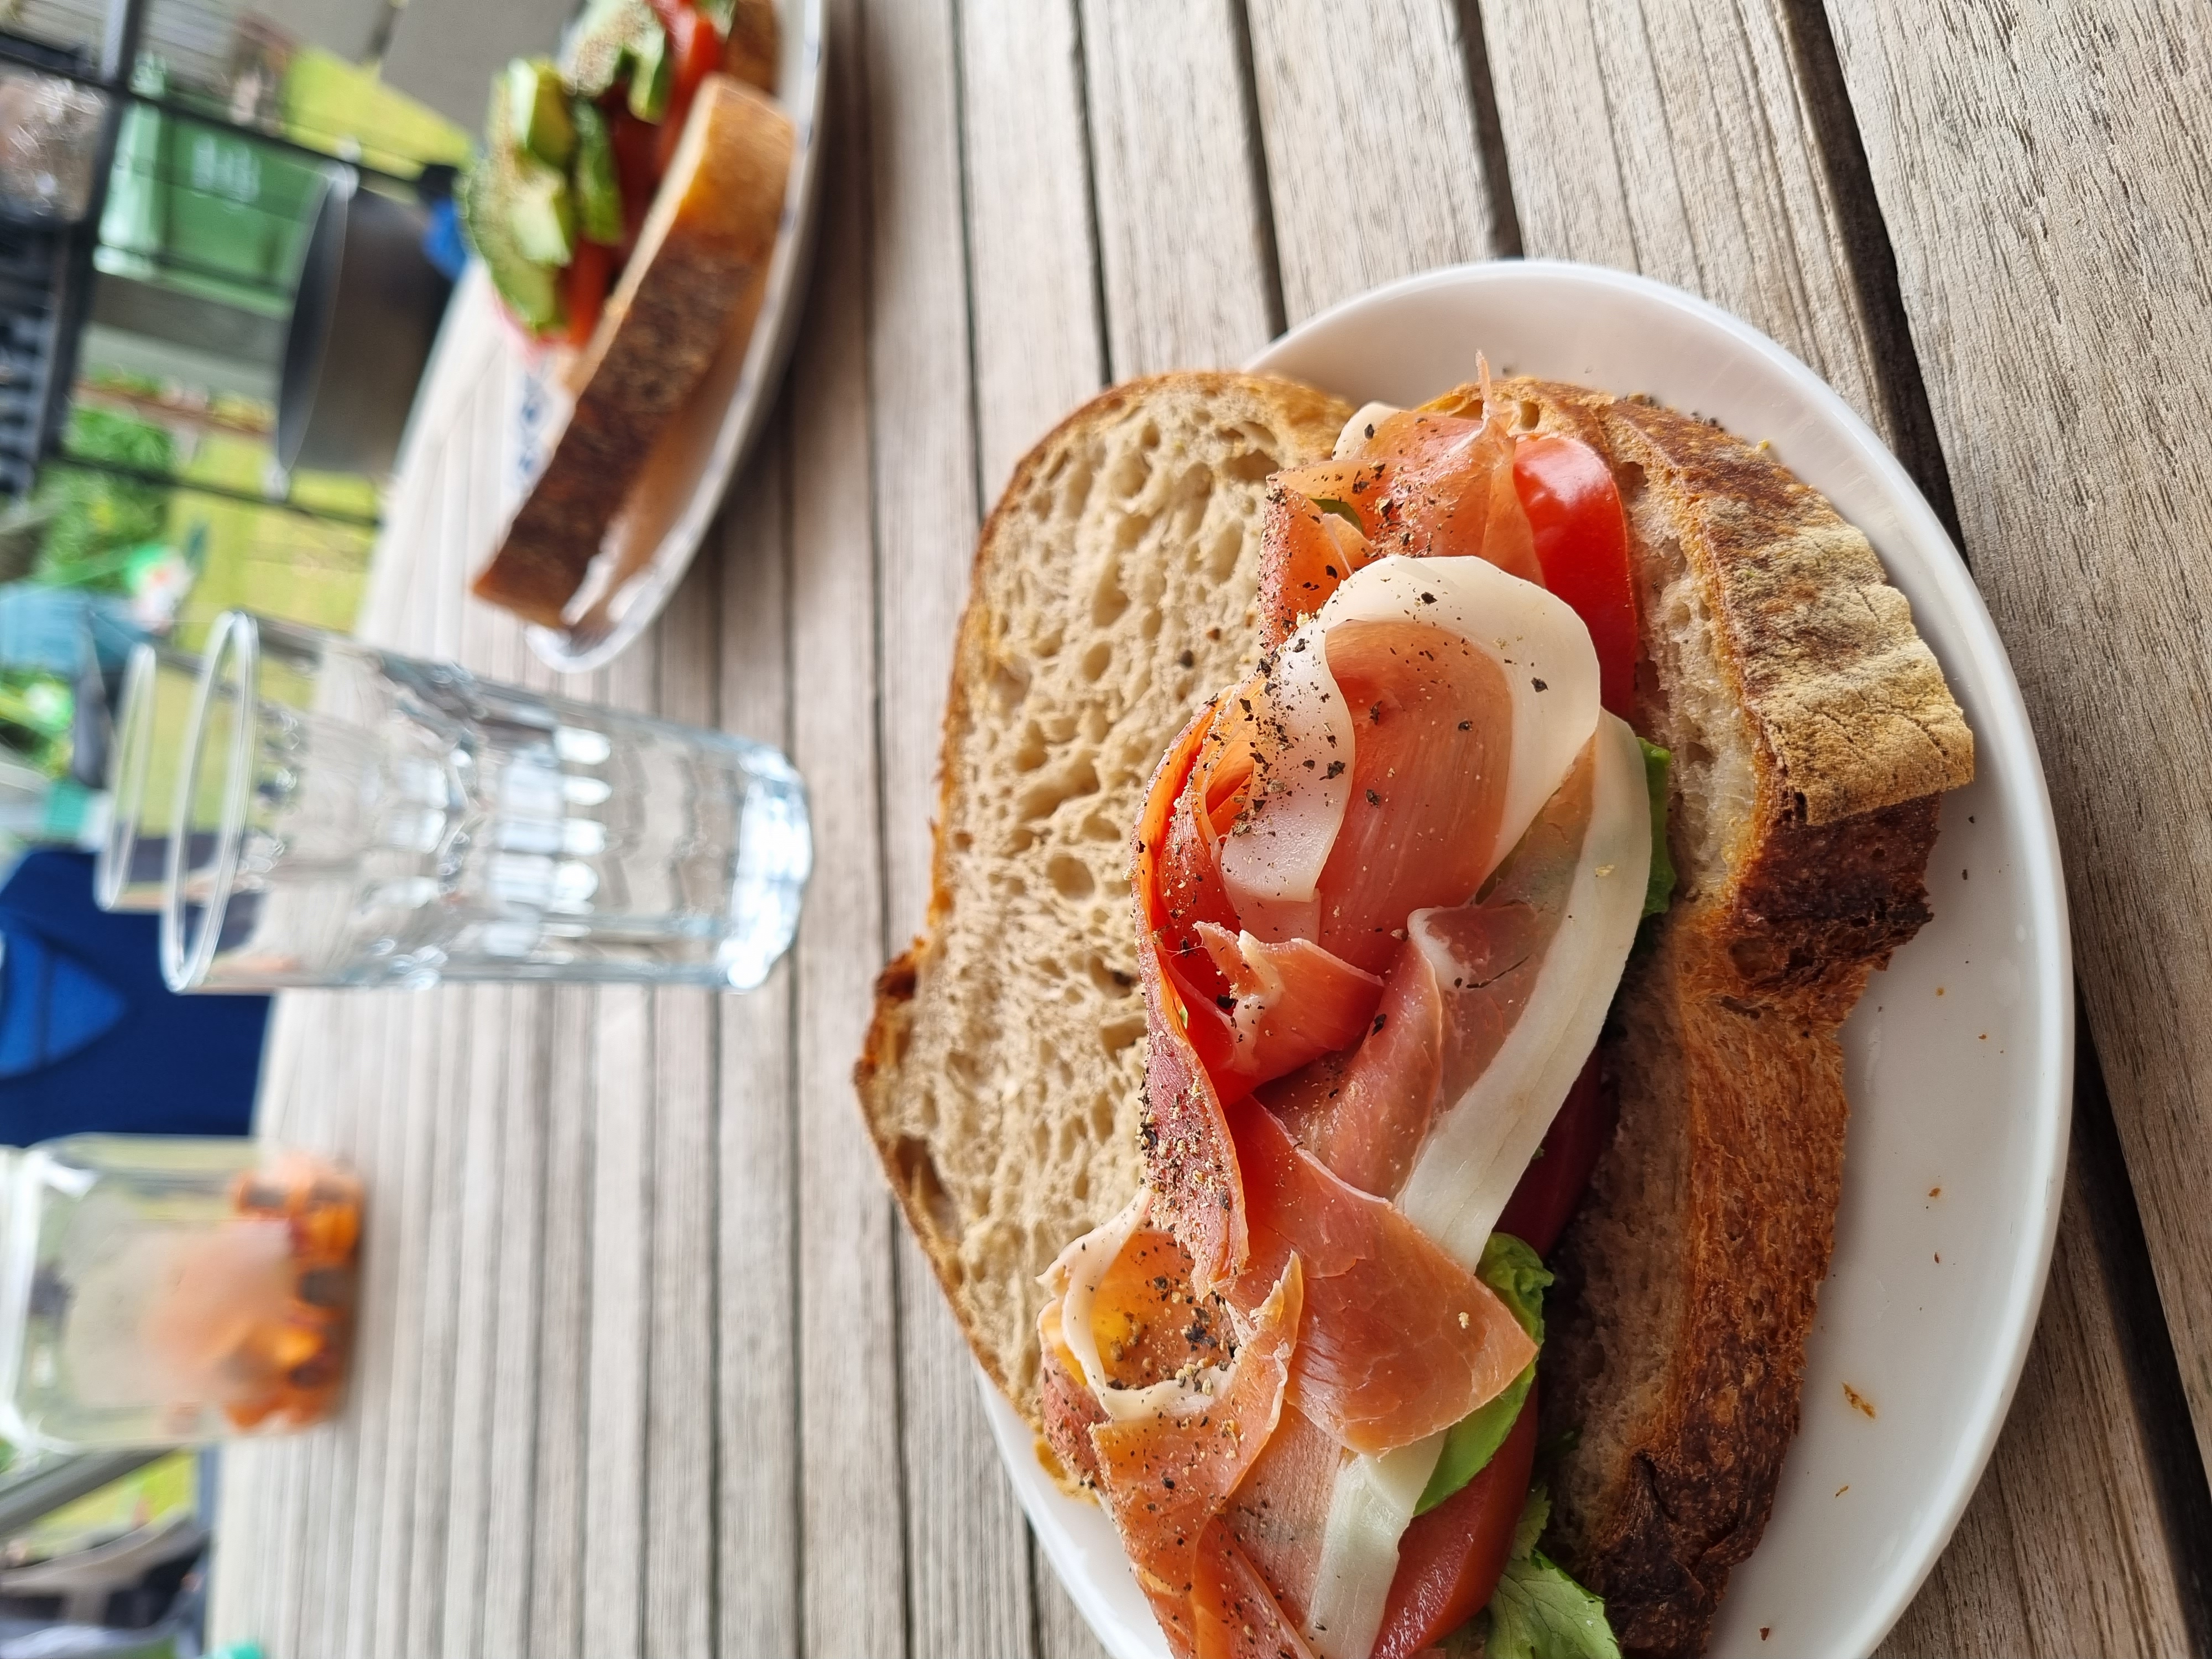
It wouldn’t be a tiny house build without a fancy sandwich with fancy local bakery bread
The concept of a 1.5 person job
As our project has progressed, we have come to terms with the reality of “1.5 person jobs.” Holding ladders, passing tools, and lending that extra hand often require the skills of half a person – the unsung hero of construction teams. Whether it’s a lack of tools or the absence of the perfect clamp, we learned that embracing teamwork is essential for efficient progress. It’s also a reminder that as a duo, we can’t always maximize efficiency, and that’s perfectly acceptable.We’re work shopping it 🙂
Anyway - it’s been a huge roof building month and it’s going to be a quiet September - we’re going on holiday! So we will see you soon ✈️
Catch ya later, Lys & Erny
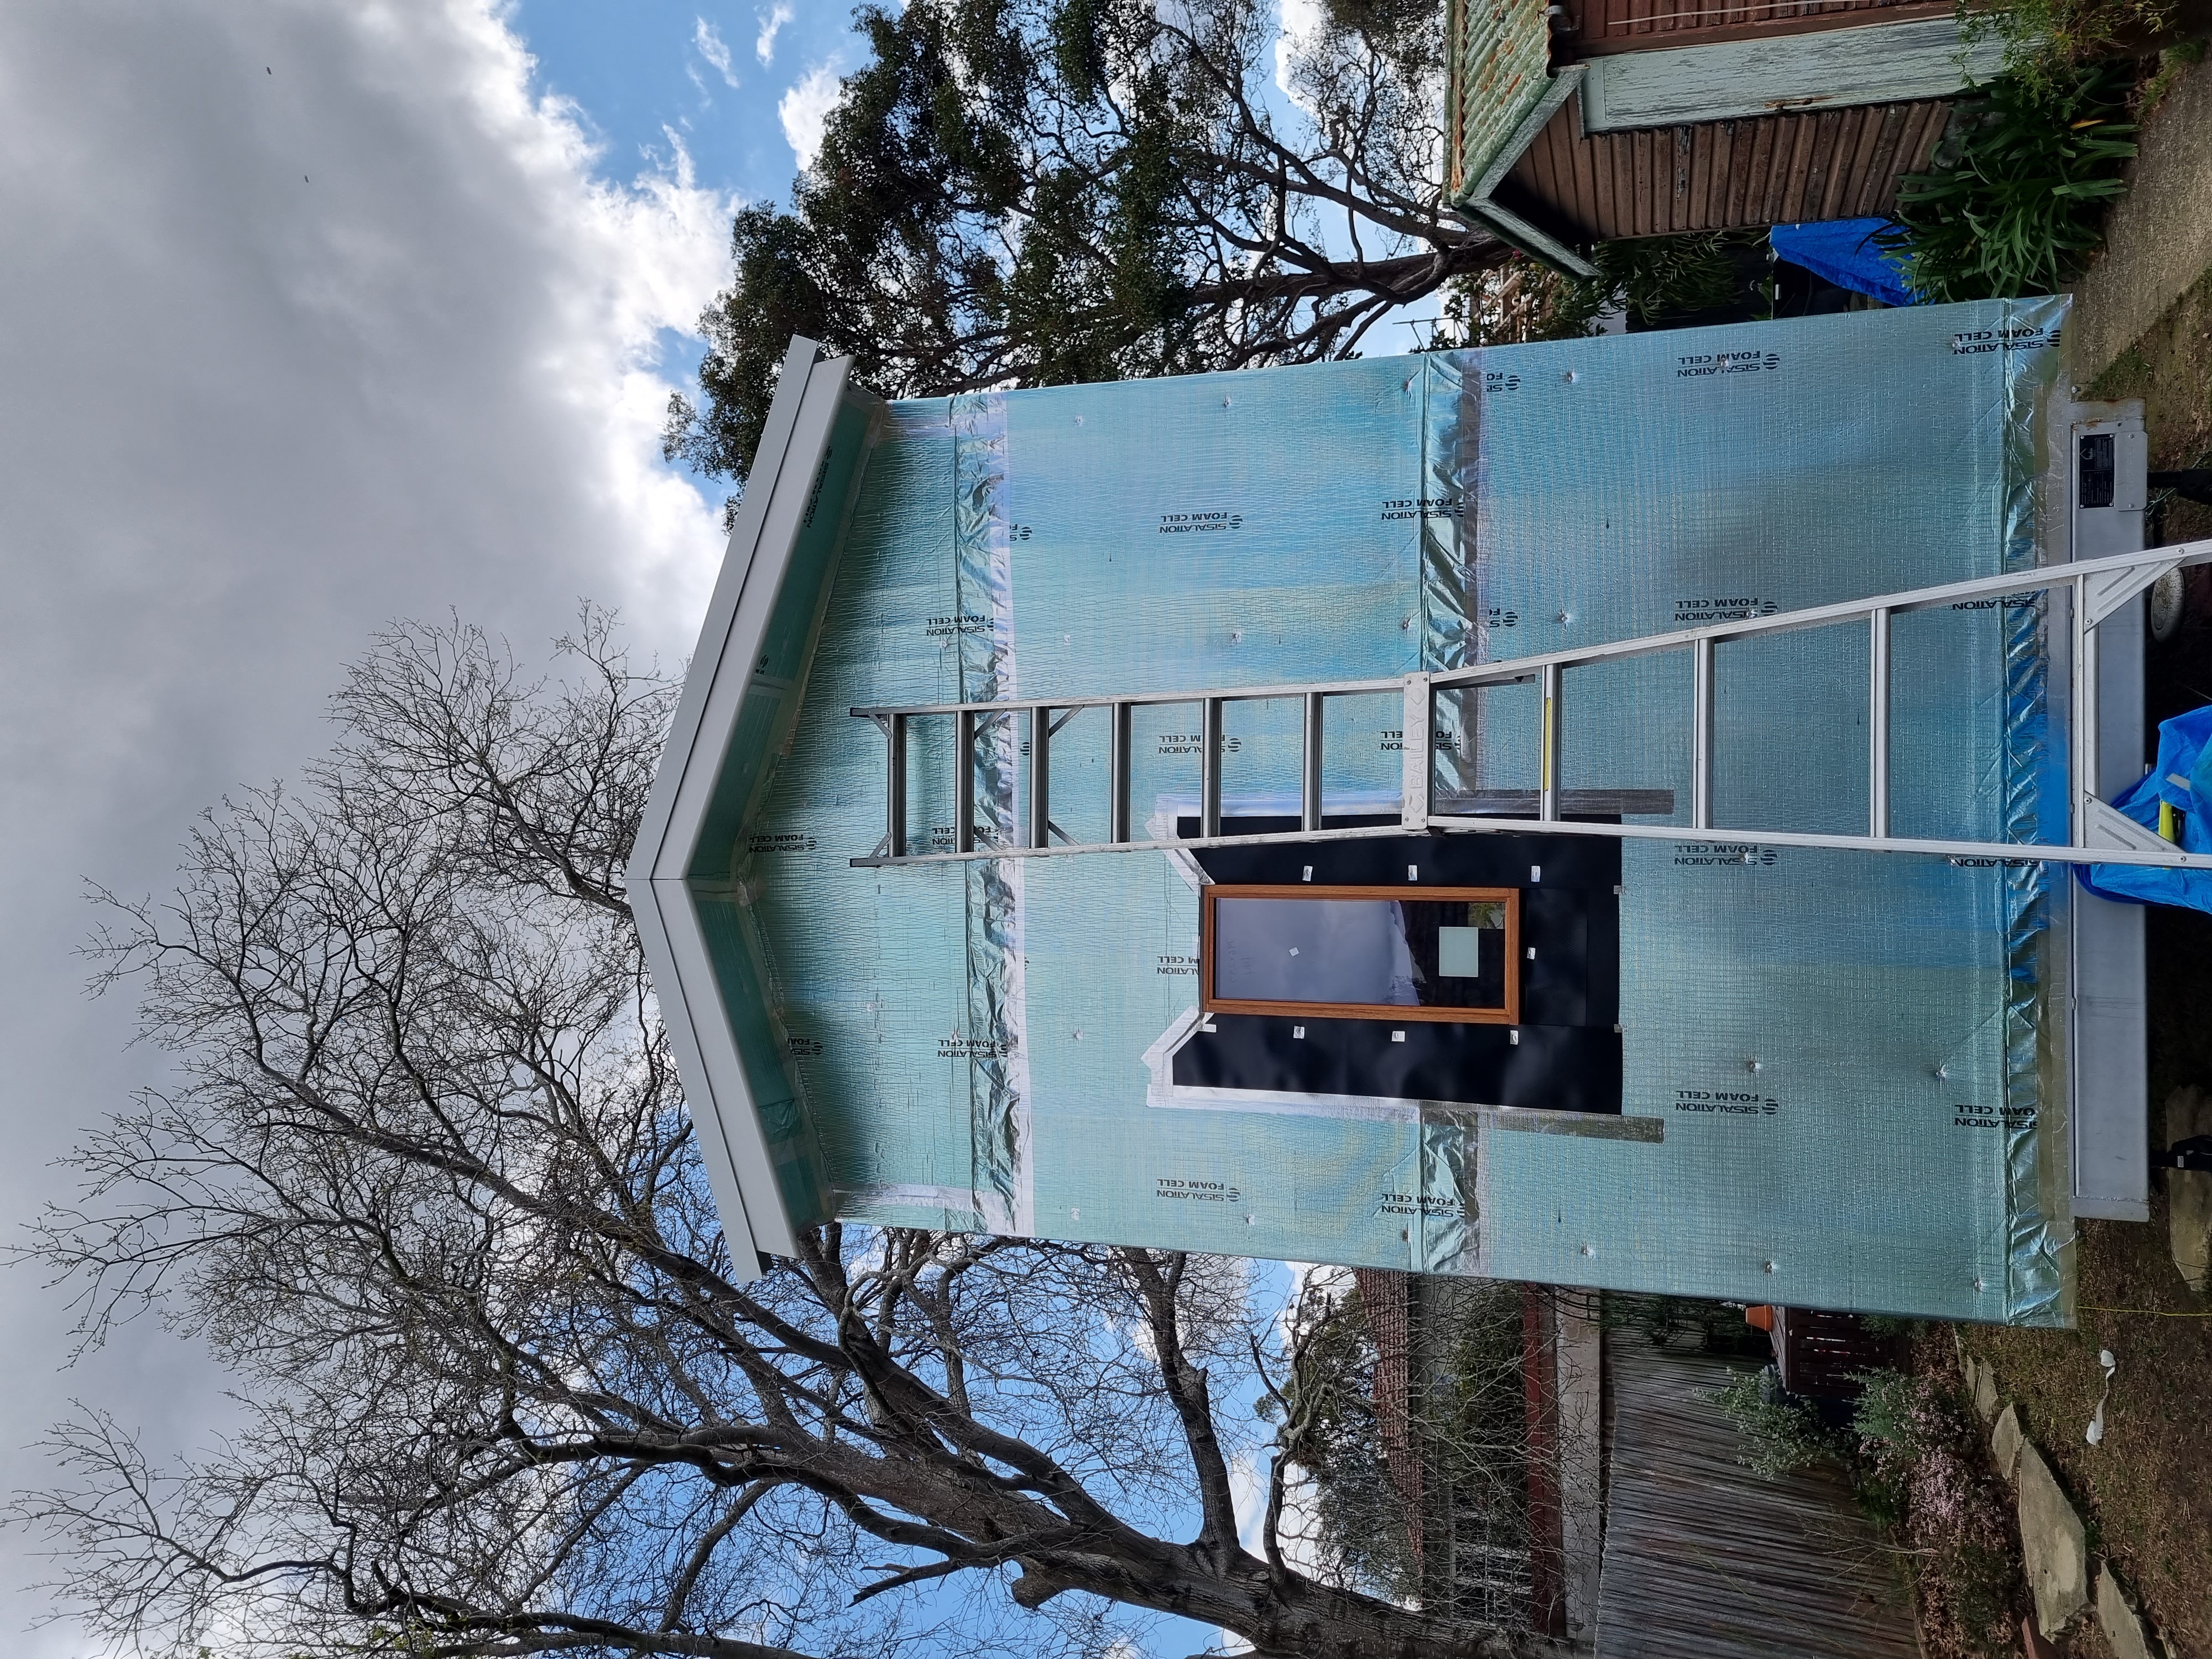
Roof is on!
Thank You!
Your comment has been submitted. It will appear on this page shortly! OKYikes, Sorry!
Error occured. Couldn't submit your comment. Please try again. Thank You! OK