July Build Update
A July build update
Windows are in!
Table Of Contents
What we’ve done
July has been window month. We are pretty proud to say that we’ve now got our hand made windows installed 🙂 - here is how it went!
We began with the bathroom window, which we thought would be a breeze. However, not even one window down we faced our first hiccup - it turns out the width of the window frame was not wide enough to run flush with the internal lining of the tiny house (on the inside) and flush with the exterior cladding on the outside. We were 8 mm short! Talk about a stressful first window weekend. After some deliberation we decided that we would cut an angle into our internal lining and make it a feature. This means that the exterior cladding will be flush giving a more waterproof seal, and we will have to get creative when we tackle the interior. Bar this - the bathroom window went in without a hitch!
If you’re interested, our workflow largely ran like this:
- Lys, armed with her father’s vintage Stanley knife cut an I shape into the window cavity
- The edges were then sealed with aluminium tape starting from the bottom sill
- Vapourseal tape was added to the bottom of the sill to protect it from water and dampcourse was stapled underneath the window rough opening
- Flashing was stapled to the underside of the window (a step we forgot quite often) and then the heavy window was carefully lifted and wriggled into position
- Erny precisely packed the window to make it level and plumb whilst Lys got an arm work out holding the window in place
- A few screws and swears later the window would be finally in place 🙂
- Finish off the flashing by sealing the sides with Vapourseal and stapling in more dampcourse
- Install the metal head flashing to the top and rejoice ✨
Prepared flashing corner
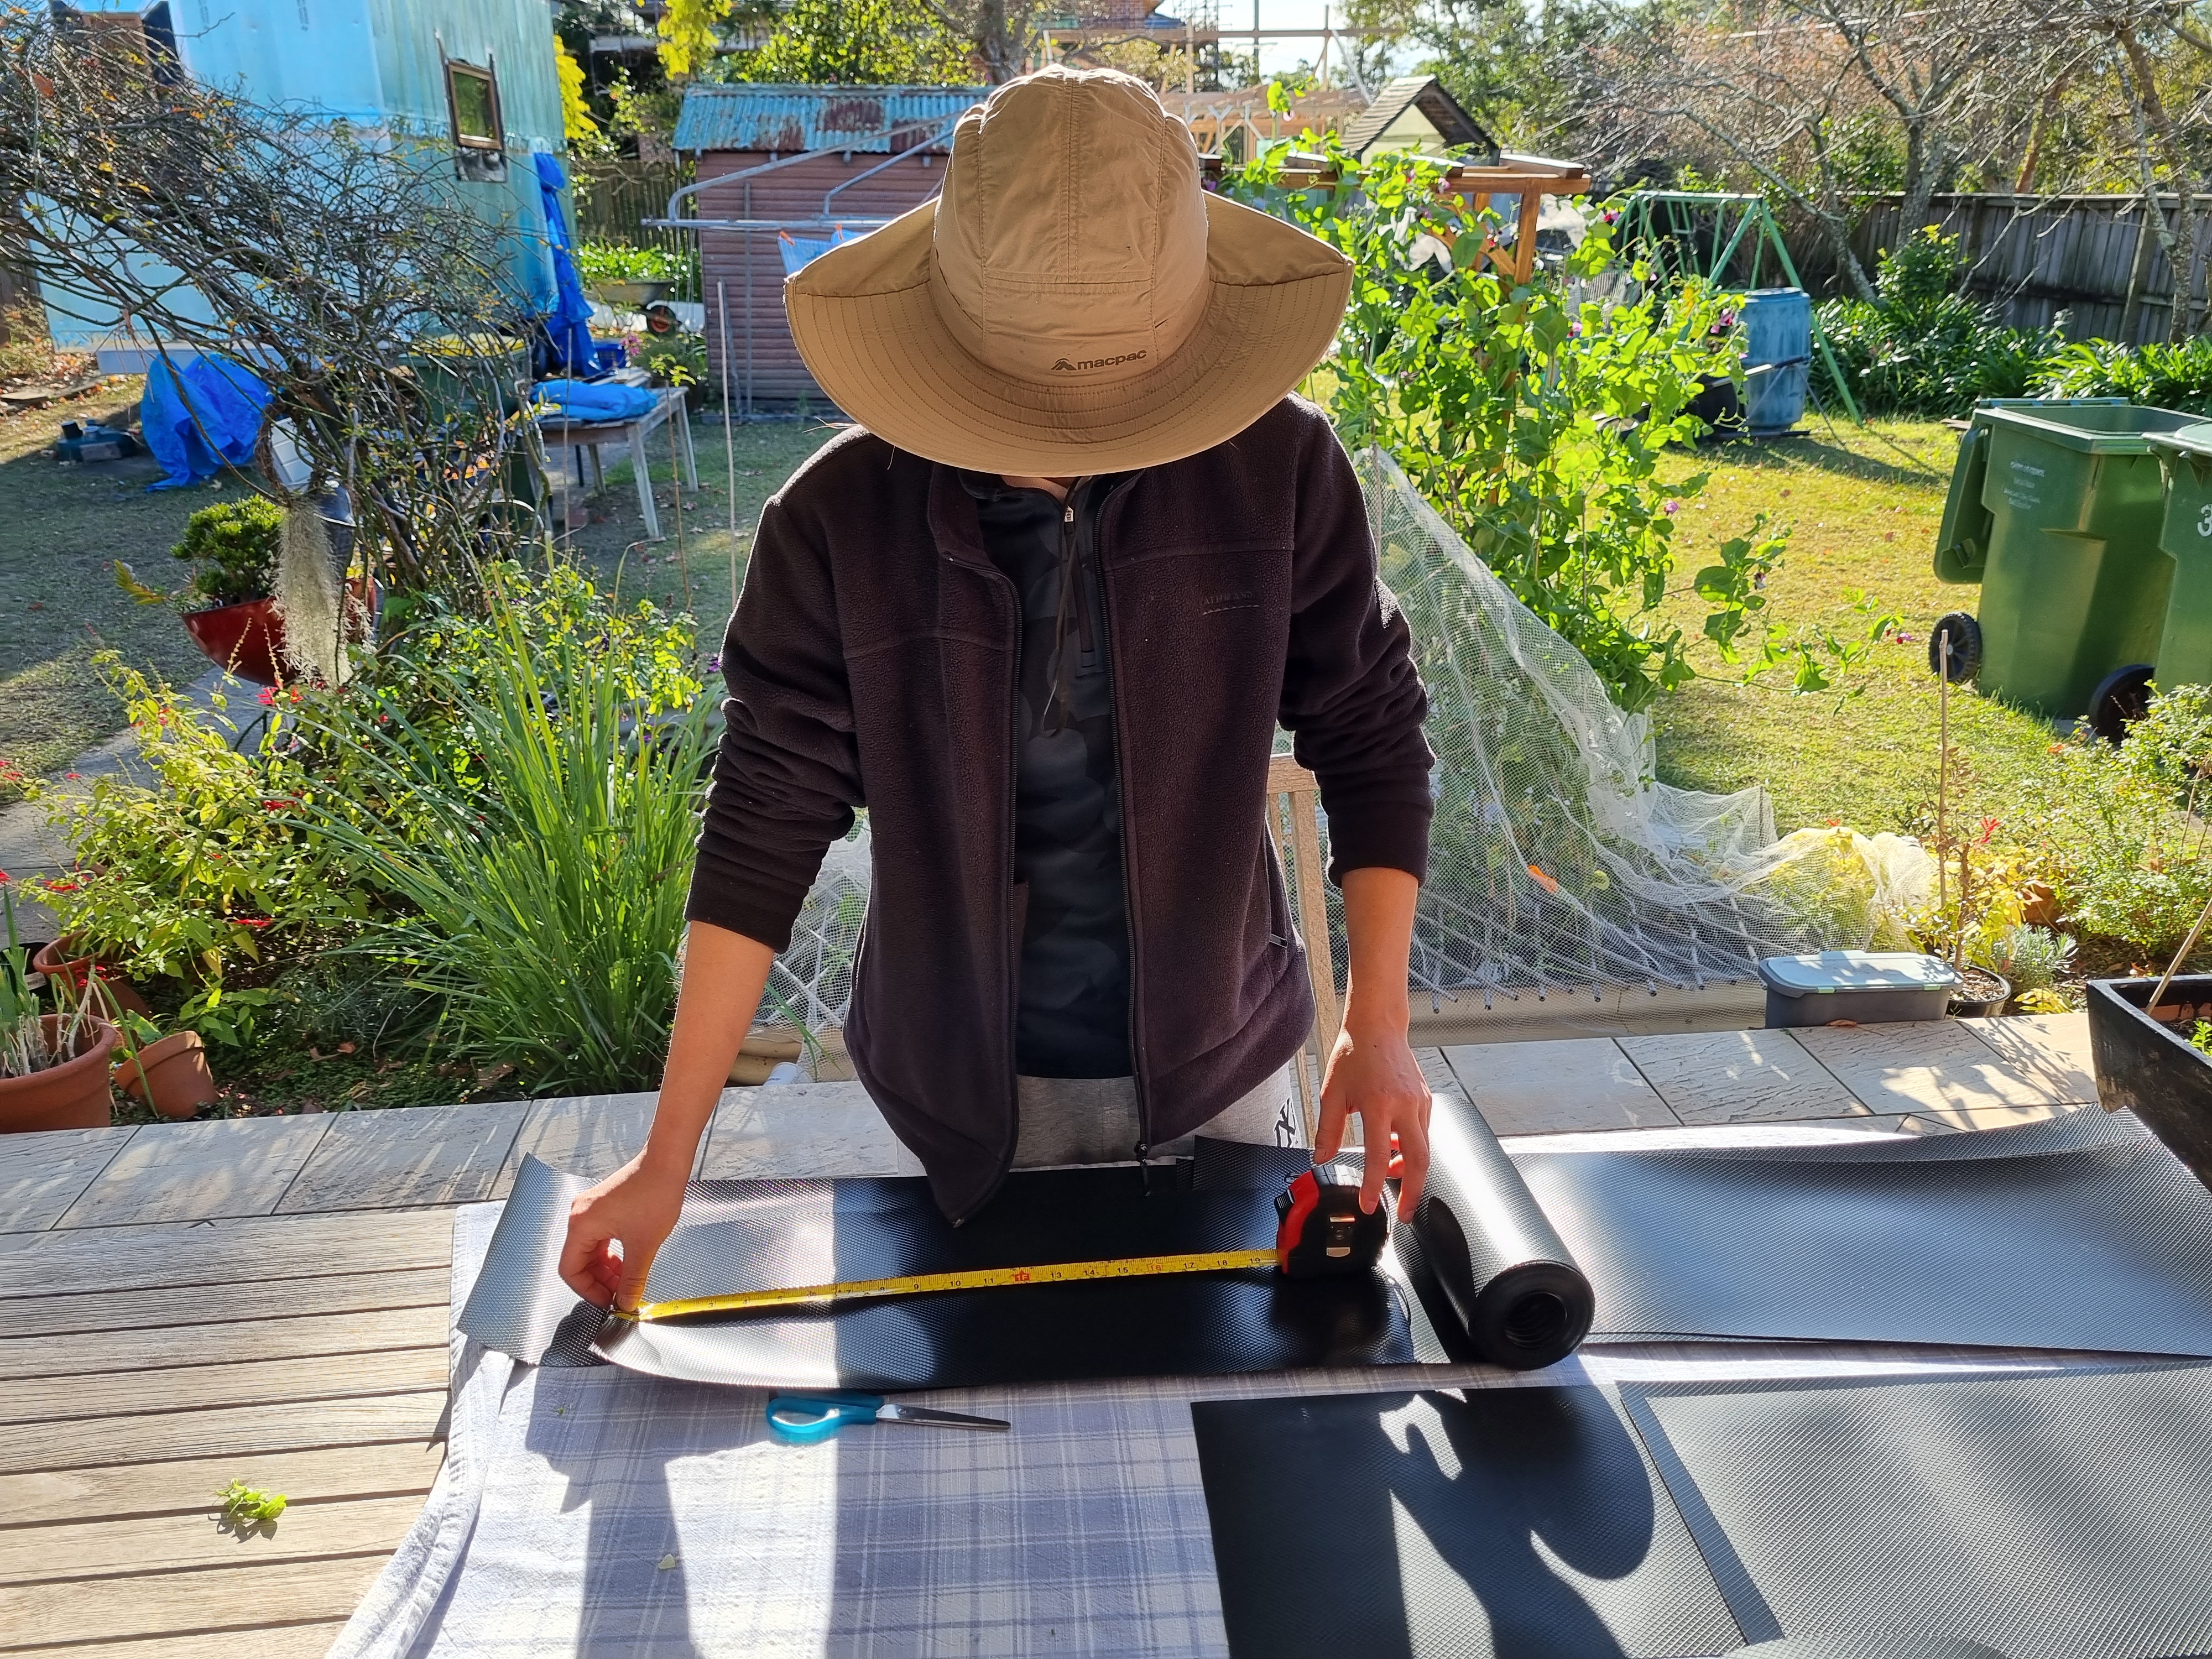
Lys measuring the flashing to size

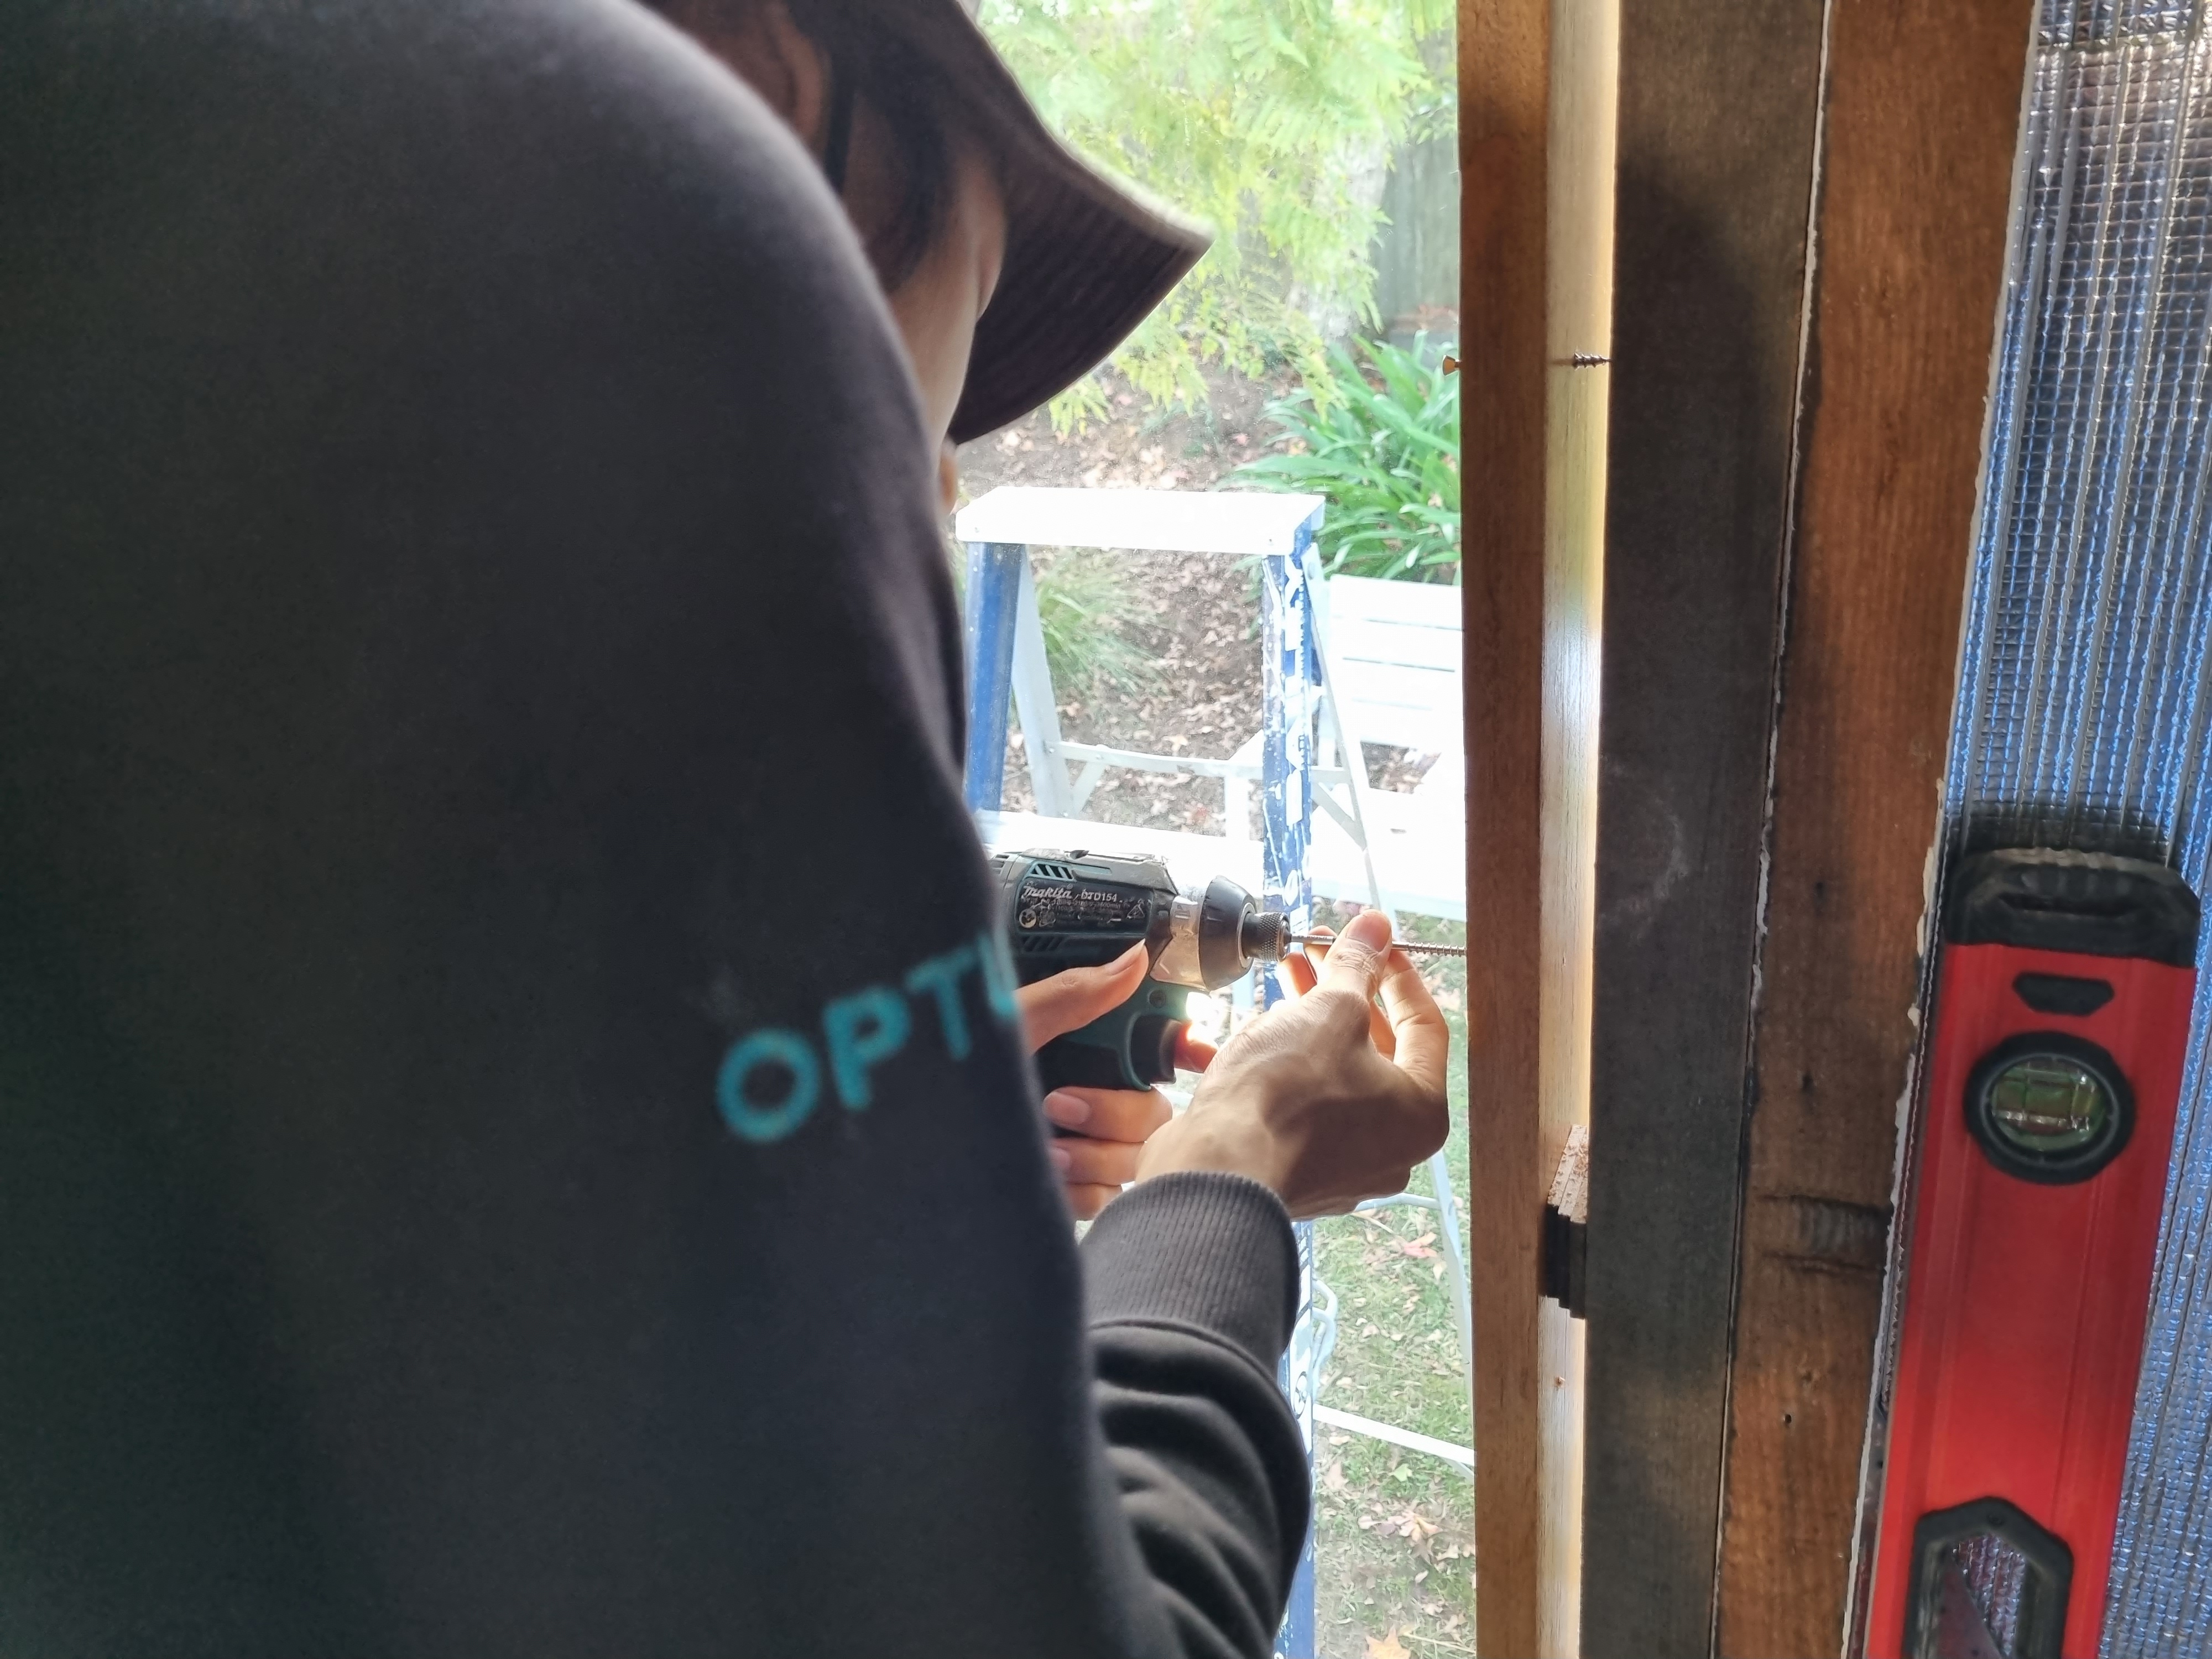
Installing the window
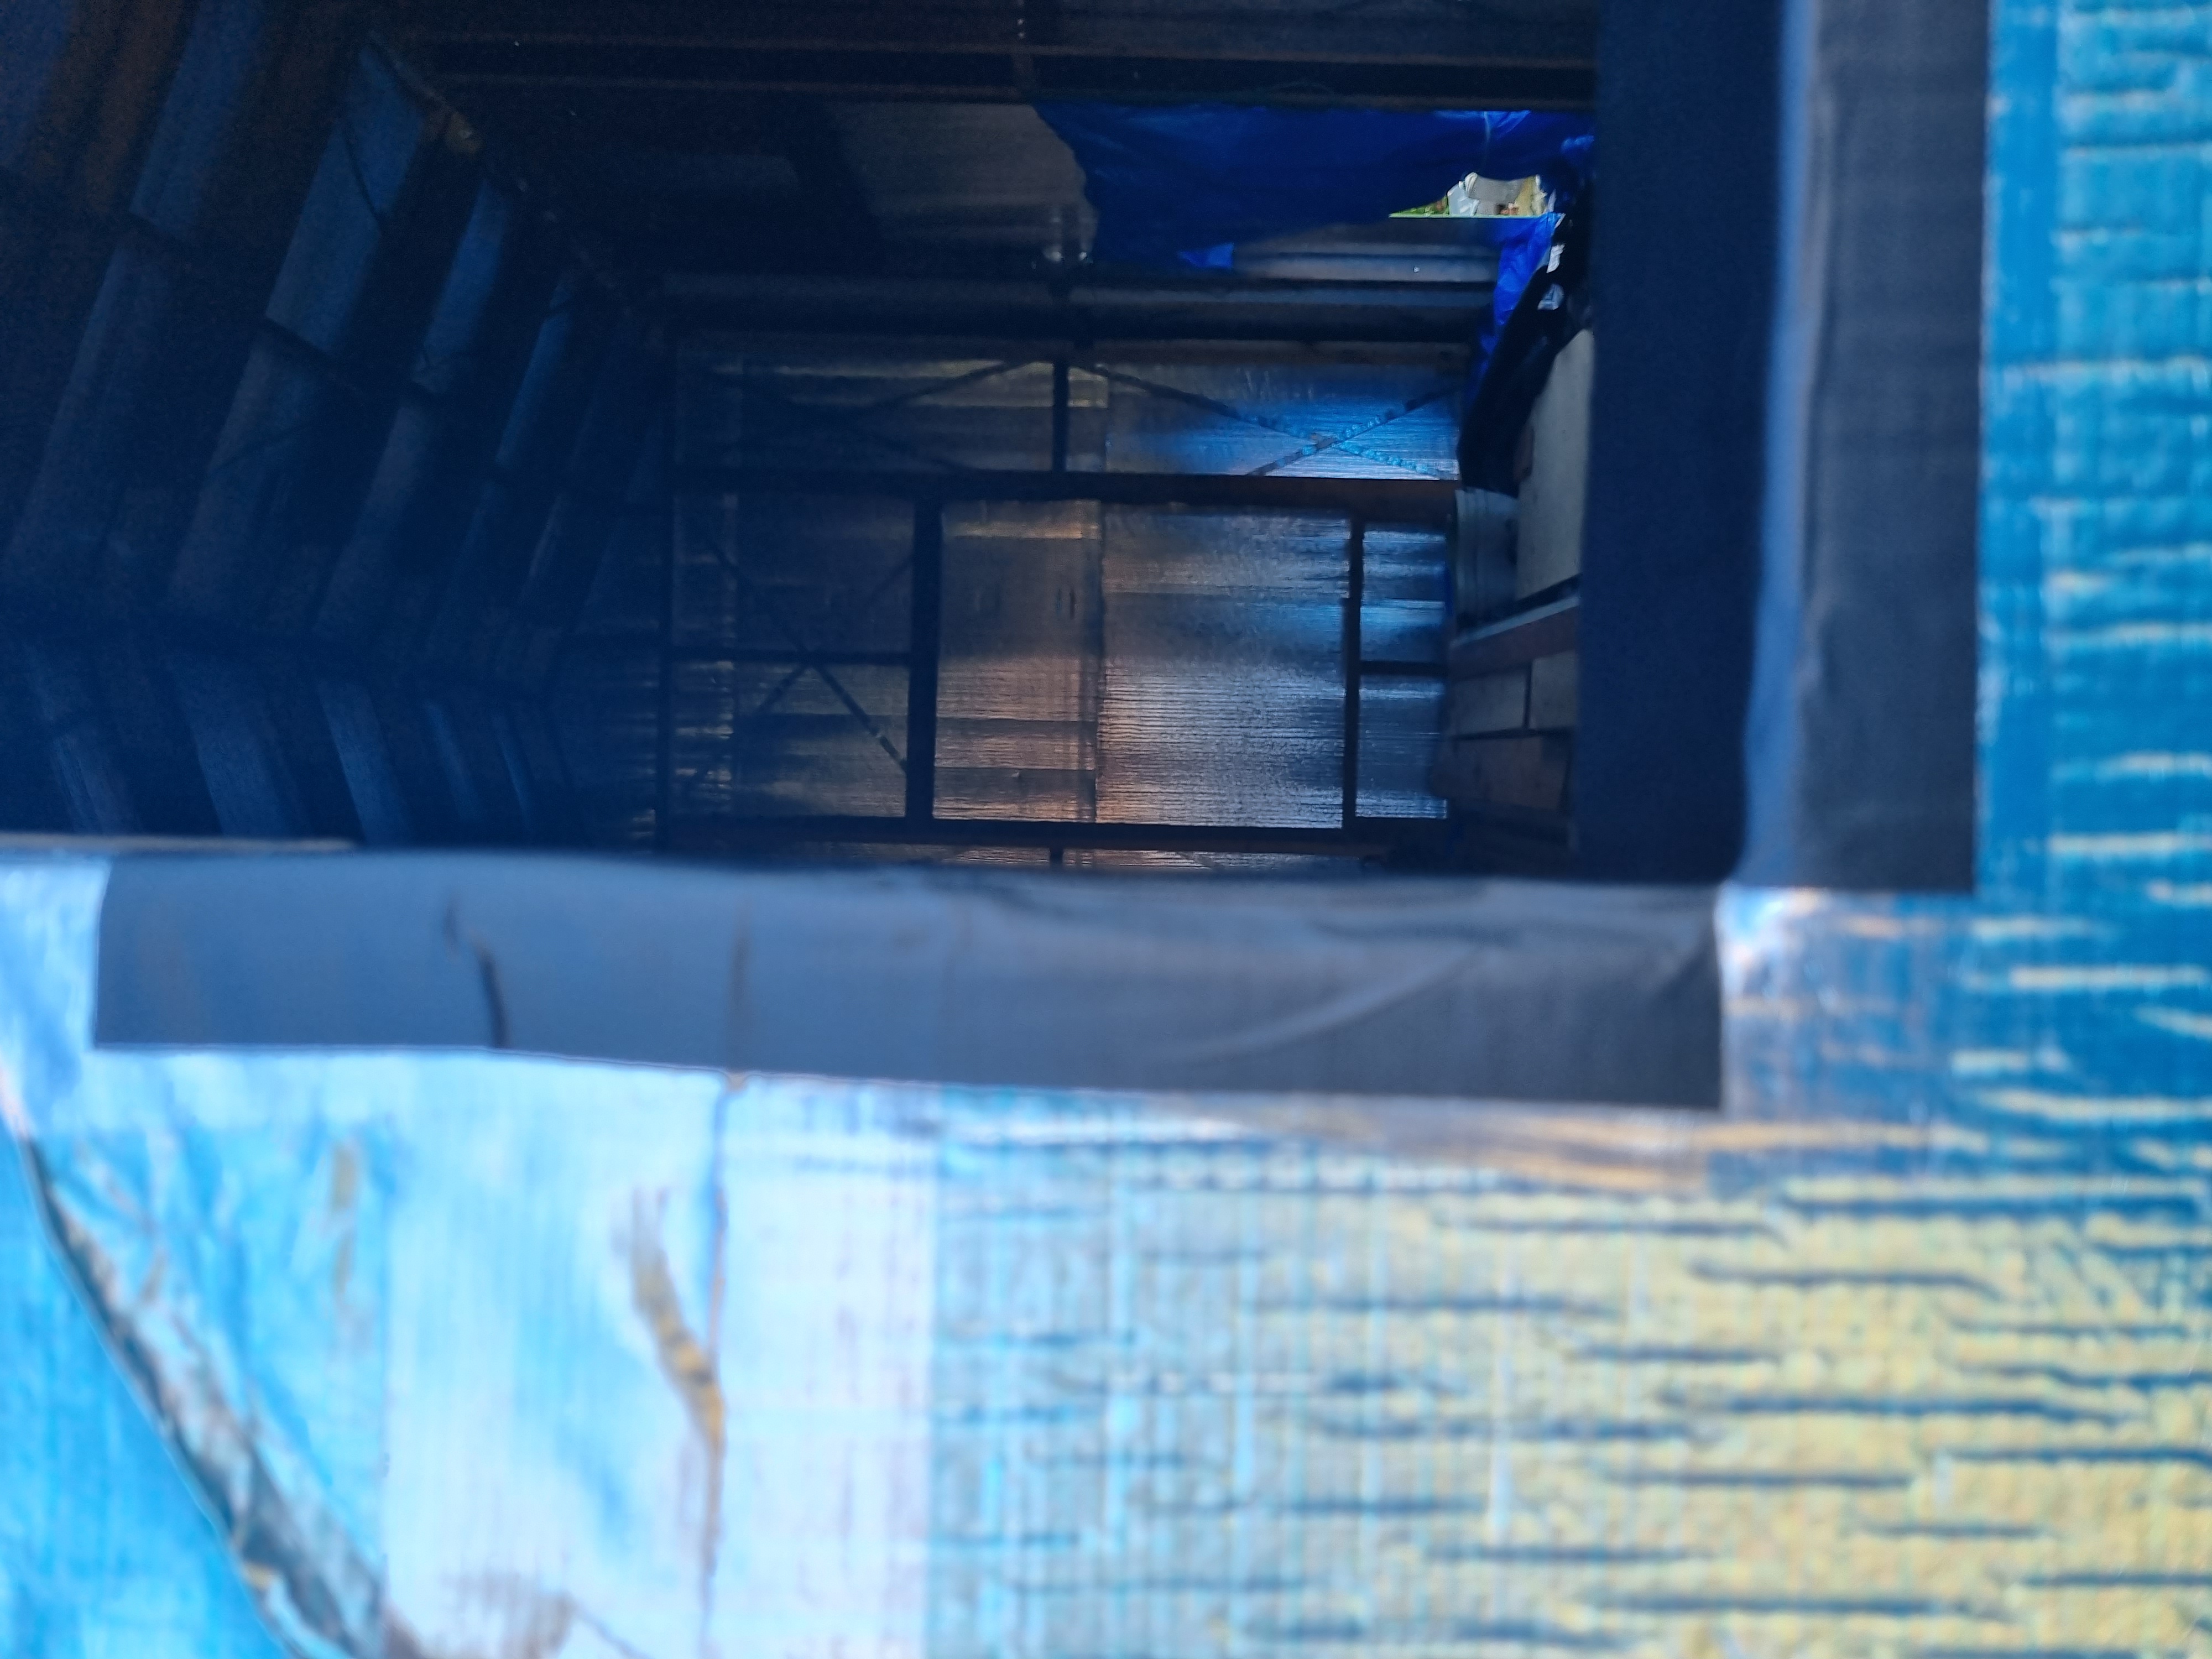
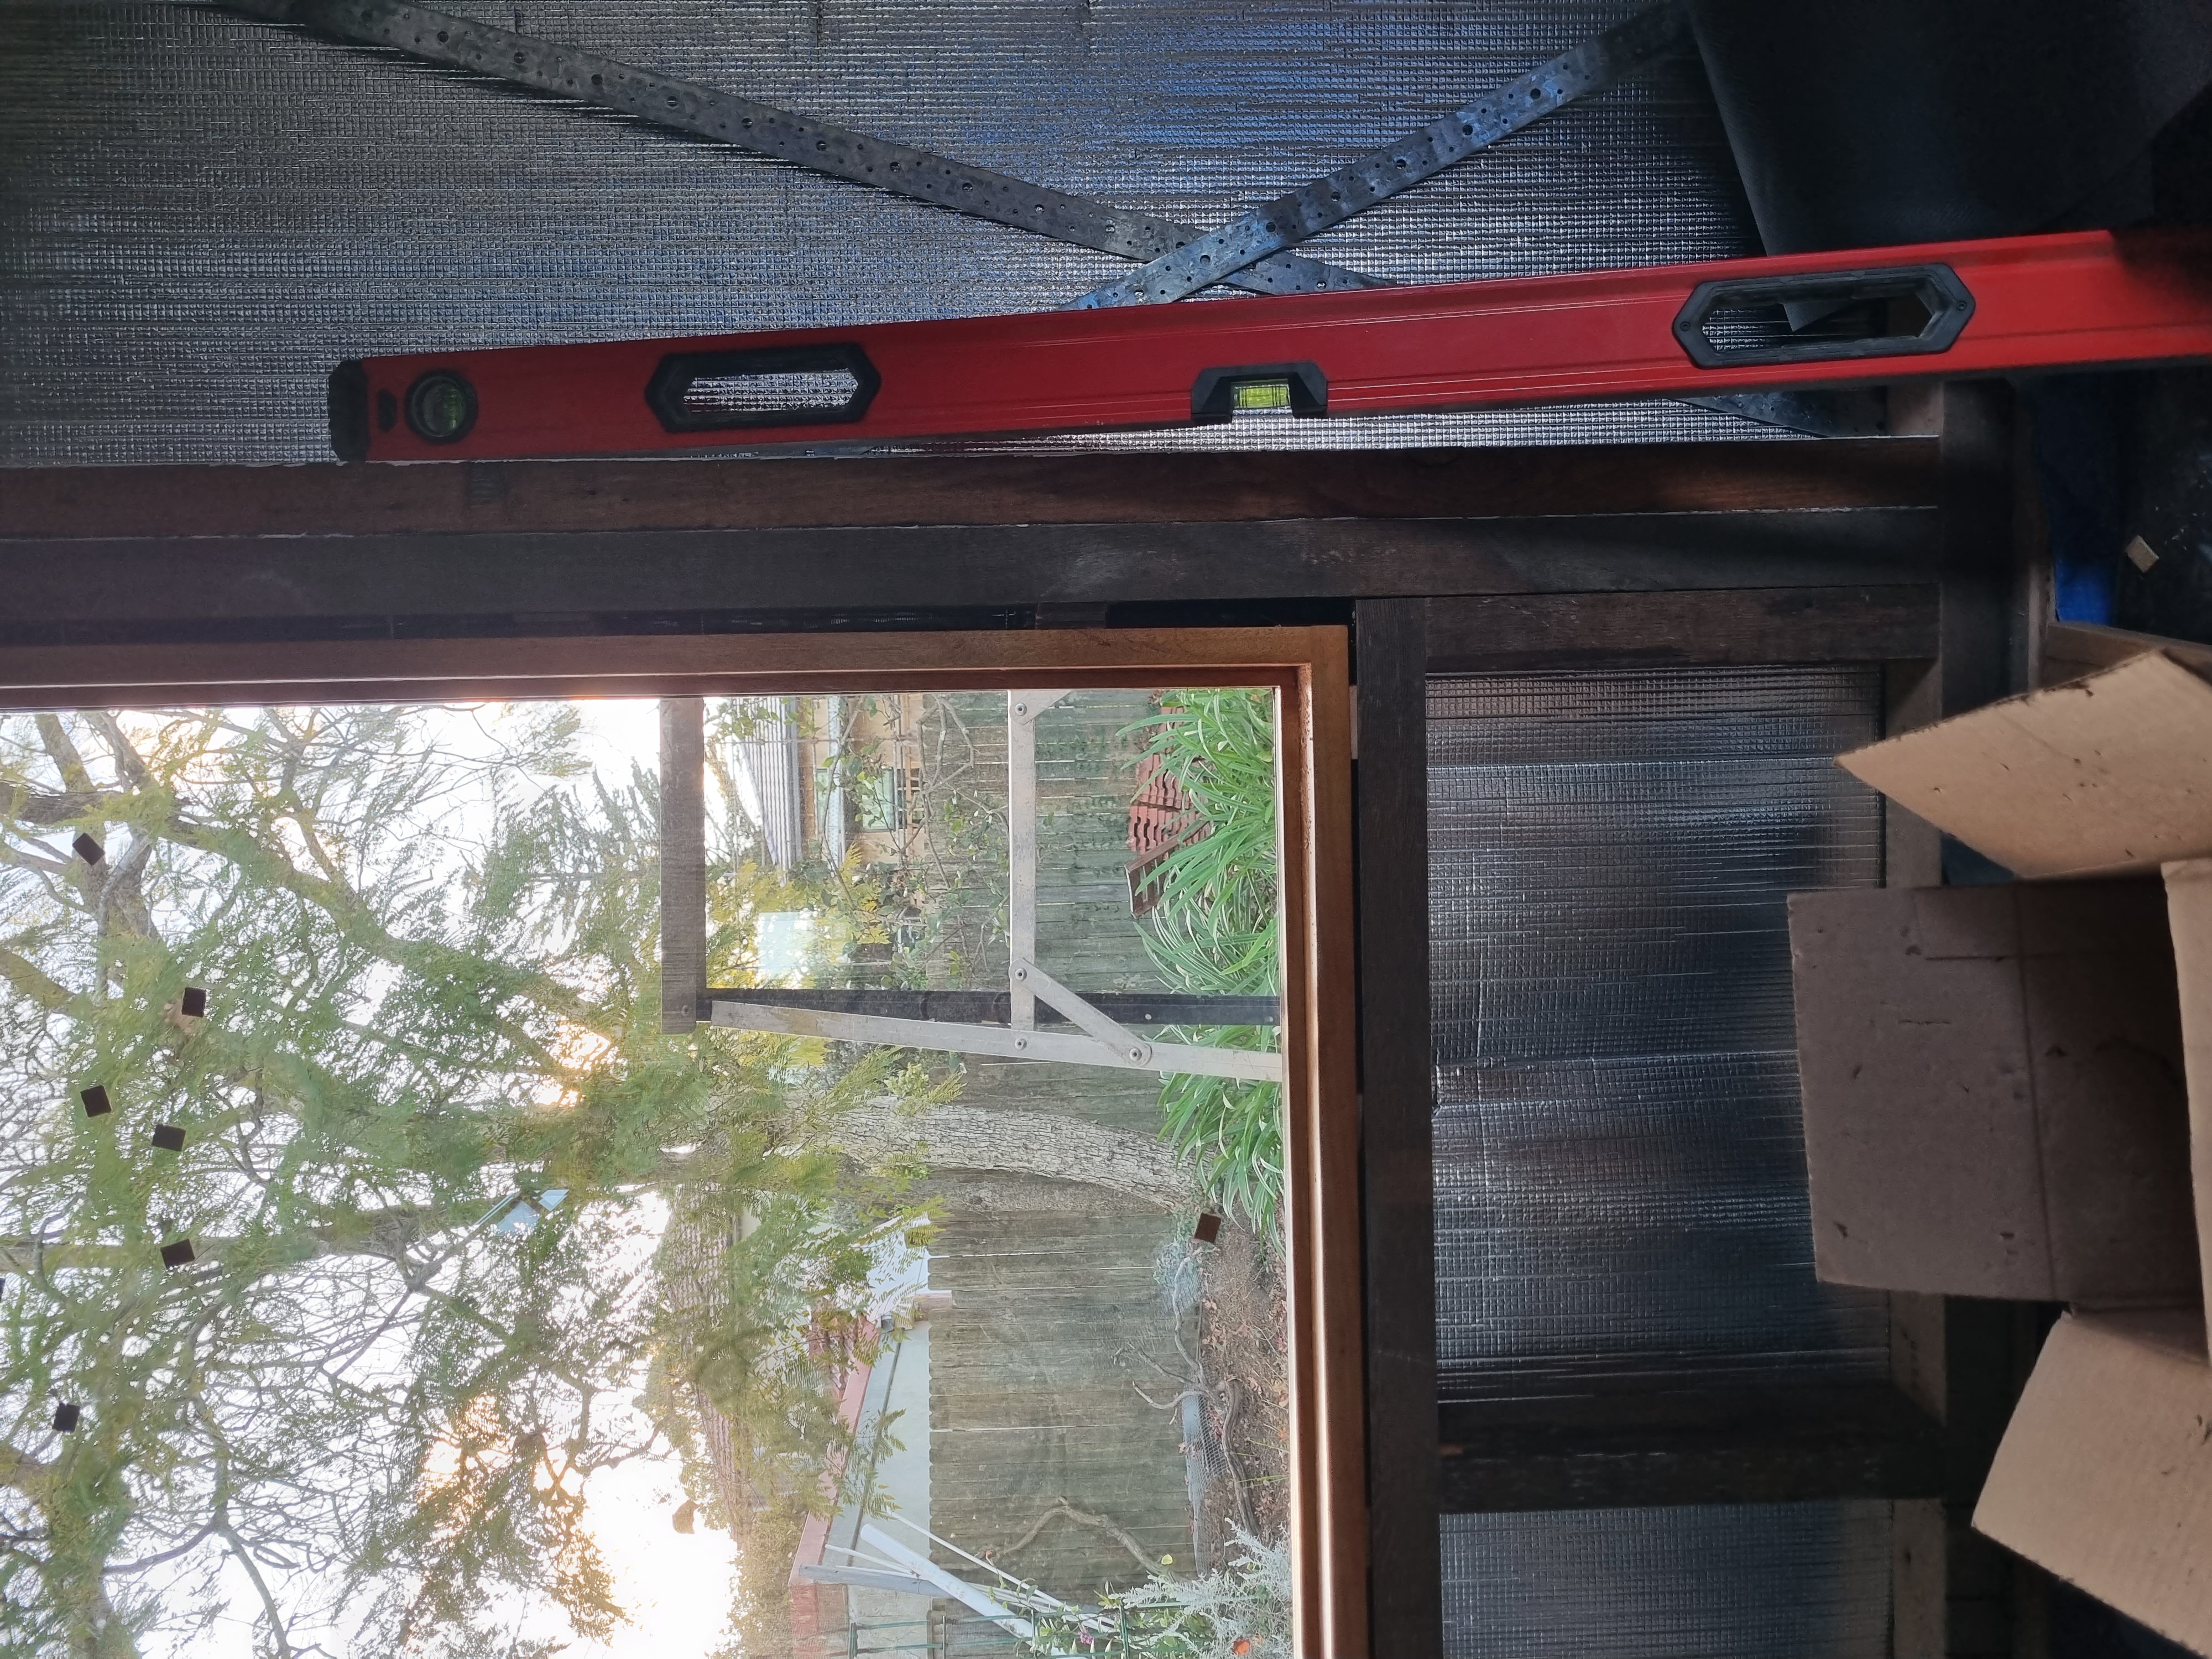
Installed window corner
Feeling inspired, we took on the kitchen window next. It proved to be a little more challenging due to its weight and handling difficulties. In our eagerness to position it, we forgot a crucial piece of vapour-seal on the sill. Lys could only describe her feelings in the form of this GIF.

Additionally, it started to rain, and we realised another design flaw - water was pulling on our opening windows - a slight problem… Adapting to the situation, we decided to continue with the other fixed window (the picture window) and work on a solution for the water pooling for the opening windows. Then we decided to circle back to fix the kitchen window when we have the resources, the theory being that by the time we have finished installing the other windows, we would have improved our flashing skills with each installation giving us confidence to fix our original mistakes.
Working on the water pooling solution
To ensure the opening windows function perfectly and no longer pool during rain, we routed new channels and a slope into the frame. Erny’s patience and diligence with the router truly paid off during this process. During this time he broke all four 3 mm router bits! This was due to the Blackbutt timber being so hard. Here we learnt that router bits are way more expensive than drill bits and other wood work accessories.
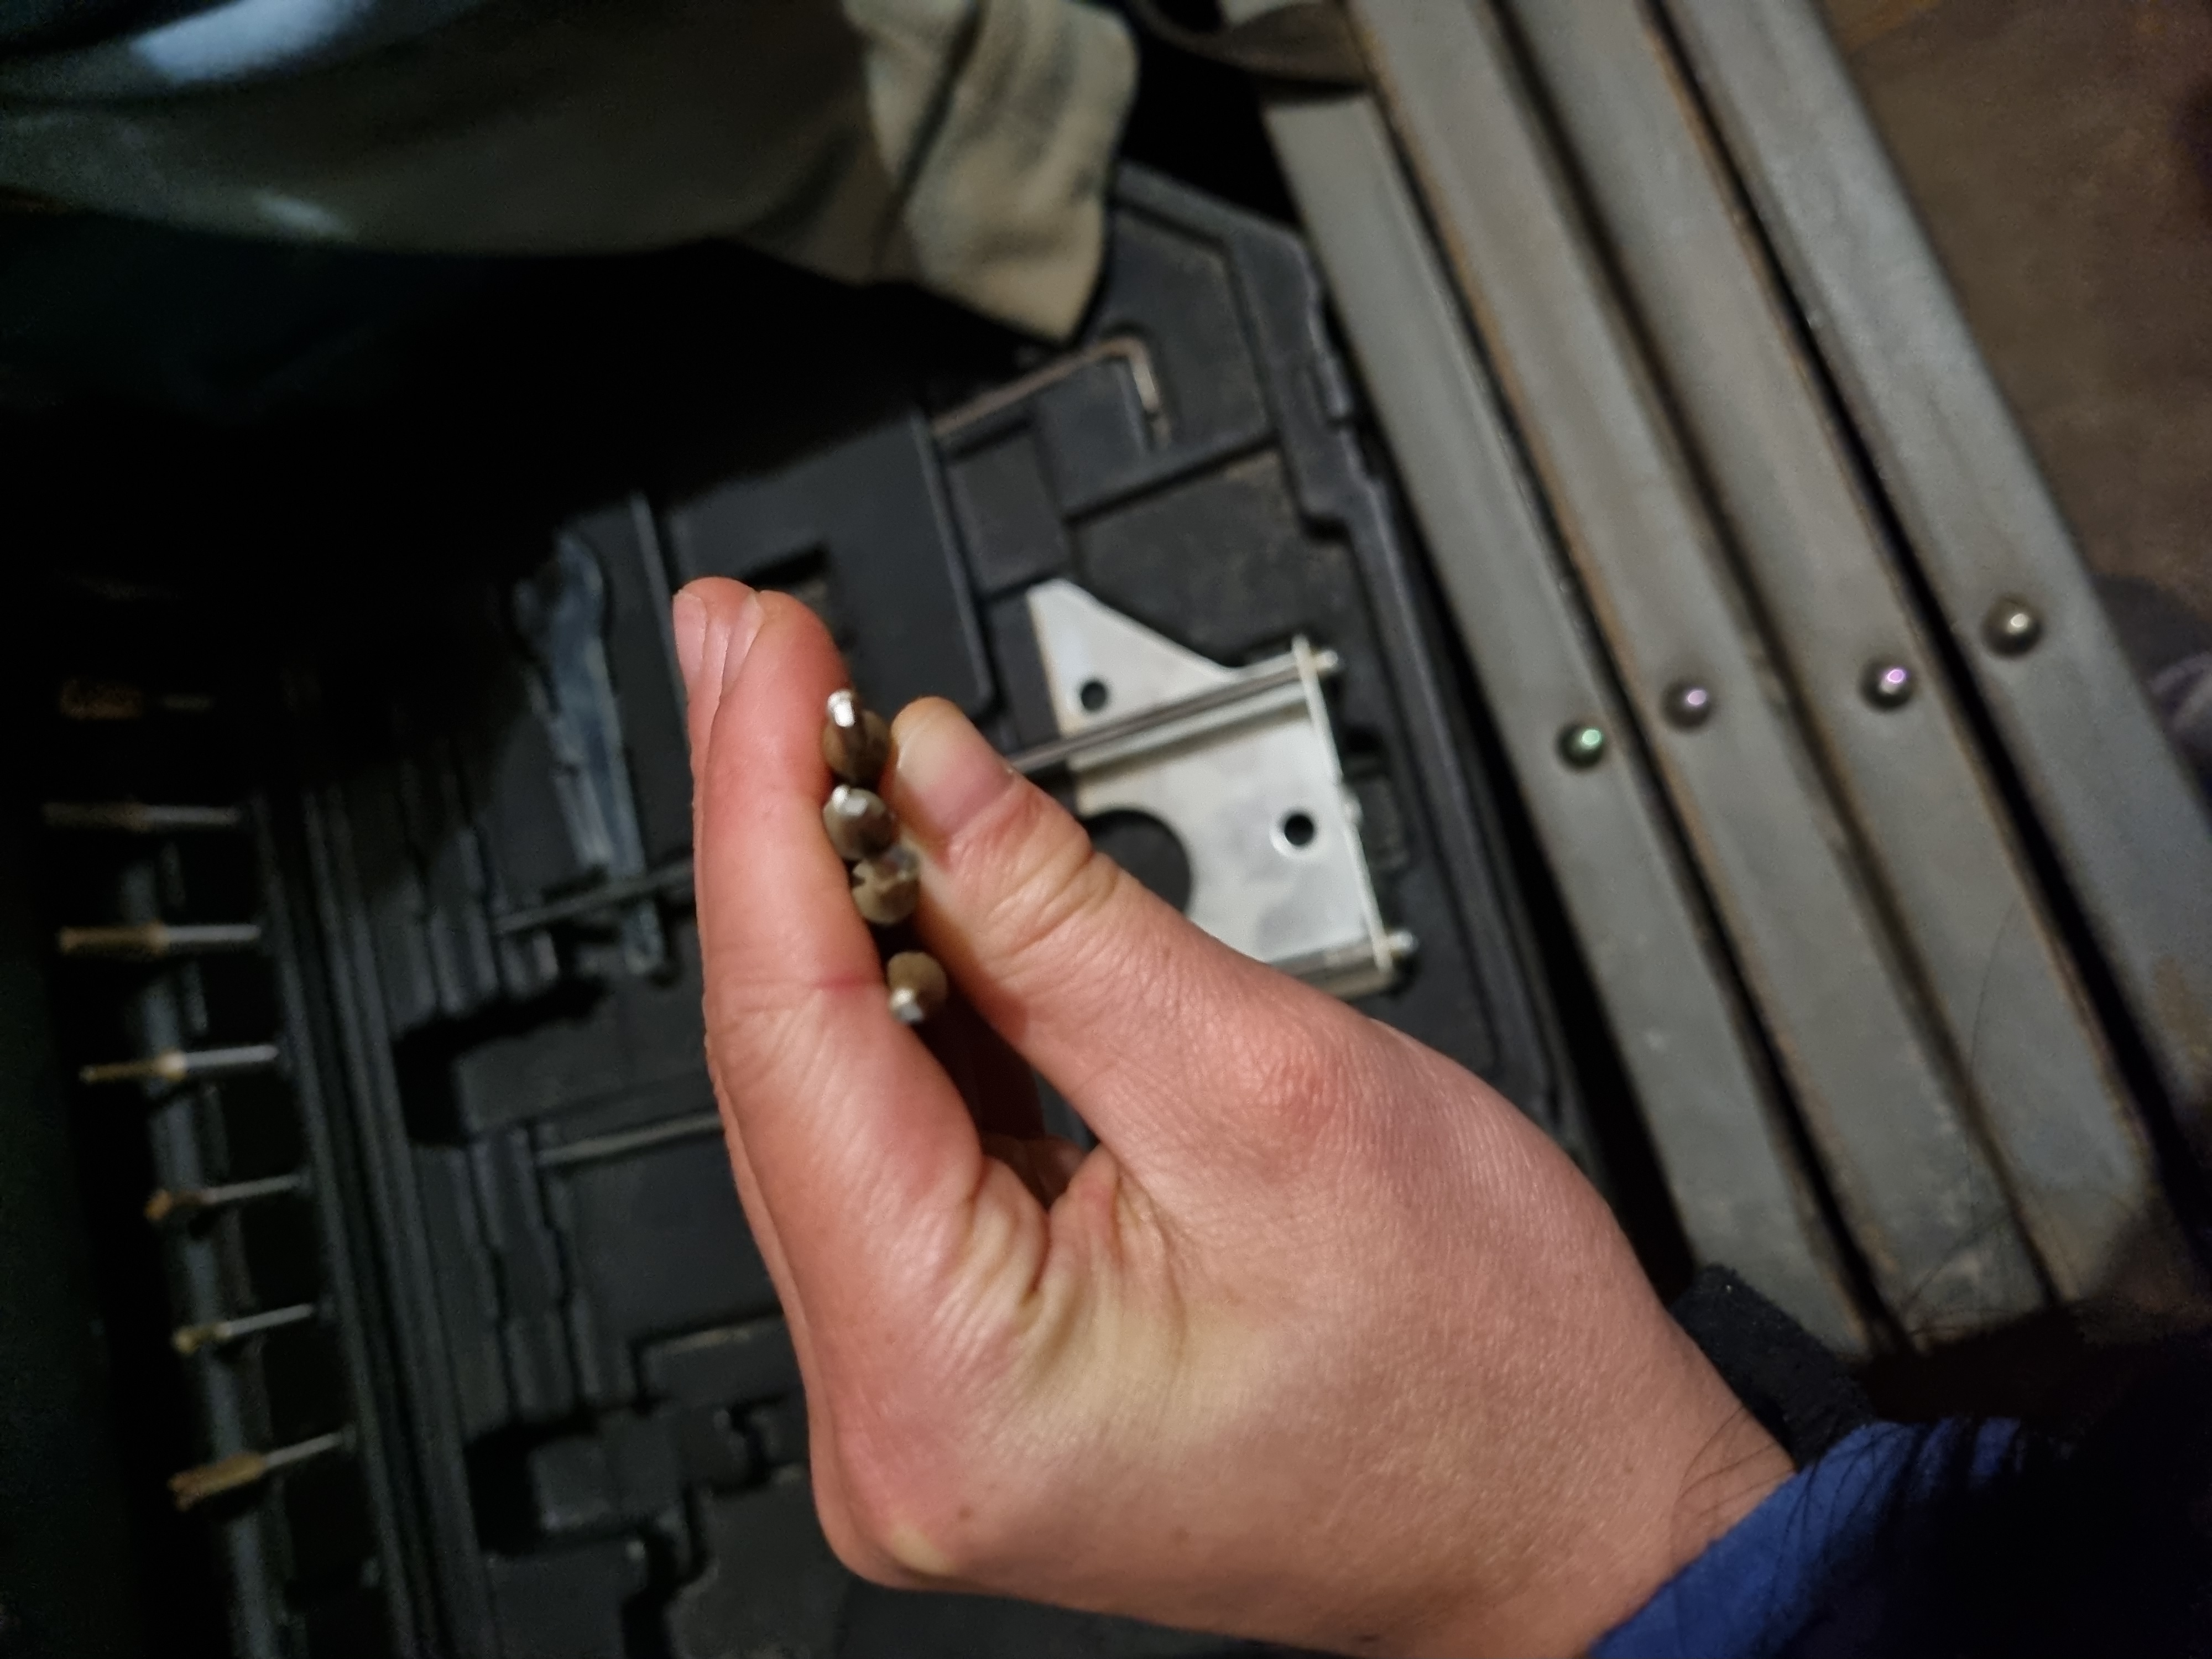
The four broken bits
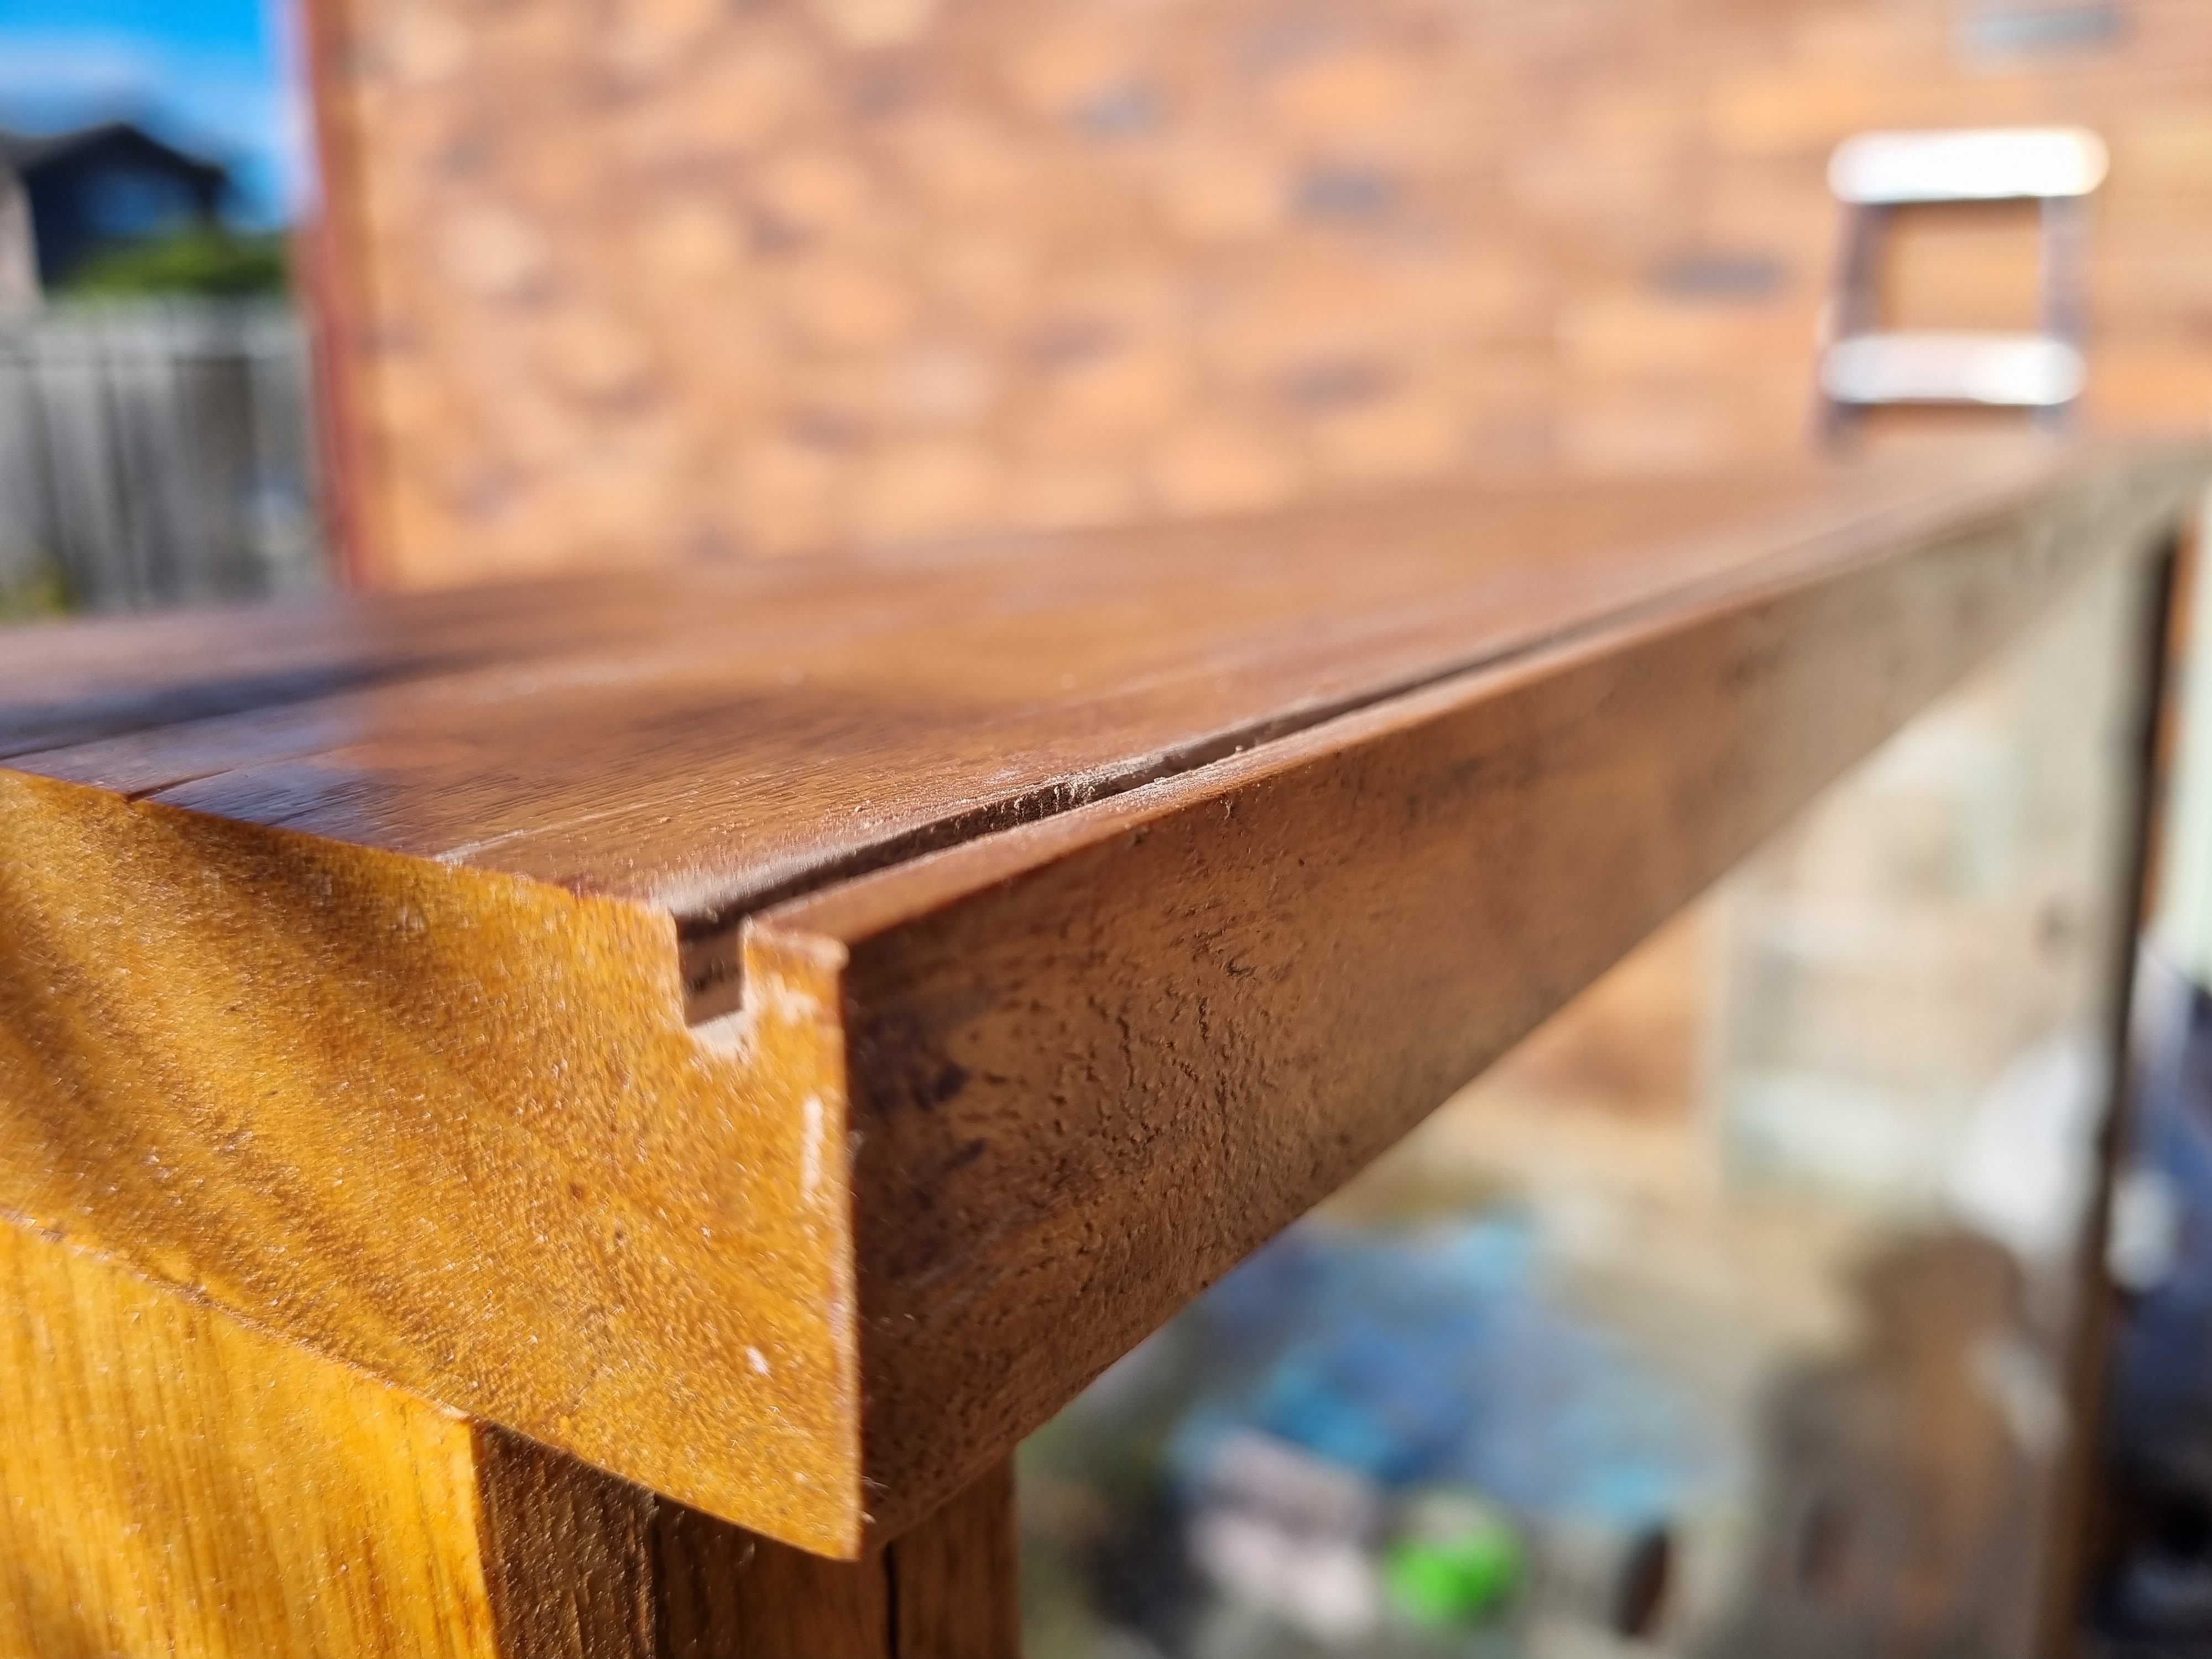
The routered drip edge
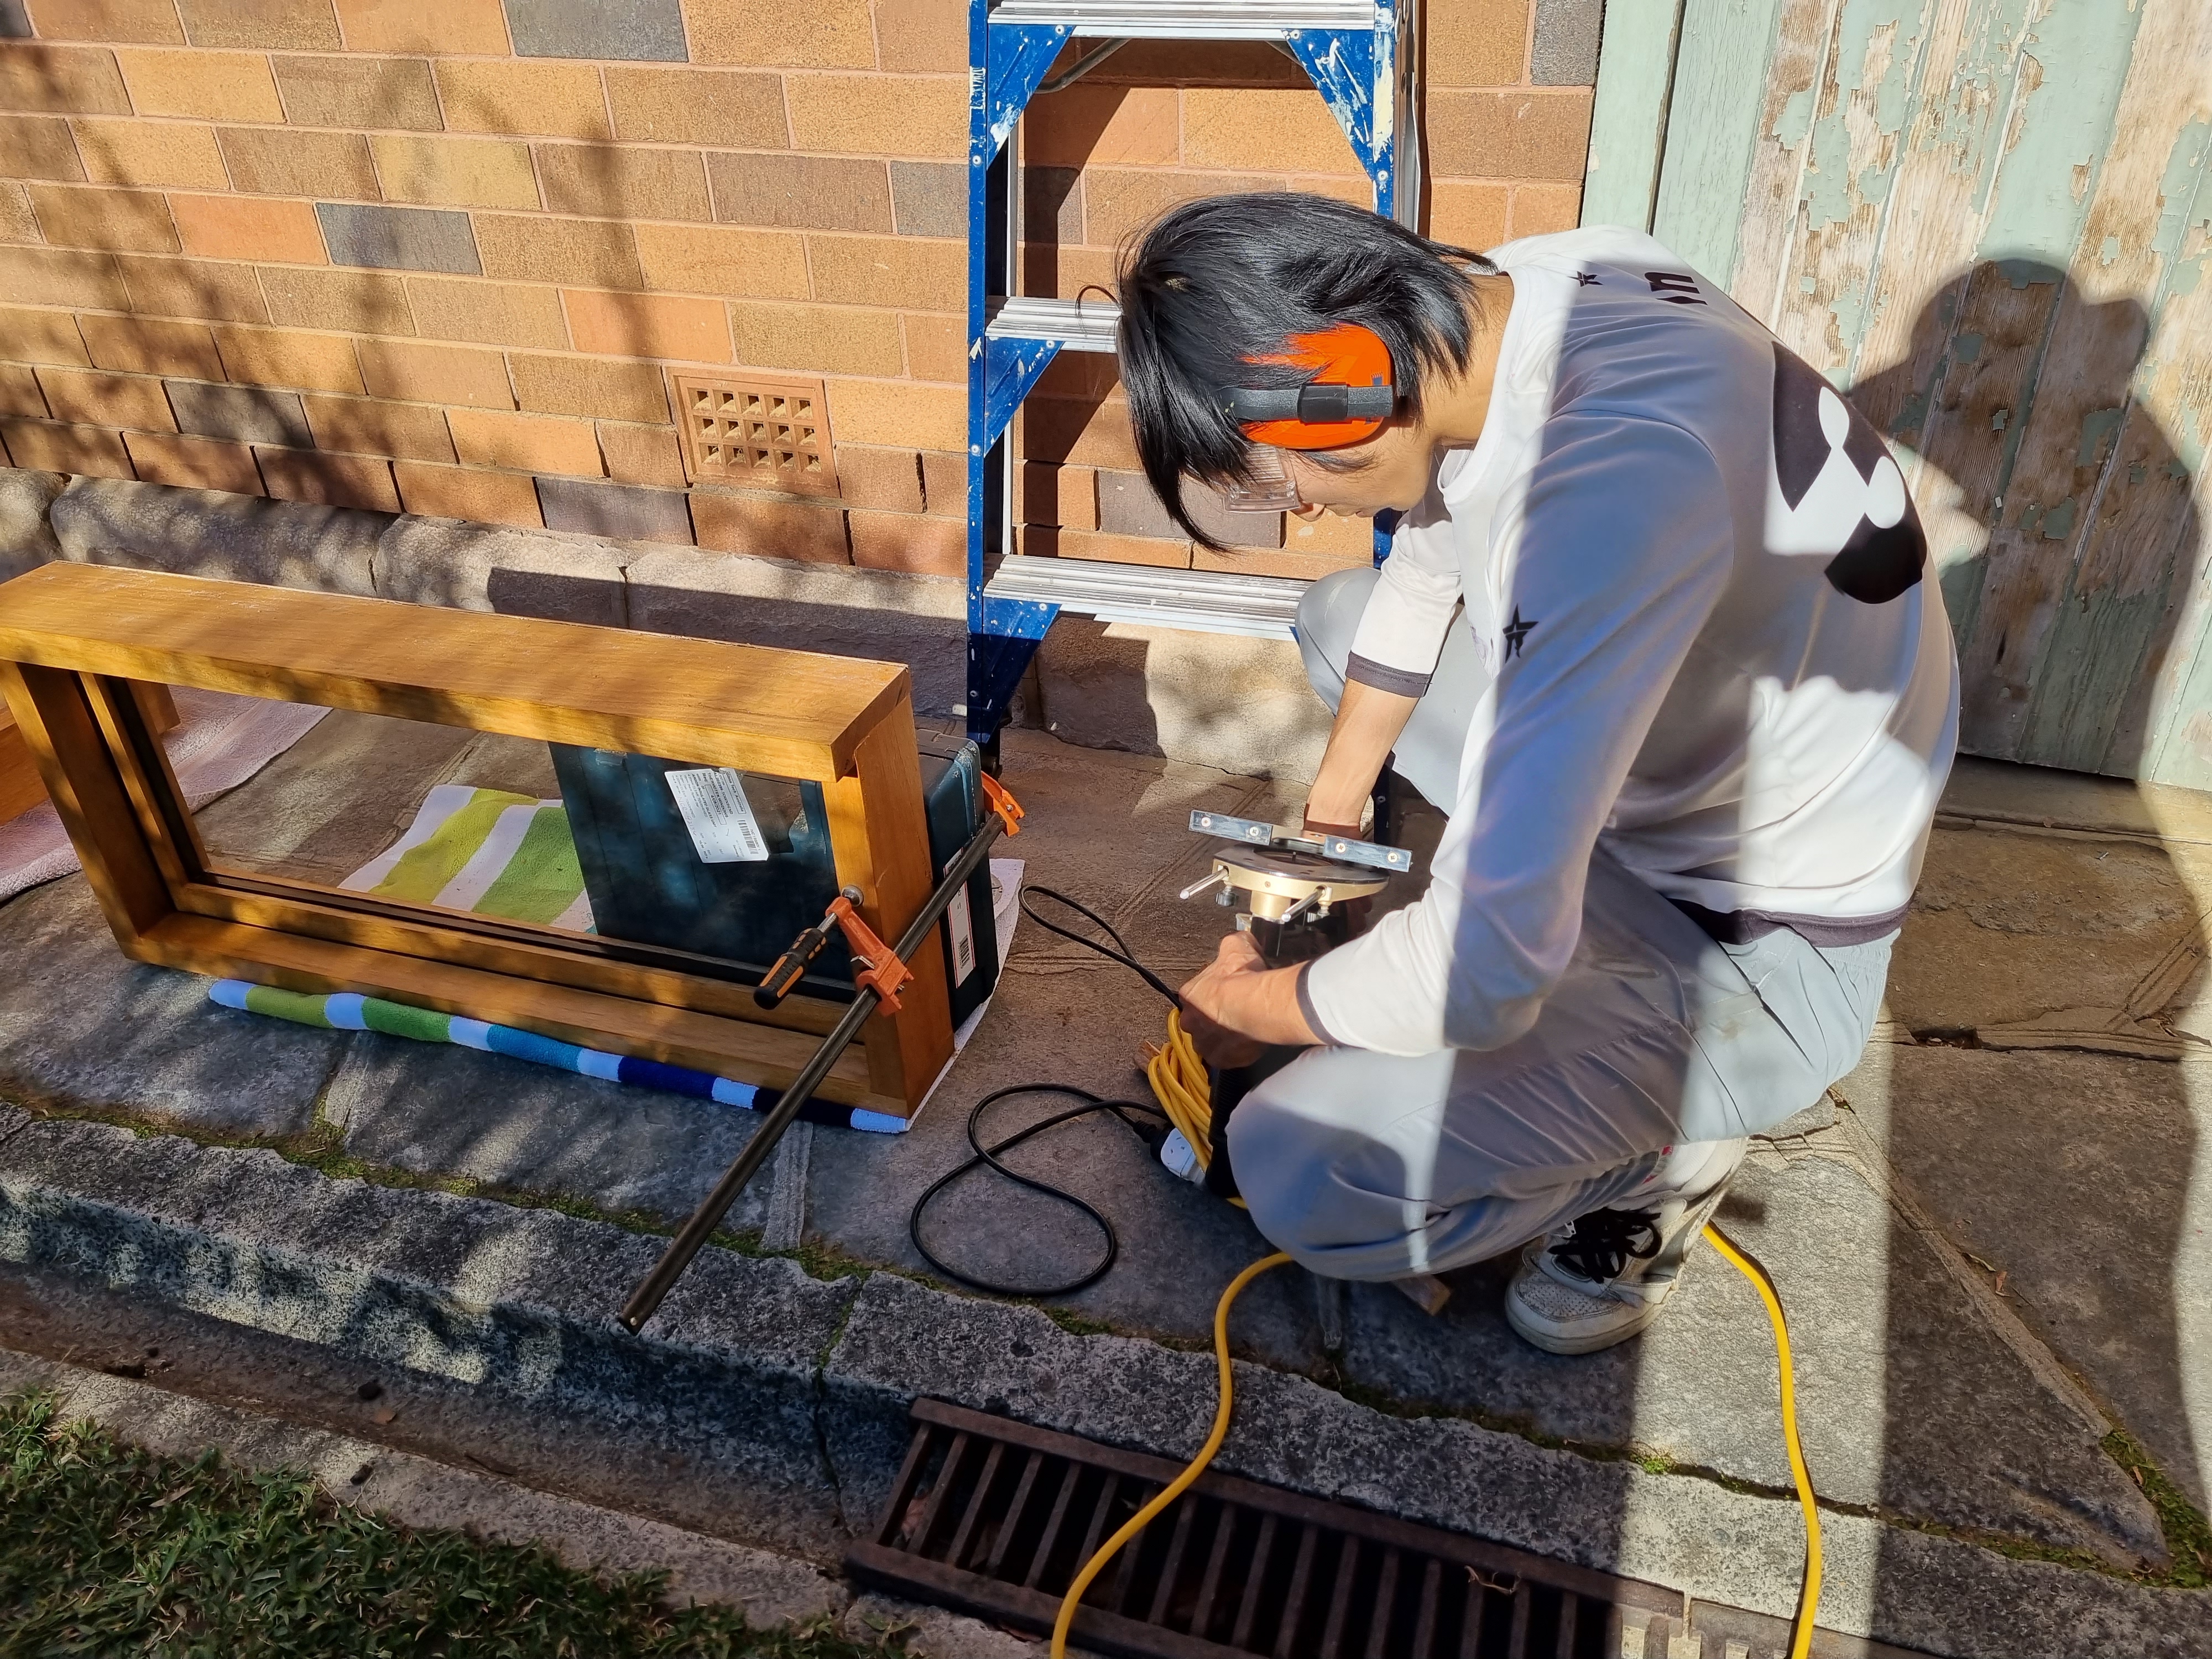
Erny working with the router
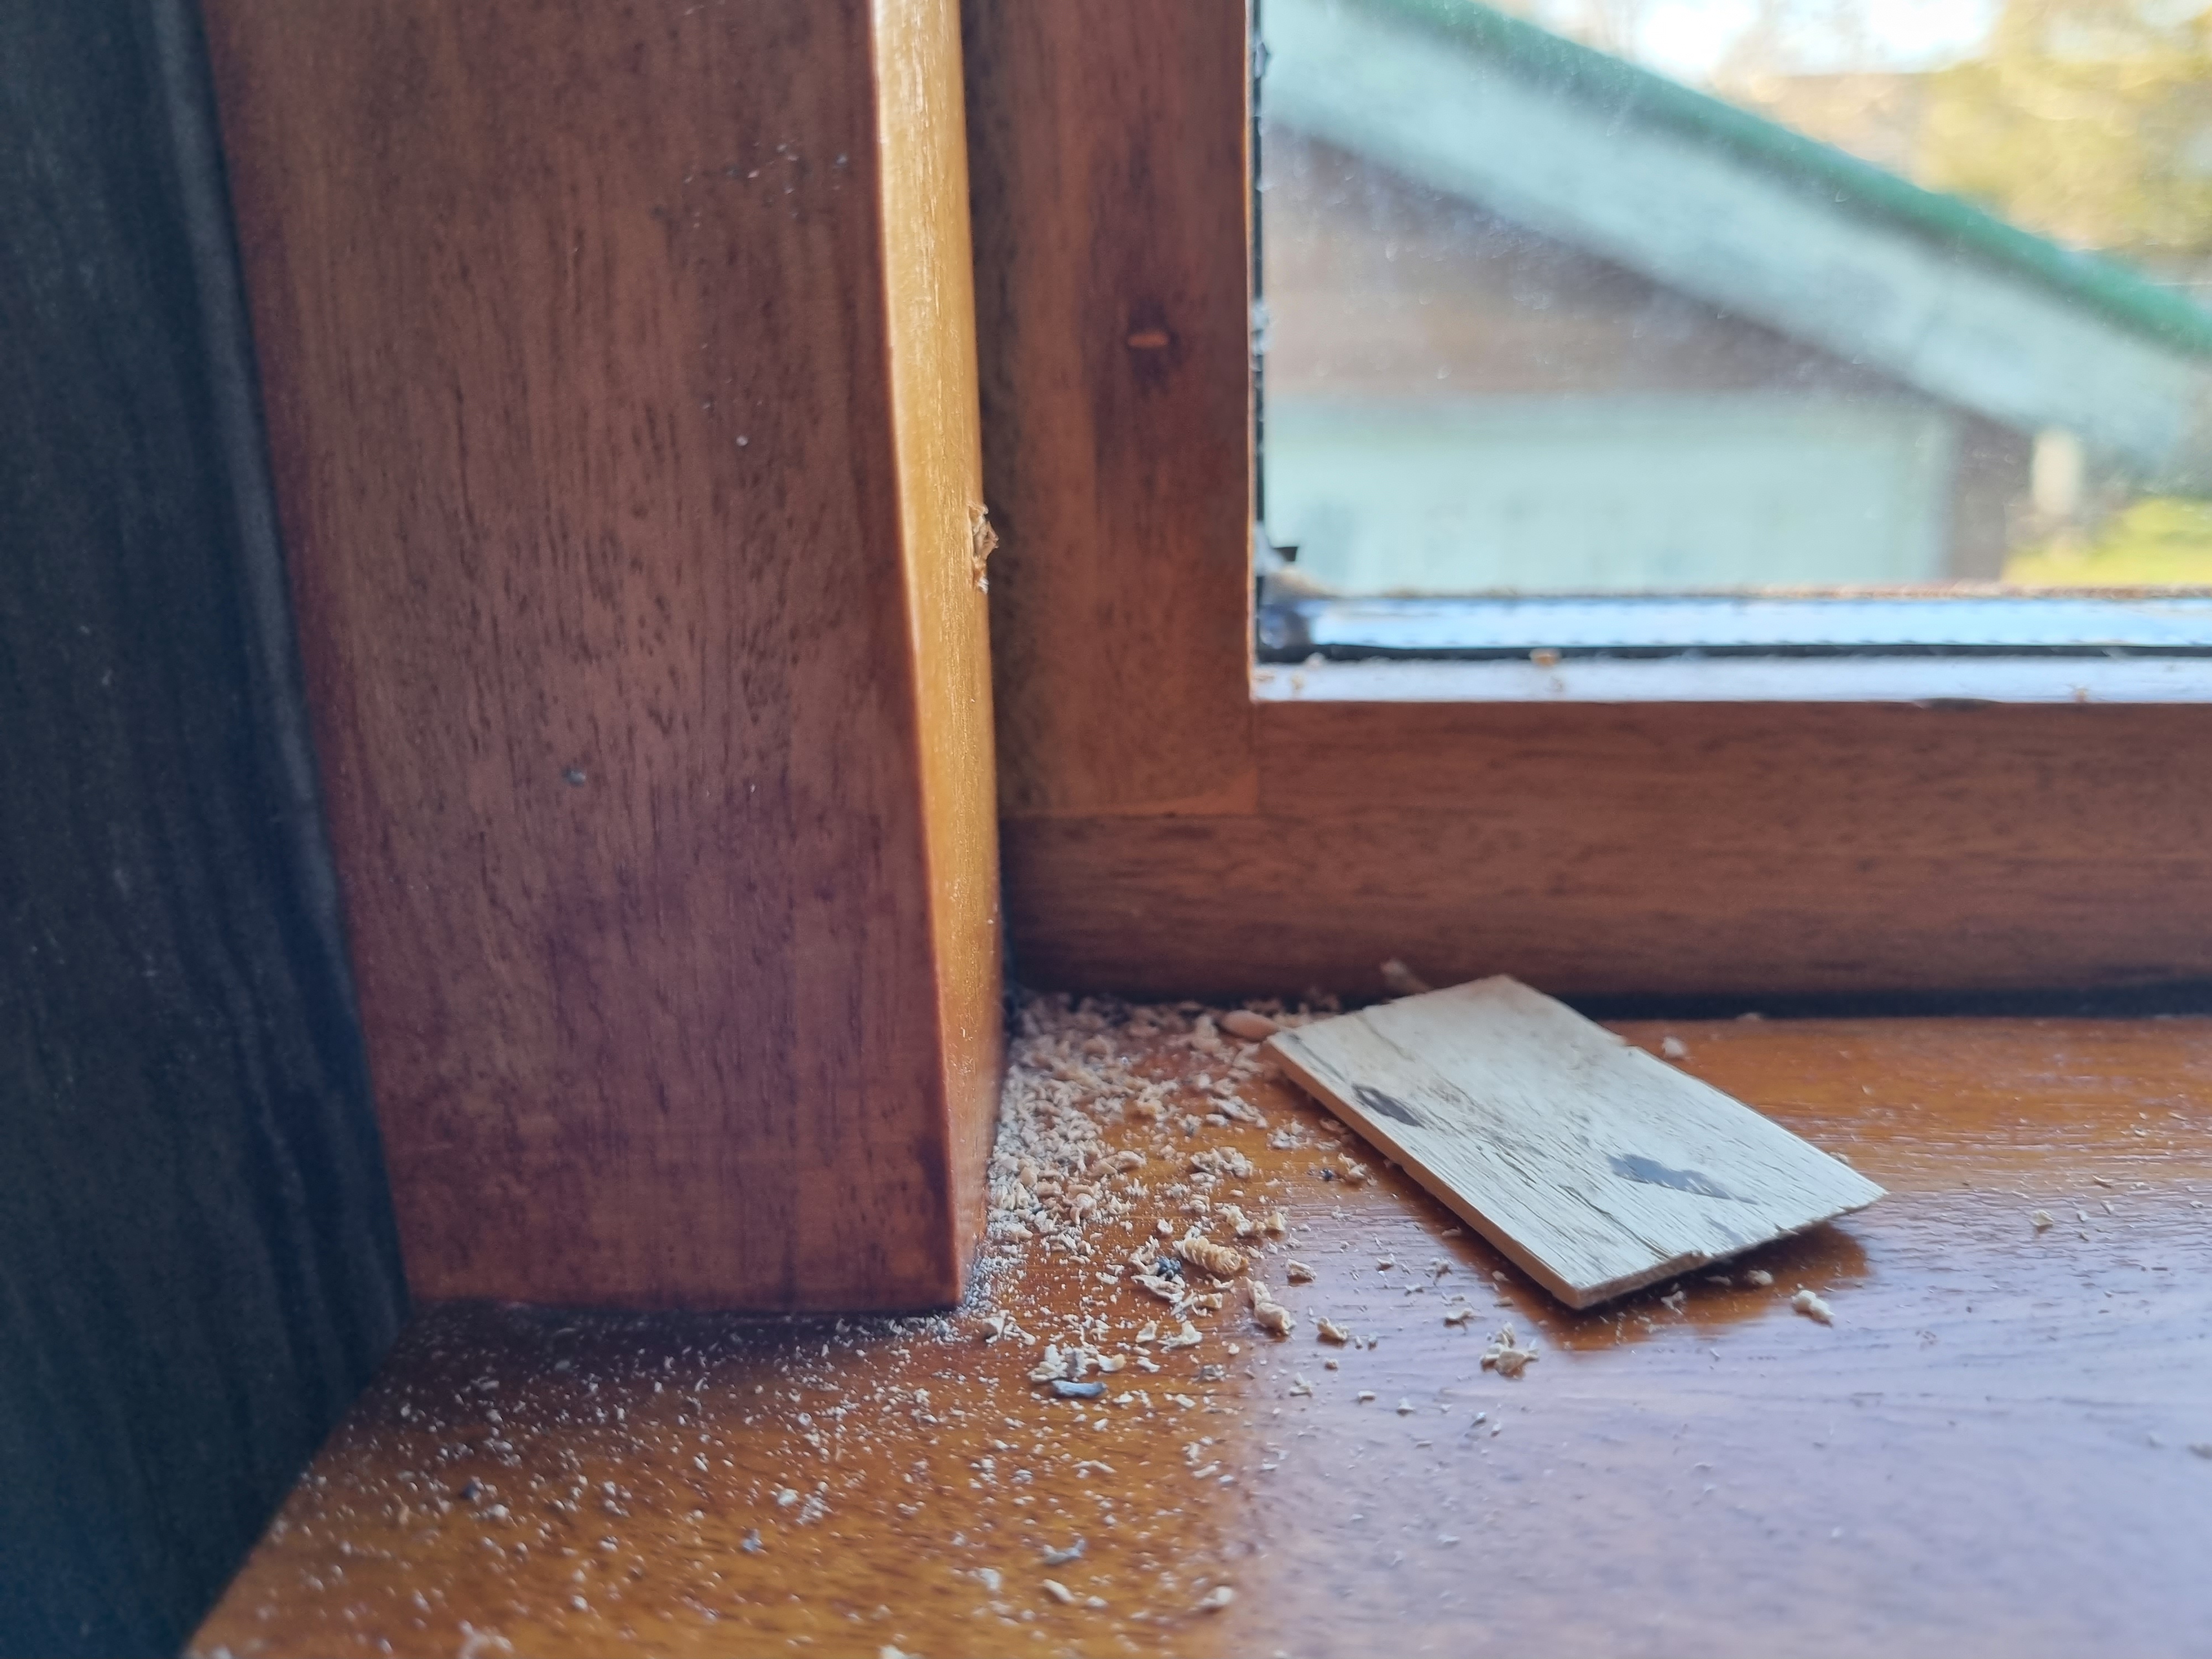
Then, we had a minor router accident while working on the second loft window - somehow we veered the router off course and created a gouge in the lip of the window. We were a little frustrated with ourselves - at this point in July it felt like this window install was facing problem after problem. Determined not to be discouraged, Erny glued a piece back in and sanded it down to fit seamlessly with the new slope (if you don’t look too closely you don’t actually notice it) and besides, it will be 3 meters in the air, so it shouldn’t affect the aesthetics of the house dramatically. Guess there is nothing wood glue and putty can’t solve! 😄
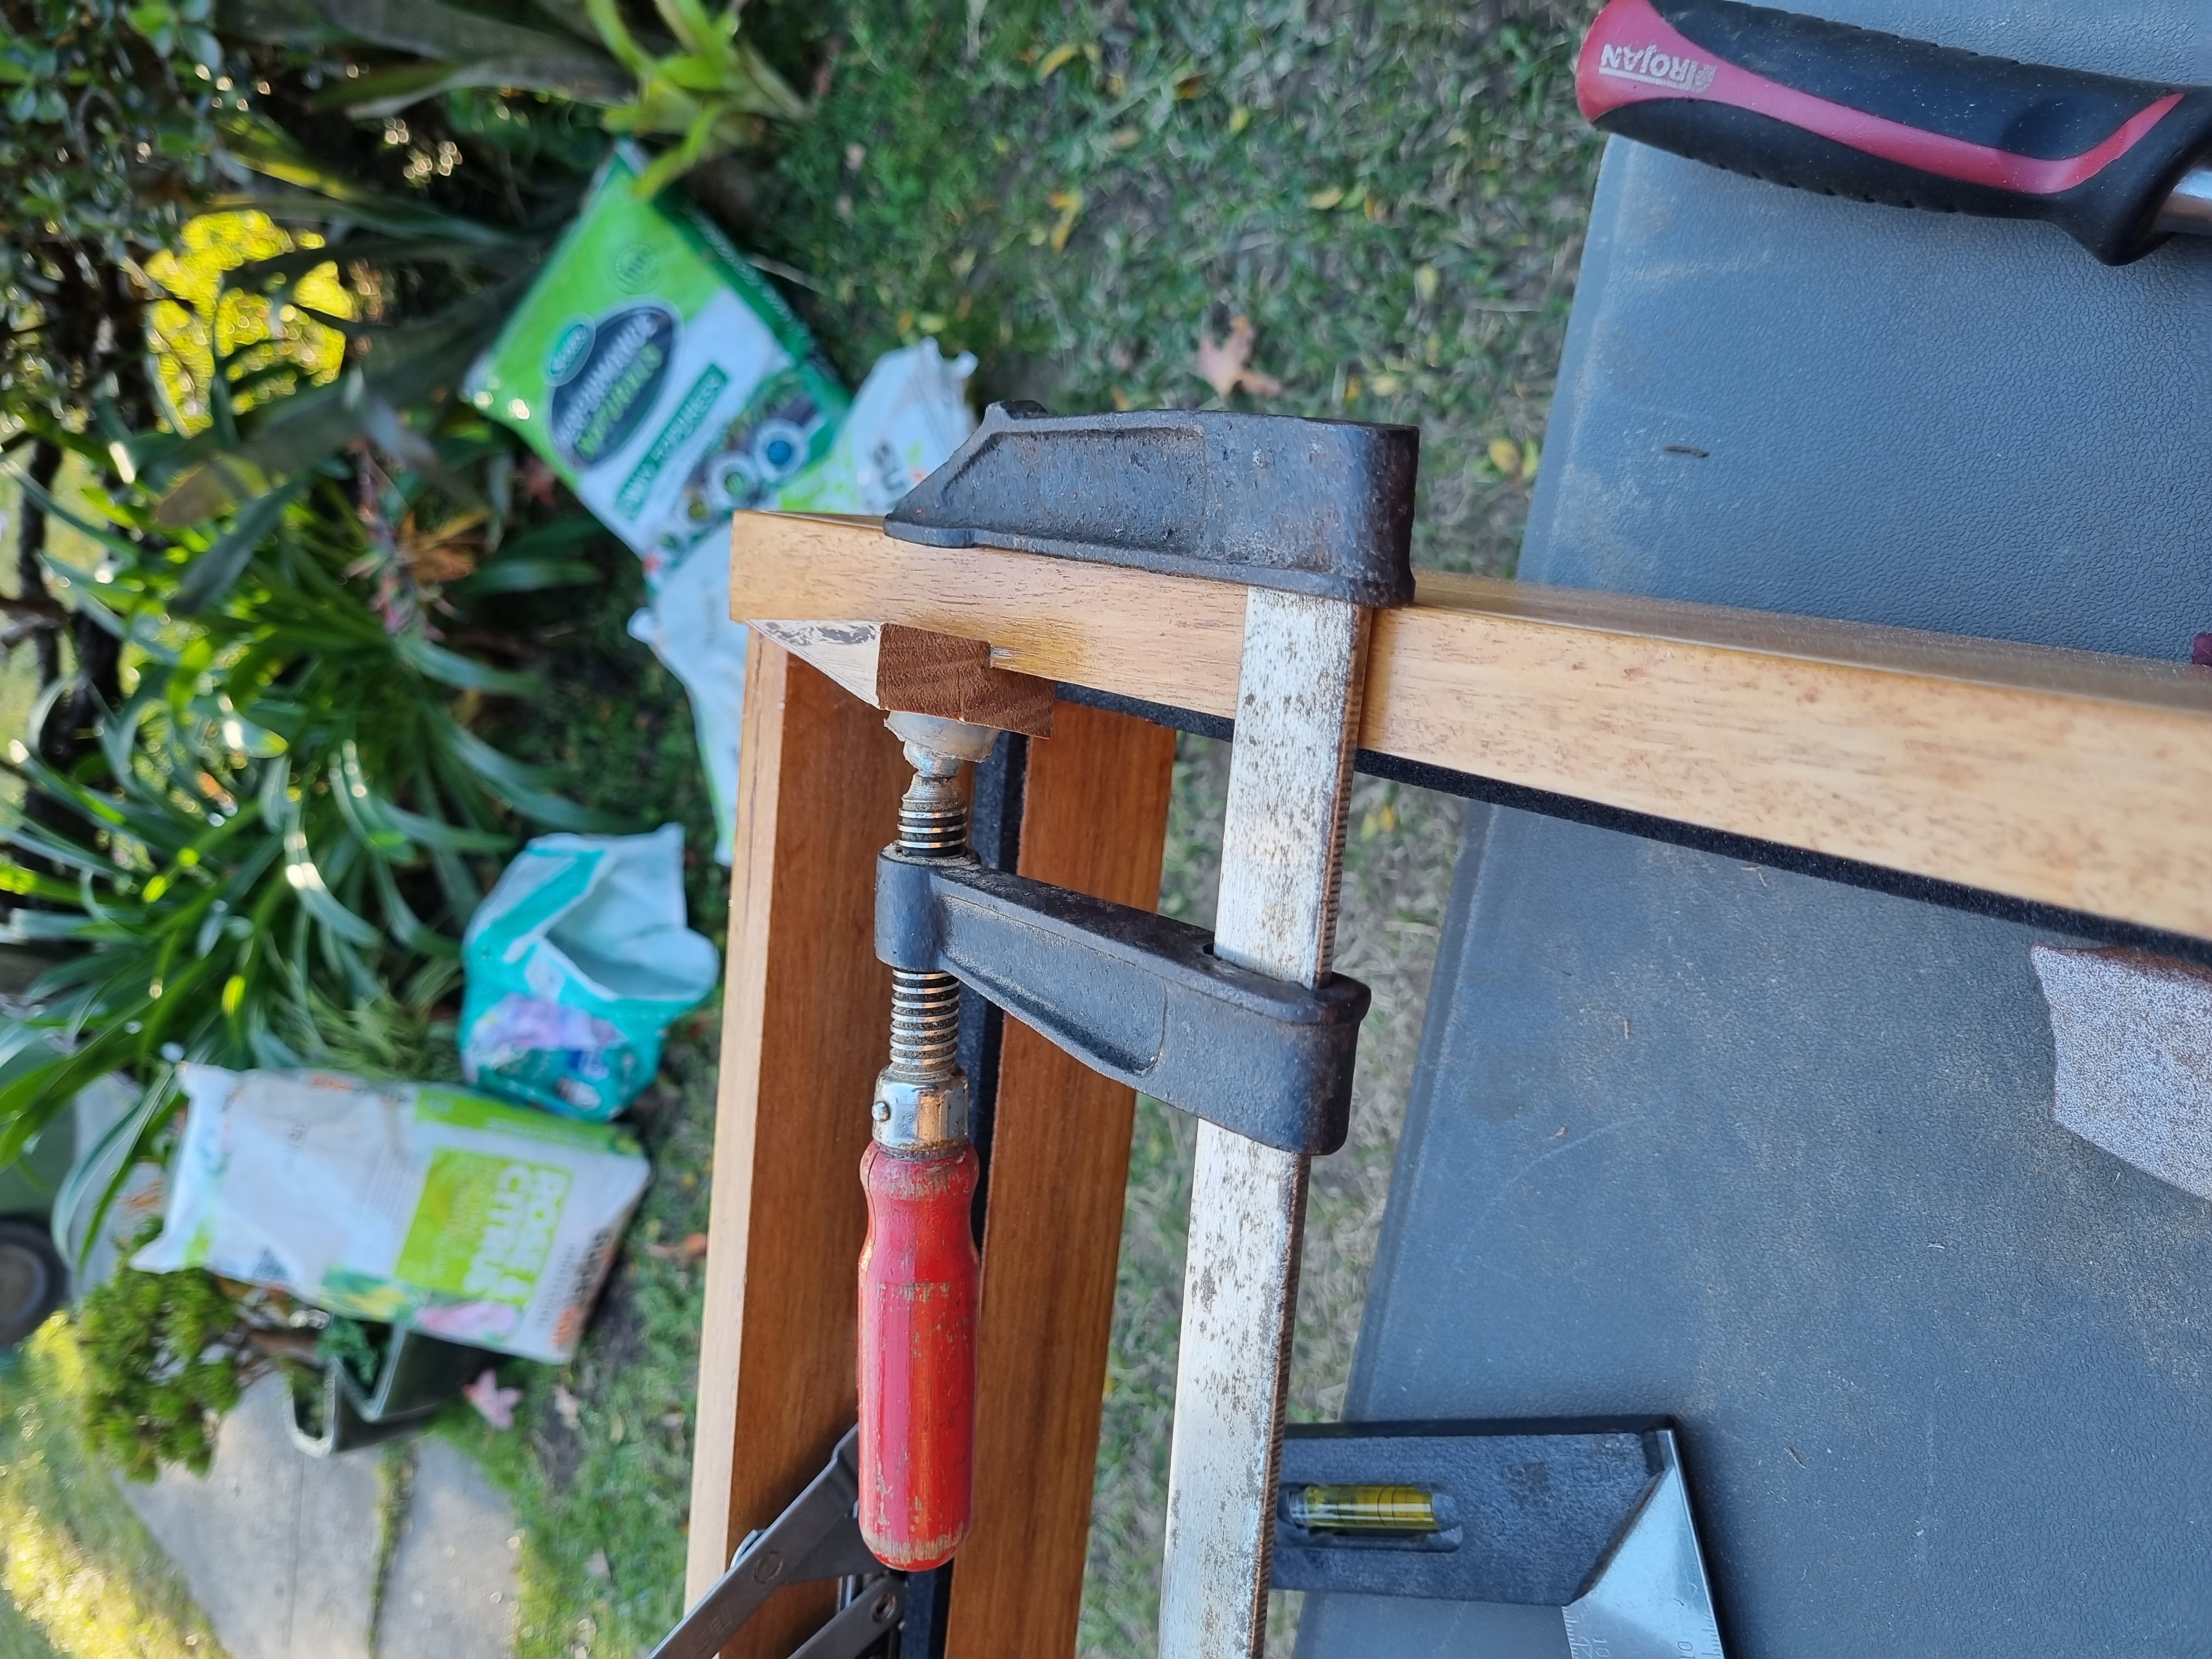
Fixing the routered gouge
Back on course we roped the whole family together and installed our big picture window. This window is HUUUGEEEE and needs three people to carry it. The installation was pretty stressful but now that it is in it looks fantastic. The abundance of natural light is a delightful preview of the warm moments we’ll enjoy once our tiny house is complete. Lys keeps talking about how she’s excited to have a cup of tea looking out of the window - and that vision is slowly getting closer and closer.
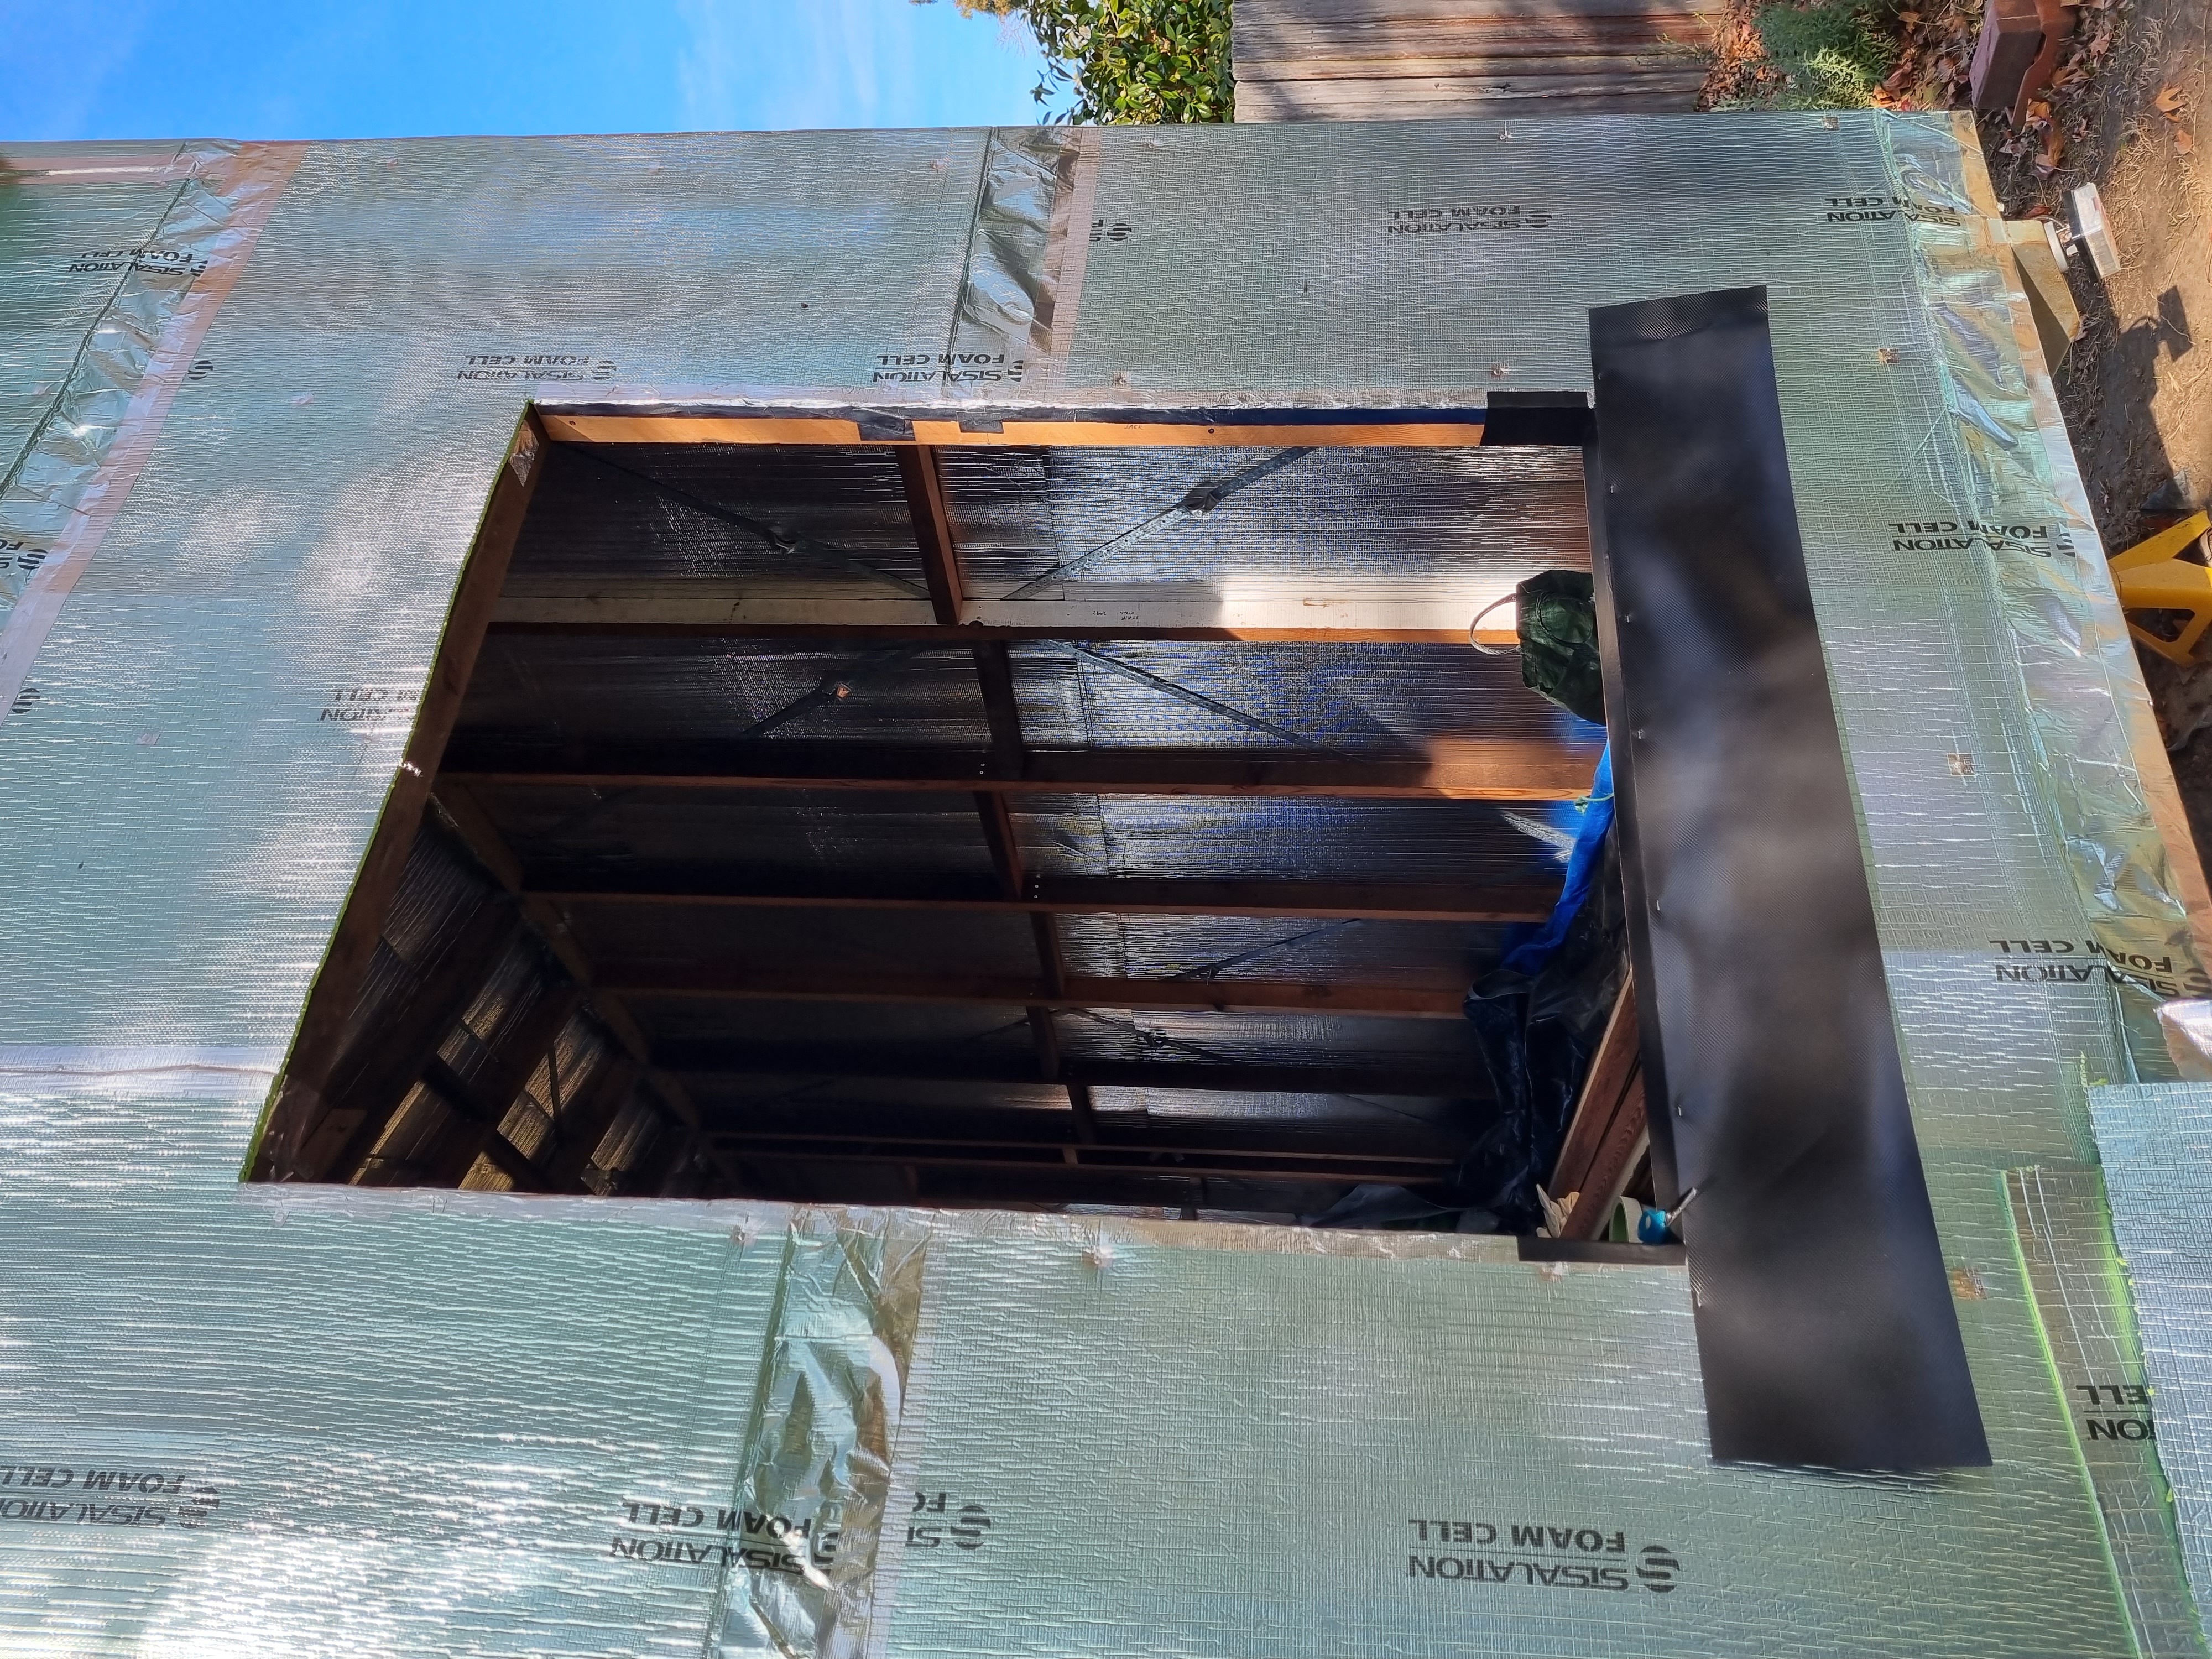
Flashing the large window cavity
Installing the picture window
Lots of light in the tiny house
Our last weekend on window duty really highlighted that we needed a break. It was slow-going, and we encountered a few mishaps. While installing the final loft window, Lys accidentally broke a beloved bee teacup when she tipped the staple gun slipped off a ladder. As we fixed the kitchen window Erny faced a few frustrations installing the last two windows with the Blackbutt timber tearing out. A few swears were definitely said in a multitude of languages. Despite these moments, we’re learning to embrace the imperfections and relish the character they bring to our tiny house. We’ve lost count of the amount of times we’ve consoled ourselves saying “It’s a feature, not a flaw”.
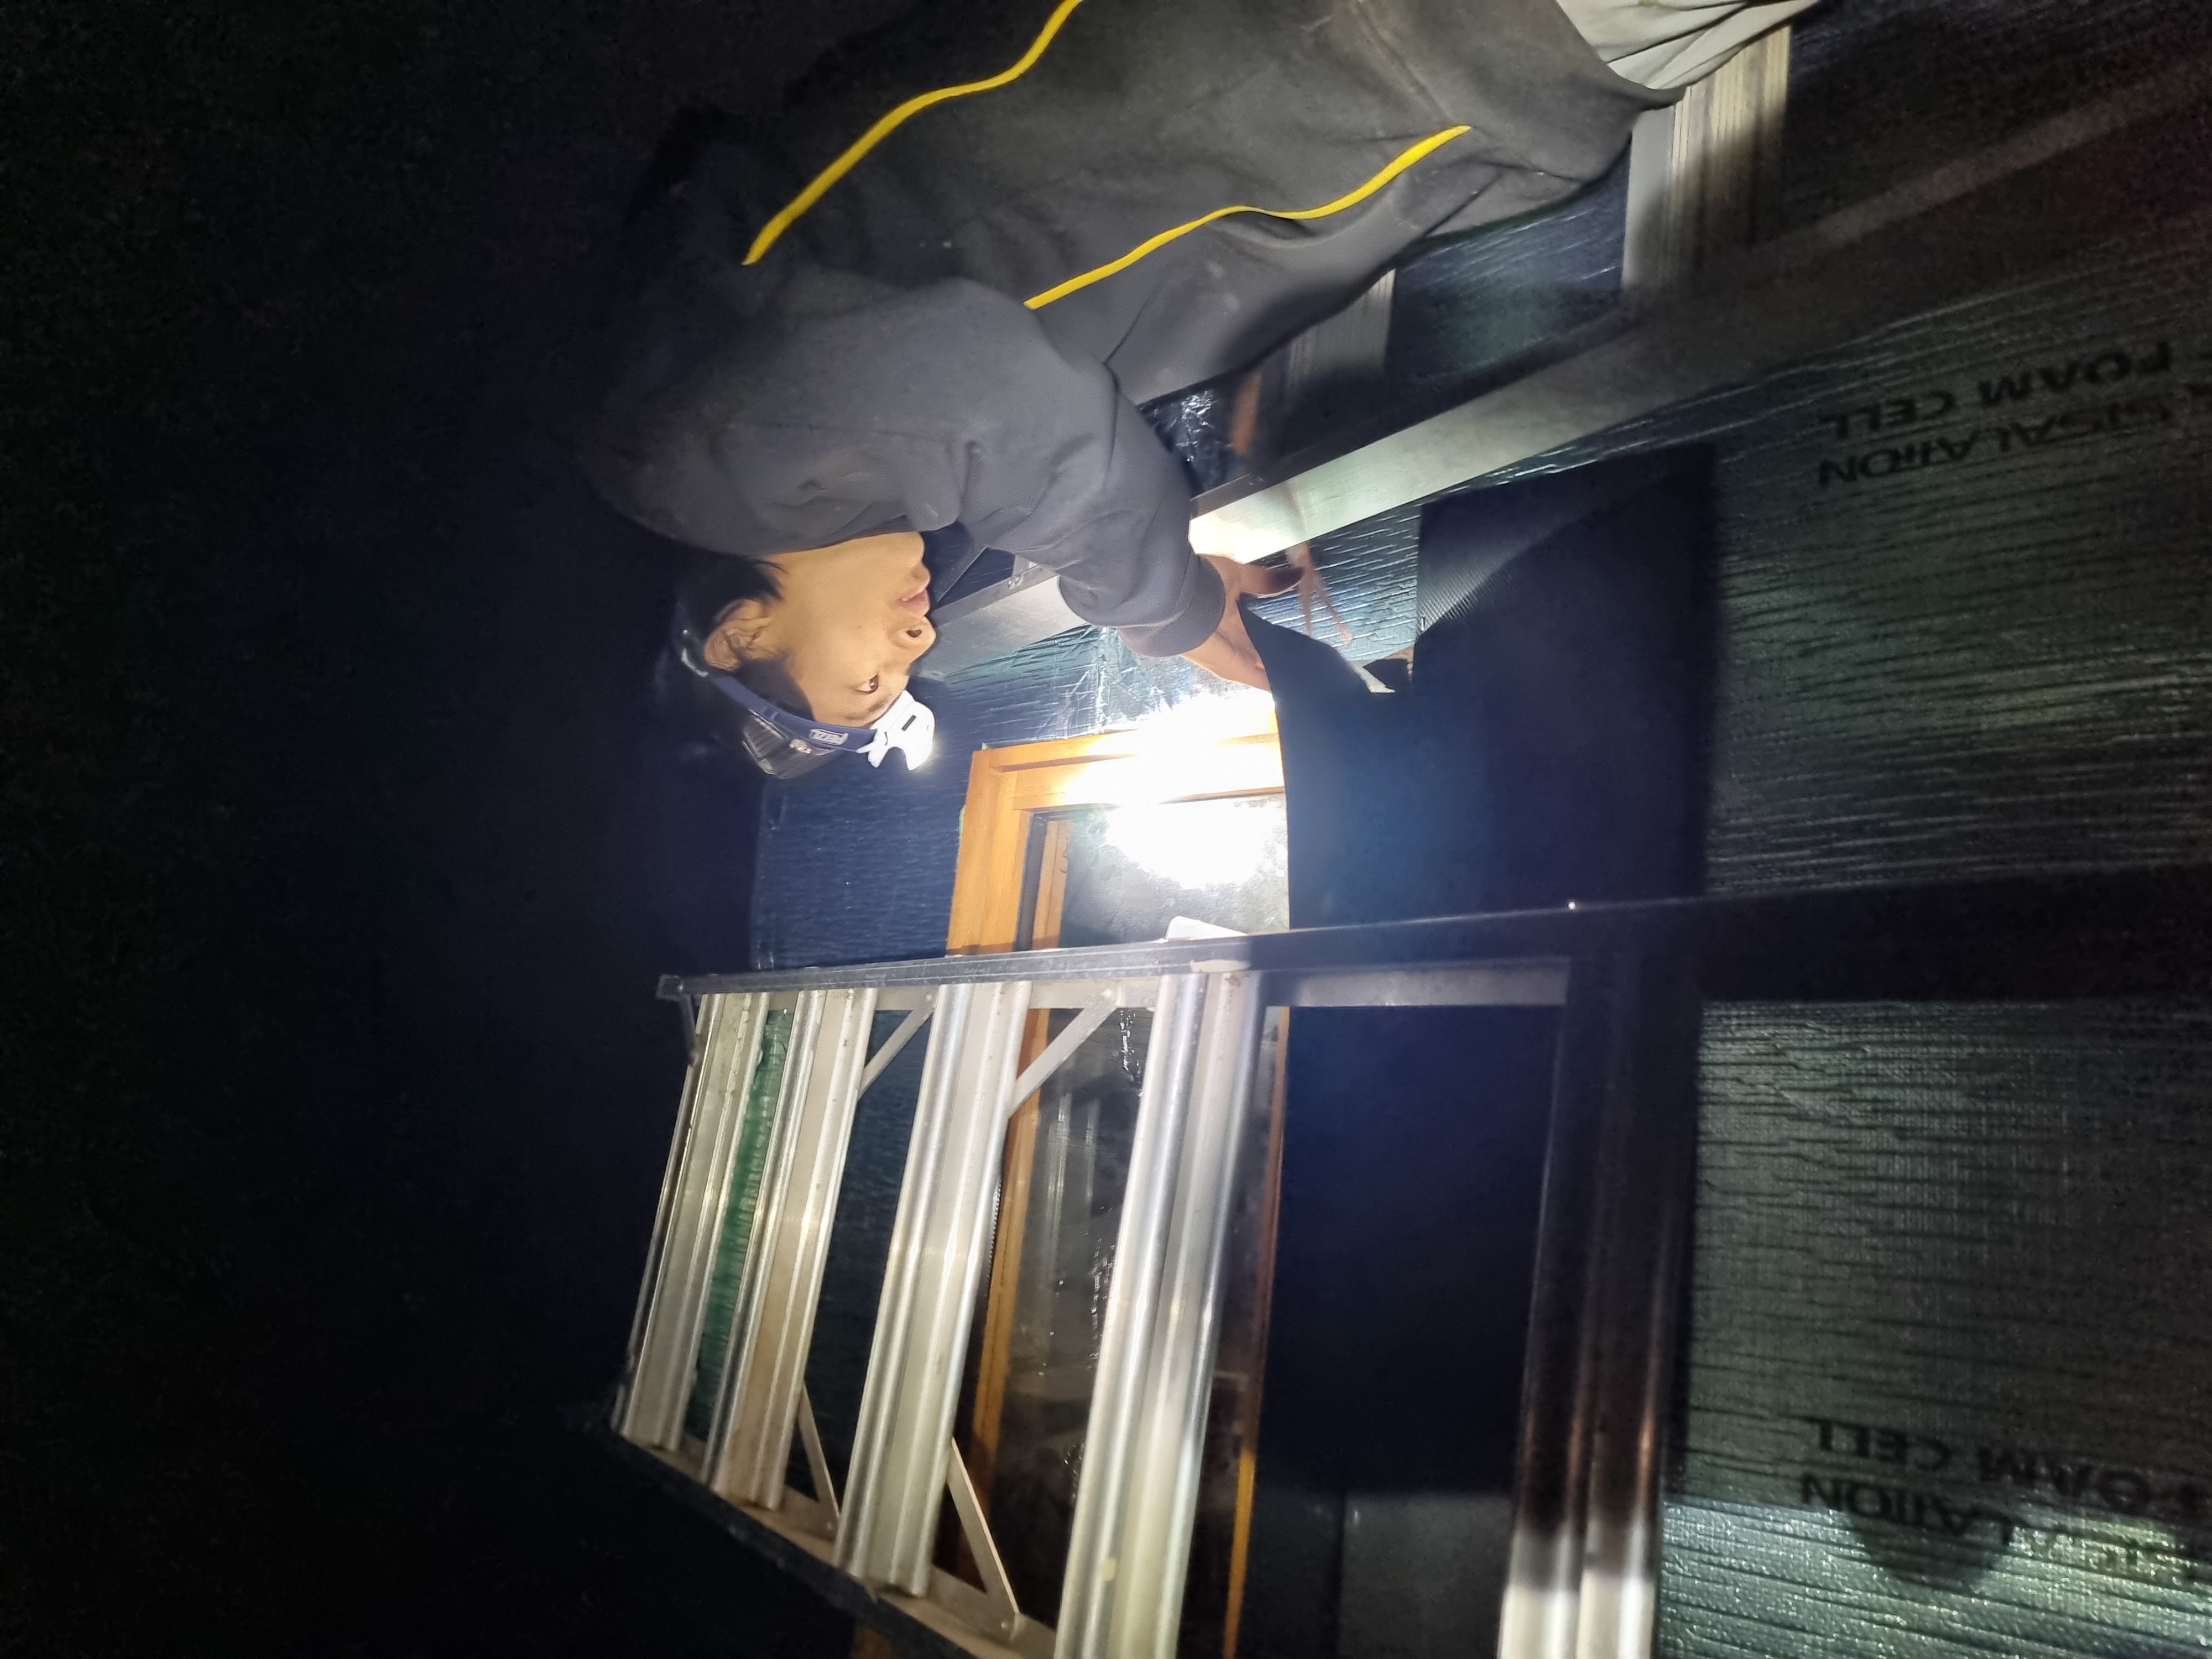
Racing against the light to install our windows
As we look back on our experiences this month, we’ve learned some valuable lessons:
- Small eaves can make a significant difference in both aesthetics and weather protection. It rained a bit throughout the process and we discovered our windows that had a little eave were by far more protected than the windows on the long sides. We’re definitely on the hunt now to install the gutters and roof.
- Custom window building is best left to the experts to avoid potential hiccups. (Lys vows to never do this again but concedes that we have learnt a lot)
- Borrowing tools from a well-stocked tool library can save the day. We’re really trying to avoid buying more tools and having a membership with the tool library has been a lifesaver! This time around we rented the staple gun (which came with complementary staples). It feels great to reduce costs and put these tools to work - a definite recommendation for anyone a bit tight on space but wants to dabble in DIY.
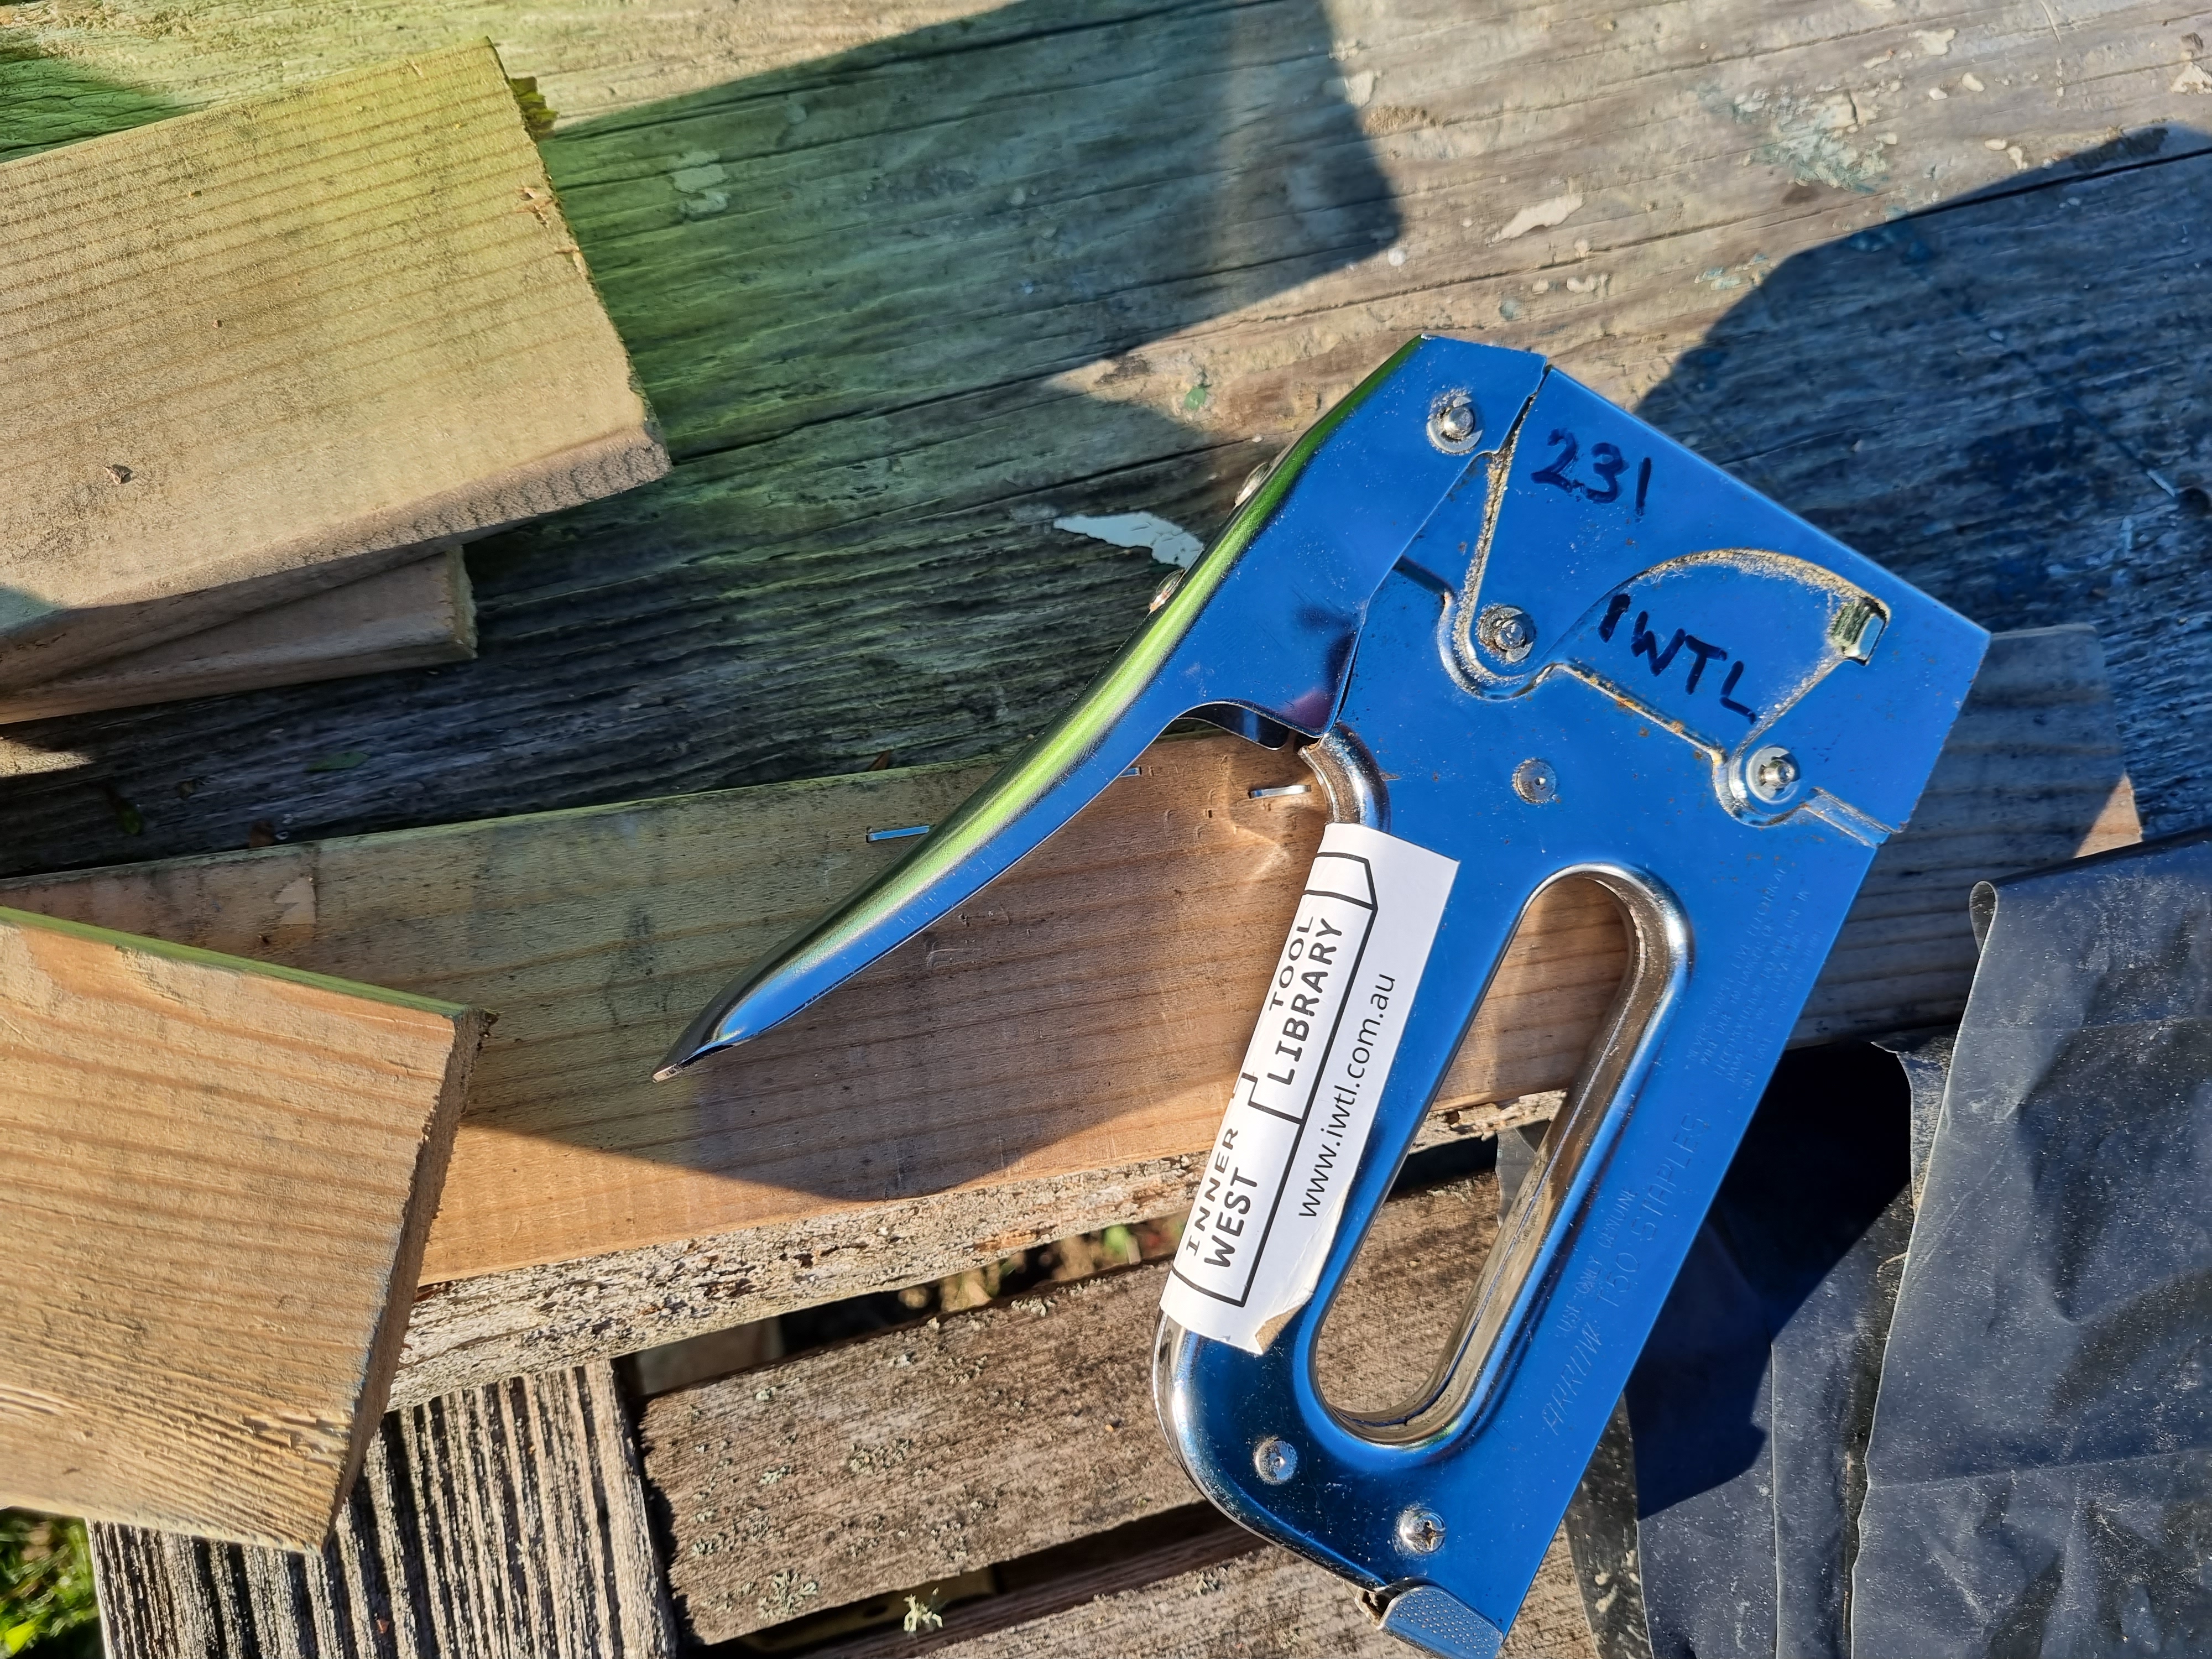
Staple gun from the tool library
What’s next?
In a slight addendum, we’ve also finished oiling our cladding! What a milestone. We’re delighted with the progress we’ve made and are excited to continue our tiny house adventure - next month is roof month so definitely more problem solving on the horizon…
Catch ya later, Lys & Erny
Smiles all around because the windows are in
Thank You!
Your comment has been submitted. It will appear on this page shortly! OKYikes, Sorry!
Error occured. Couldn't submit your comment. Please try again. Thank You! OK