November Build Update
A November build update
Greetings from our ever-evolving construction site! November has been a month of highs, lows, and, of course, more cladding adventures. So, grab your virtual hard hat, and let’s dive into the nitty-gritty details.
Table Of Contents
Our journey begins with drumroll… putting finishing touches on a wall, and oh, what a journey it has been. The internal debate raged on: to cover the corner where cladding meets, should we go with Surfmist steel corner flashing or the charm of contrasting wood trim? In the end, the warmth of wood won us over, embracing its subtle curves and warps over time. We kicked things off by cutting and installing some Douglas fir corners. It might not be as durable as steel, but it looks undeniably great! These corners were definitely a challenge to install as we started using those beautiful yet painful brass screws. We bought these in June if you, dear reader, remember and now making they were grand debut.
But alas, the pain set early — they kept slipping out of the drill bit, and they’re not self-tapping, and they need to be counter-sunk. All this compounded and added an extra layer of complexity for the installation. Silvia and Deniz, our wise friends, had warned us (read as Lys), and now we understand why. Flat head screws are so finicky! Even screwing just 18 screws (1.8% of the total screws that we have to install), the head of the impact driver played hard to get, slipping here and there, and the softer brass demanded careful handling to avoid dents. Yet, the end result? A visually stunning contrast of gold brass against the warm tones of our orange wood – a classic combination that’s hard to beat.
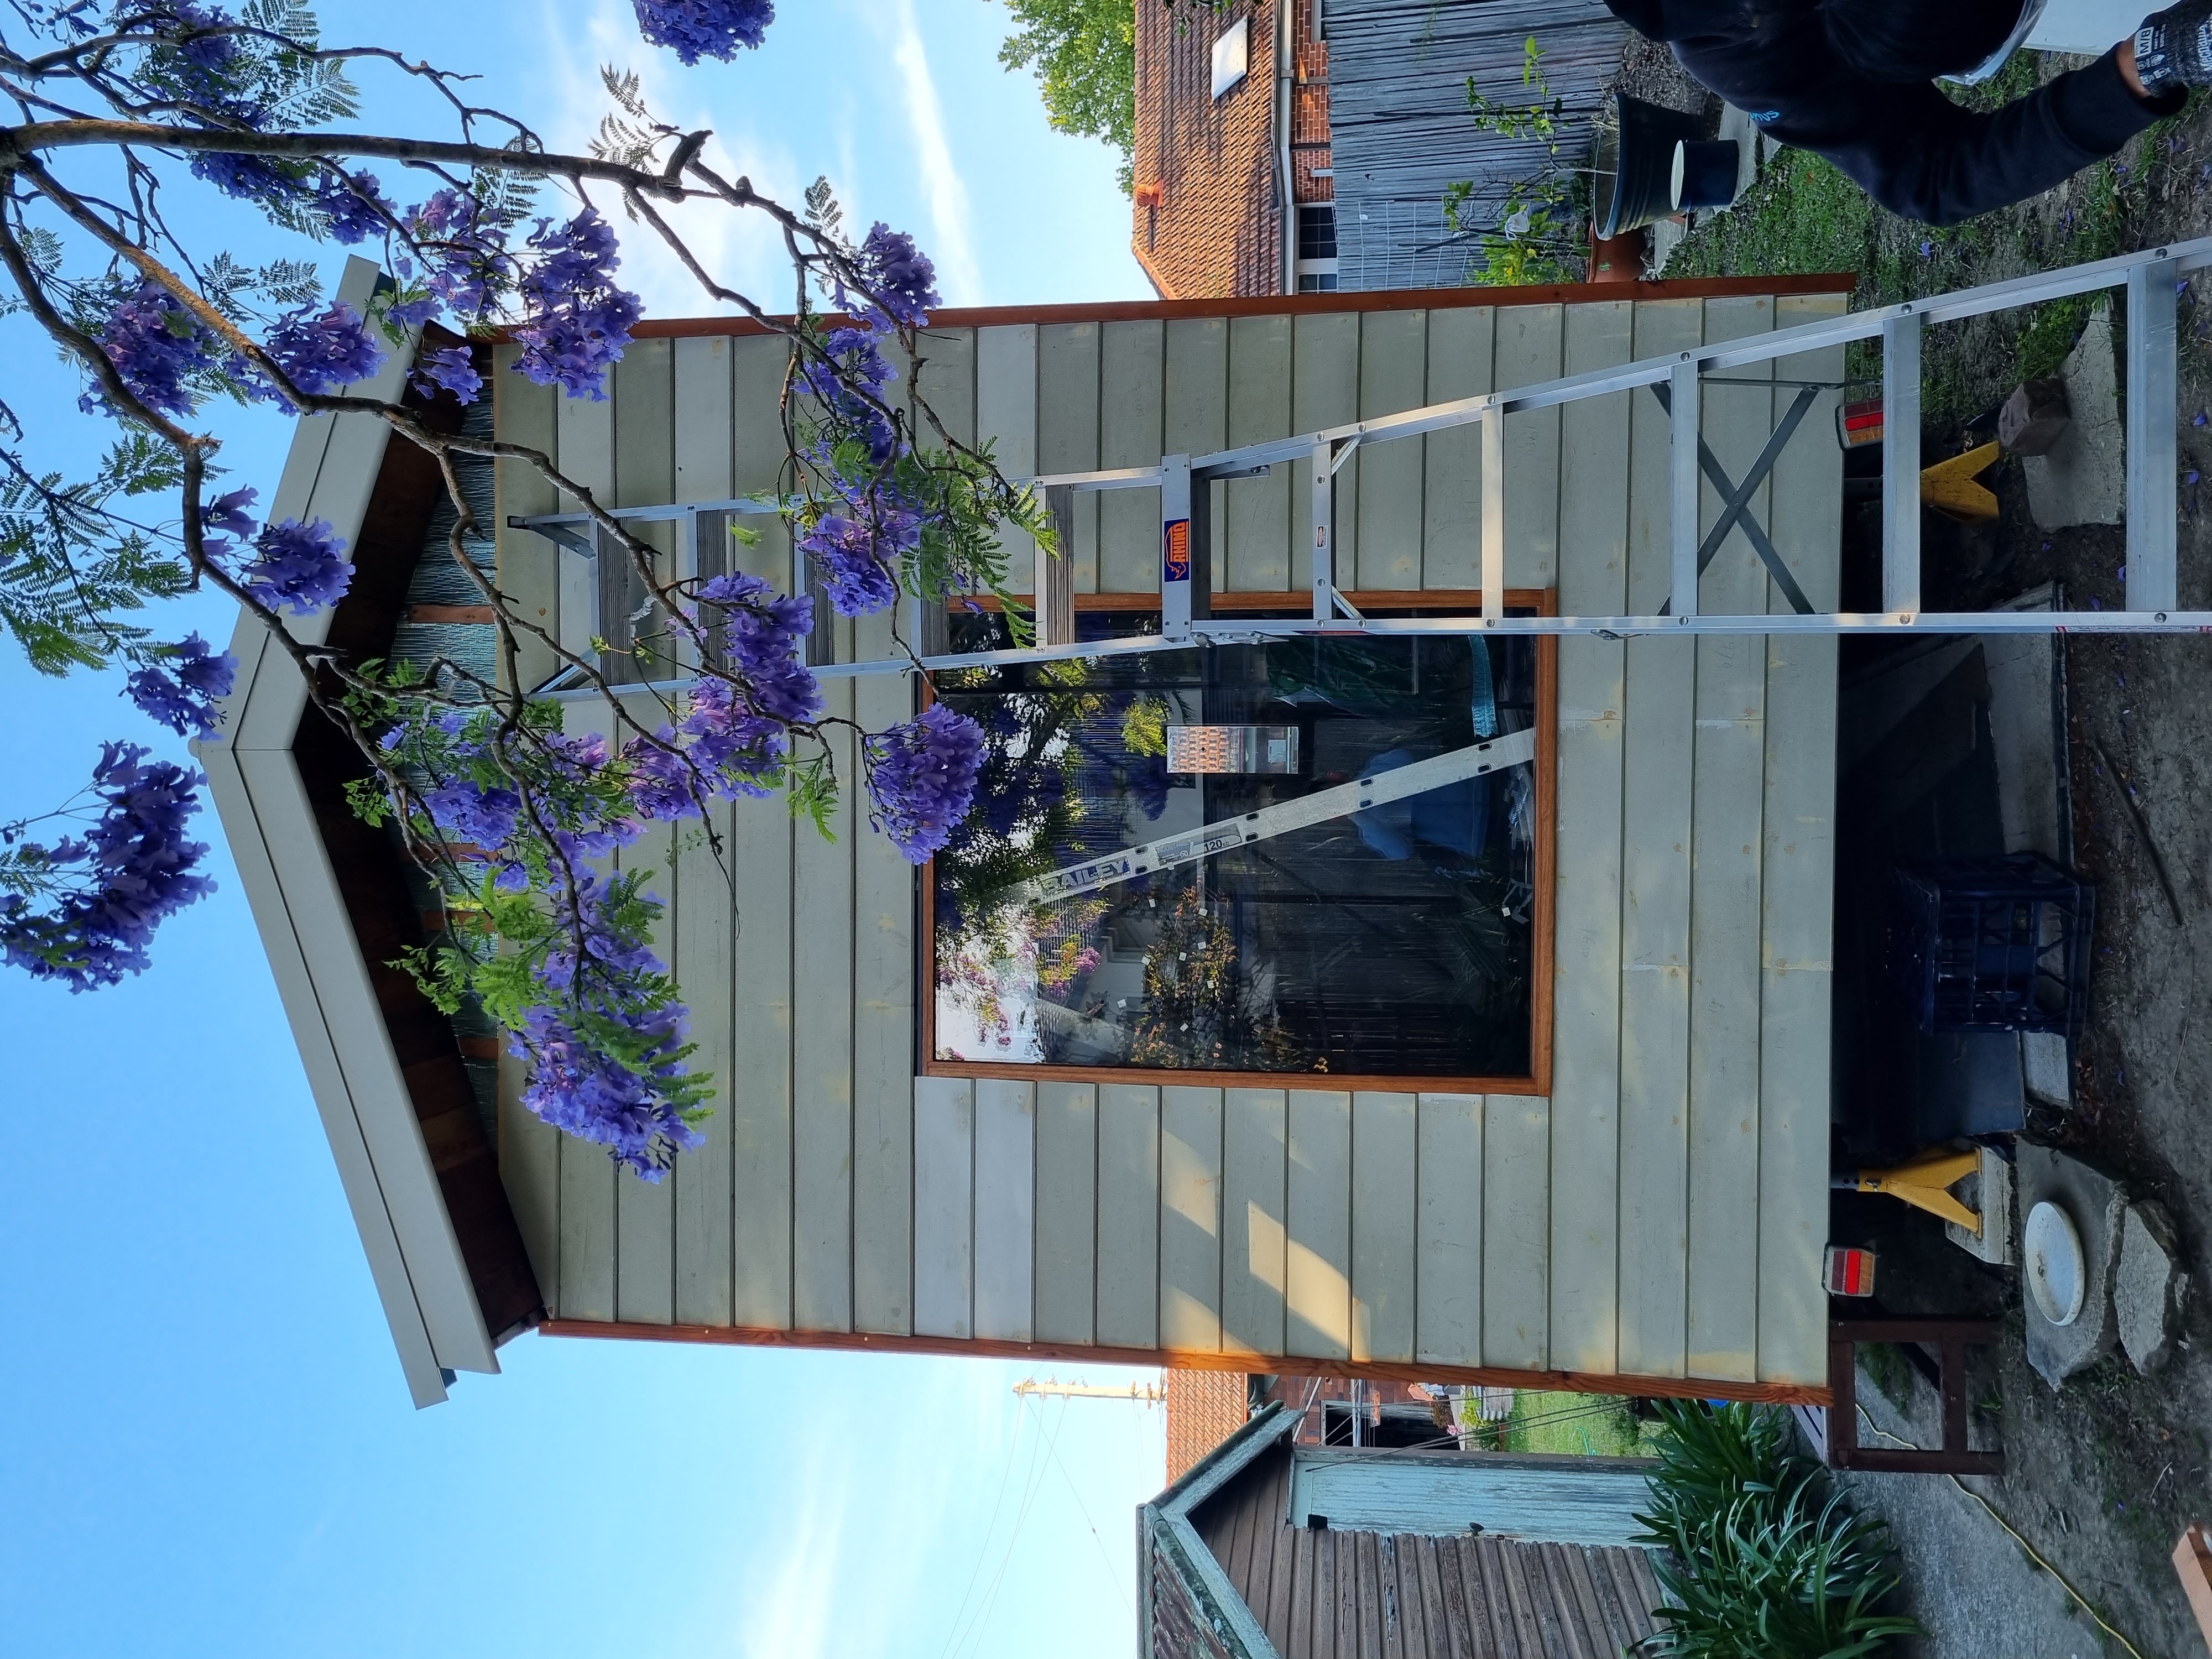
With corners and battens securely in place, we turned our attention to installing the first set of cladding: discarded pine weatherboards Erny unearthed from a previous build — for free no less! Grime-covered and weathered, these boards had seen better days. After a thorough cleaning, we painstakingly measured, painted the ends, and aligned them with precision. Lys, at this point, was starting to appreciate why some opt for the simplicity of Colorbond wall cladding. It took us 4 days to clad the far wall, and we puttied all the screw holes and sanded everything down ready for paint!
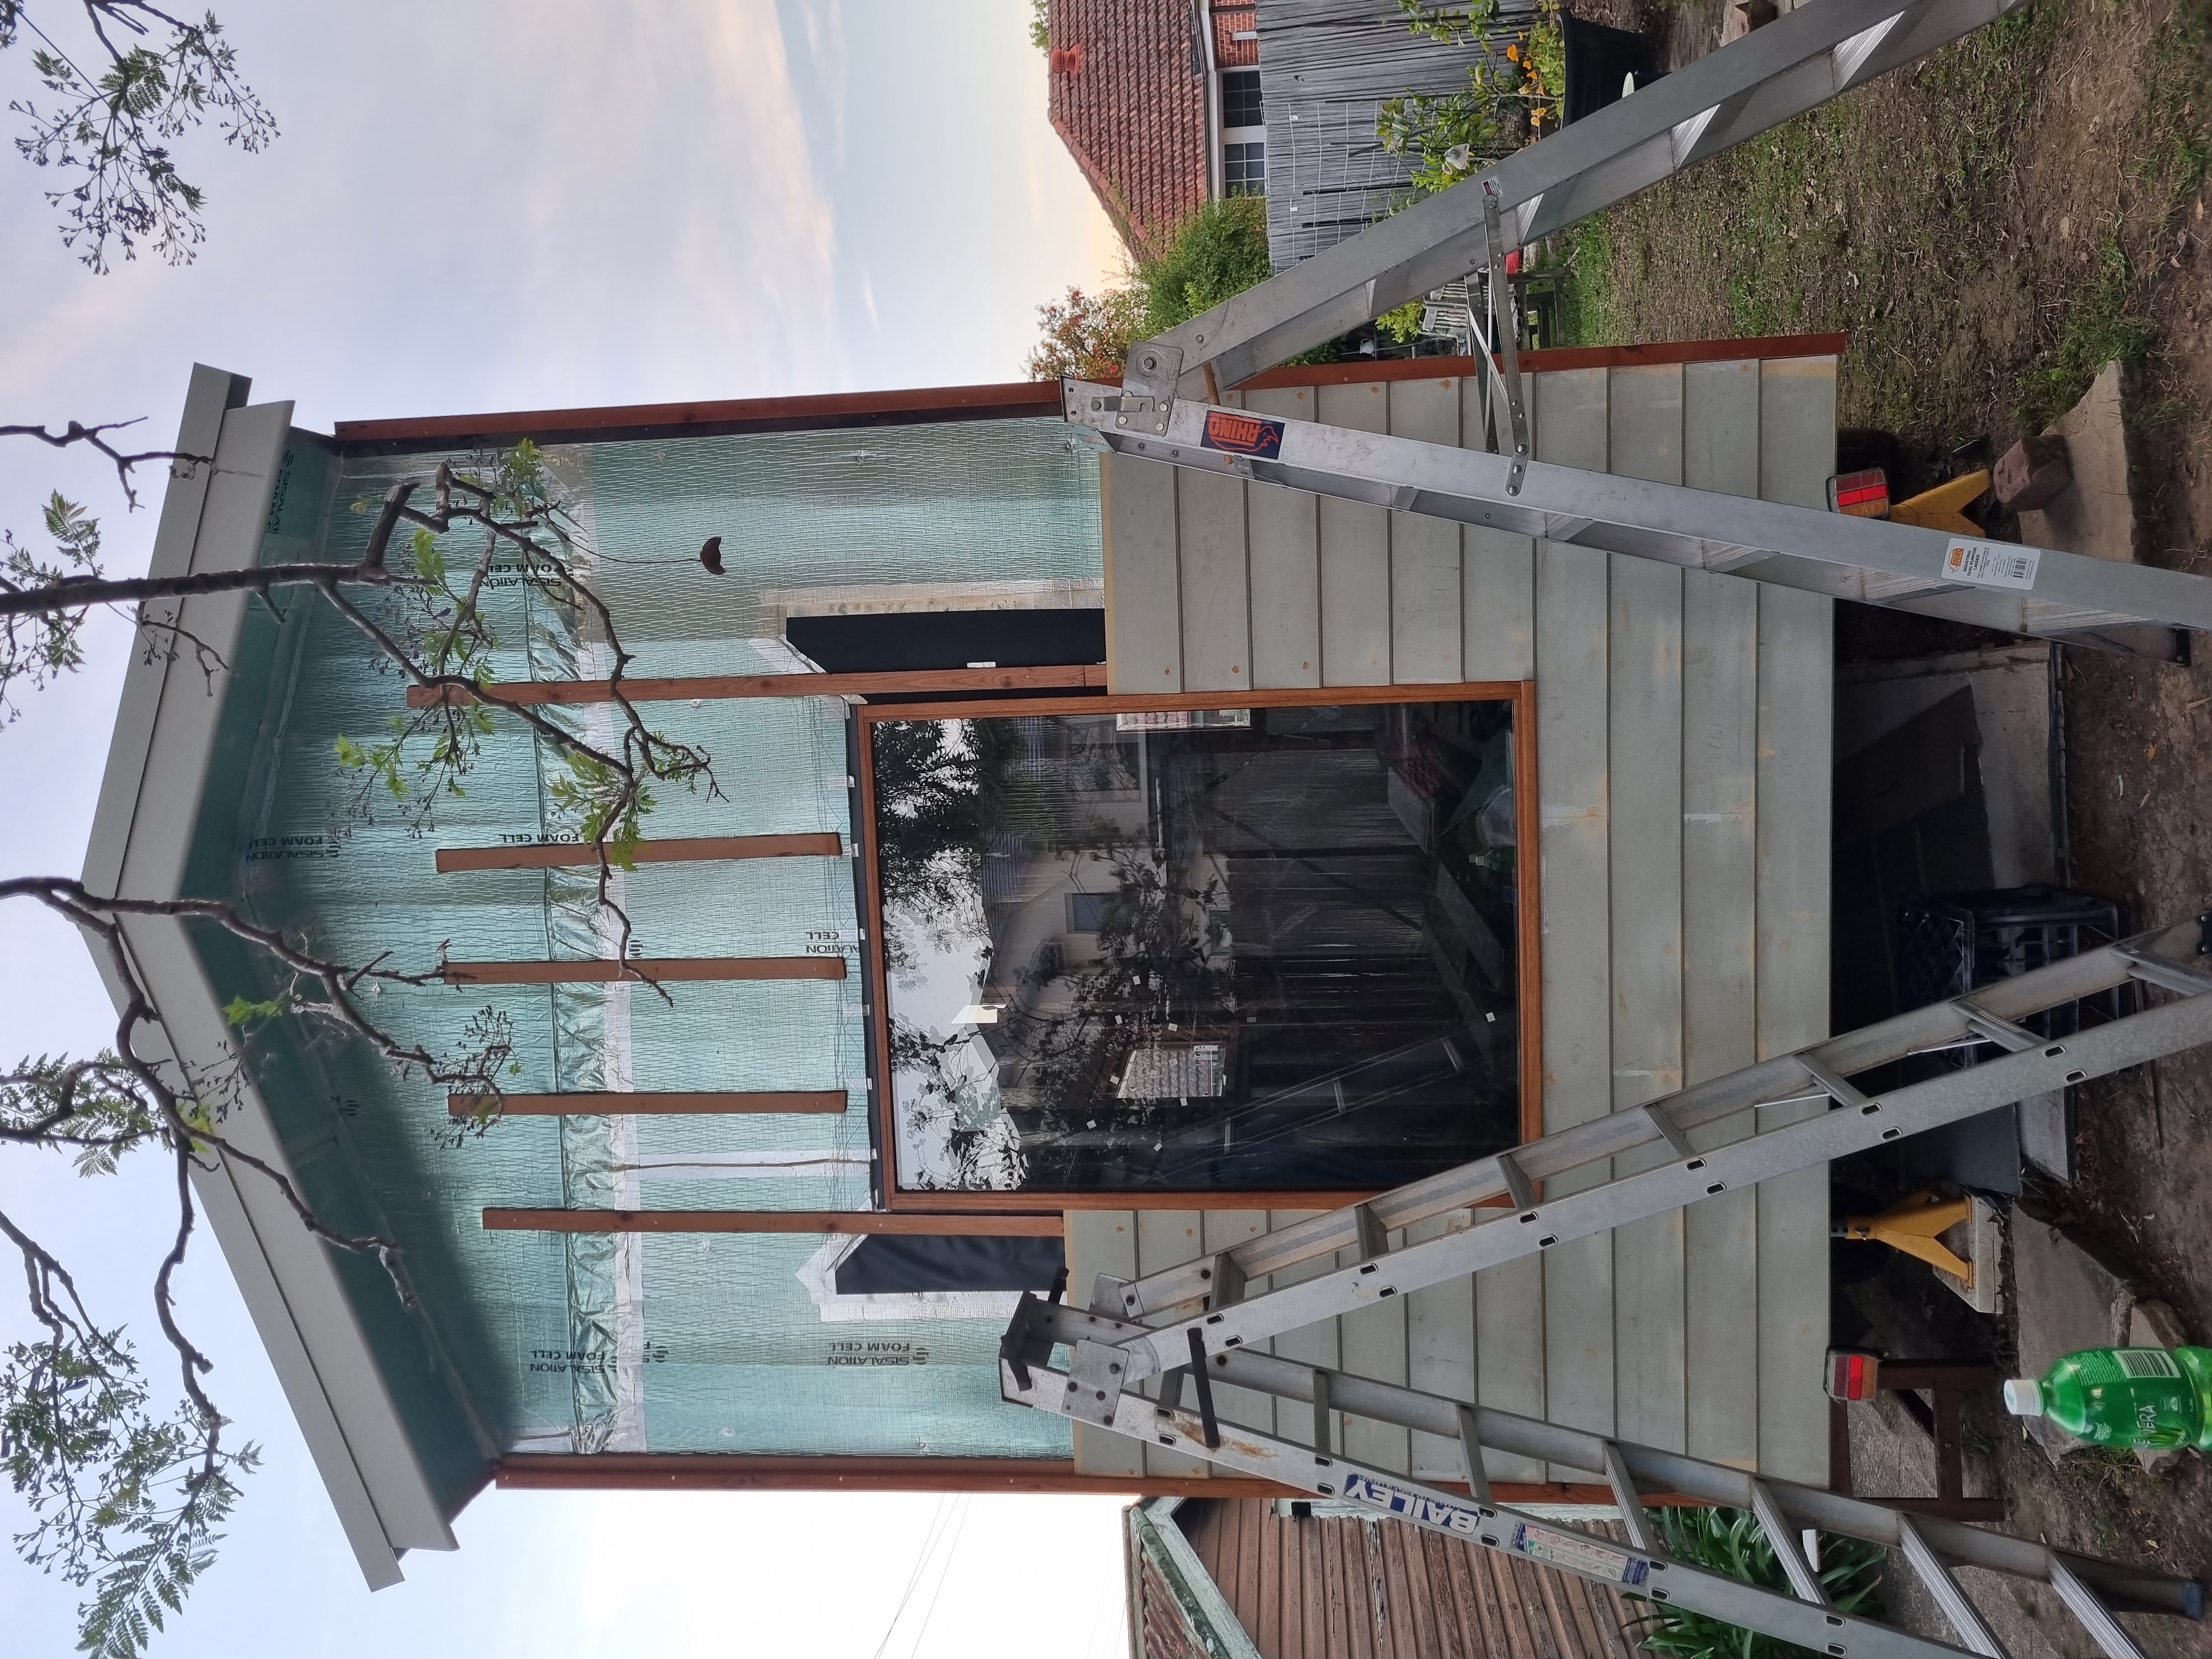
Starting to add cladding
Making Our Soffits Pretty (and giving us headaches)
Just as we thought we had conquered the wall, the realisation hit – completing the soffit was crucial for that clean finish. Our November goal shifted gears from “Let’s clad this wall!” to “We have to defeat this soffit!”. Luckily we had some cedar ship lap, saved from landfill earlier in the year. It was too short to be installed on a wall, but was the perfect size for the soffit. Cedar is also light, termite-resistant, and antifungal, so it is a great cladding option. Installing these small cedar pieces posed a challenge, especially high up on the ladder with a vertical drill. Our neck muscles got a workout, and it was a bit painful to look up, but teamwork prevailed. Lys handled drilling and pilot holes on the ground below, Erny took charge of installation, and after a few miscommunications, everything eventually fell into place.
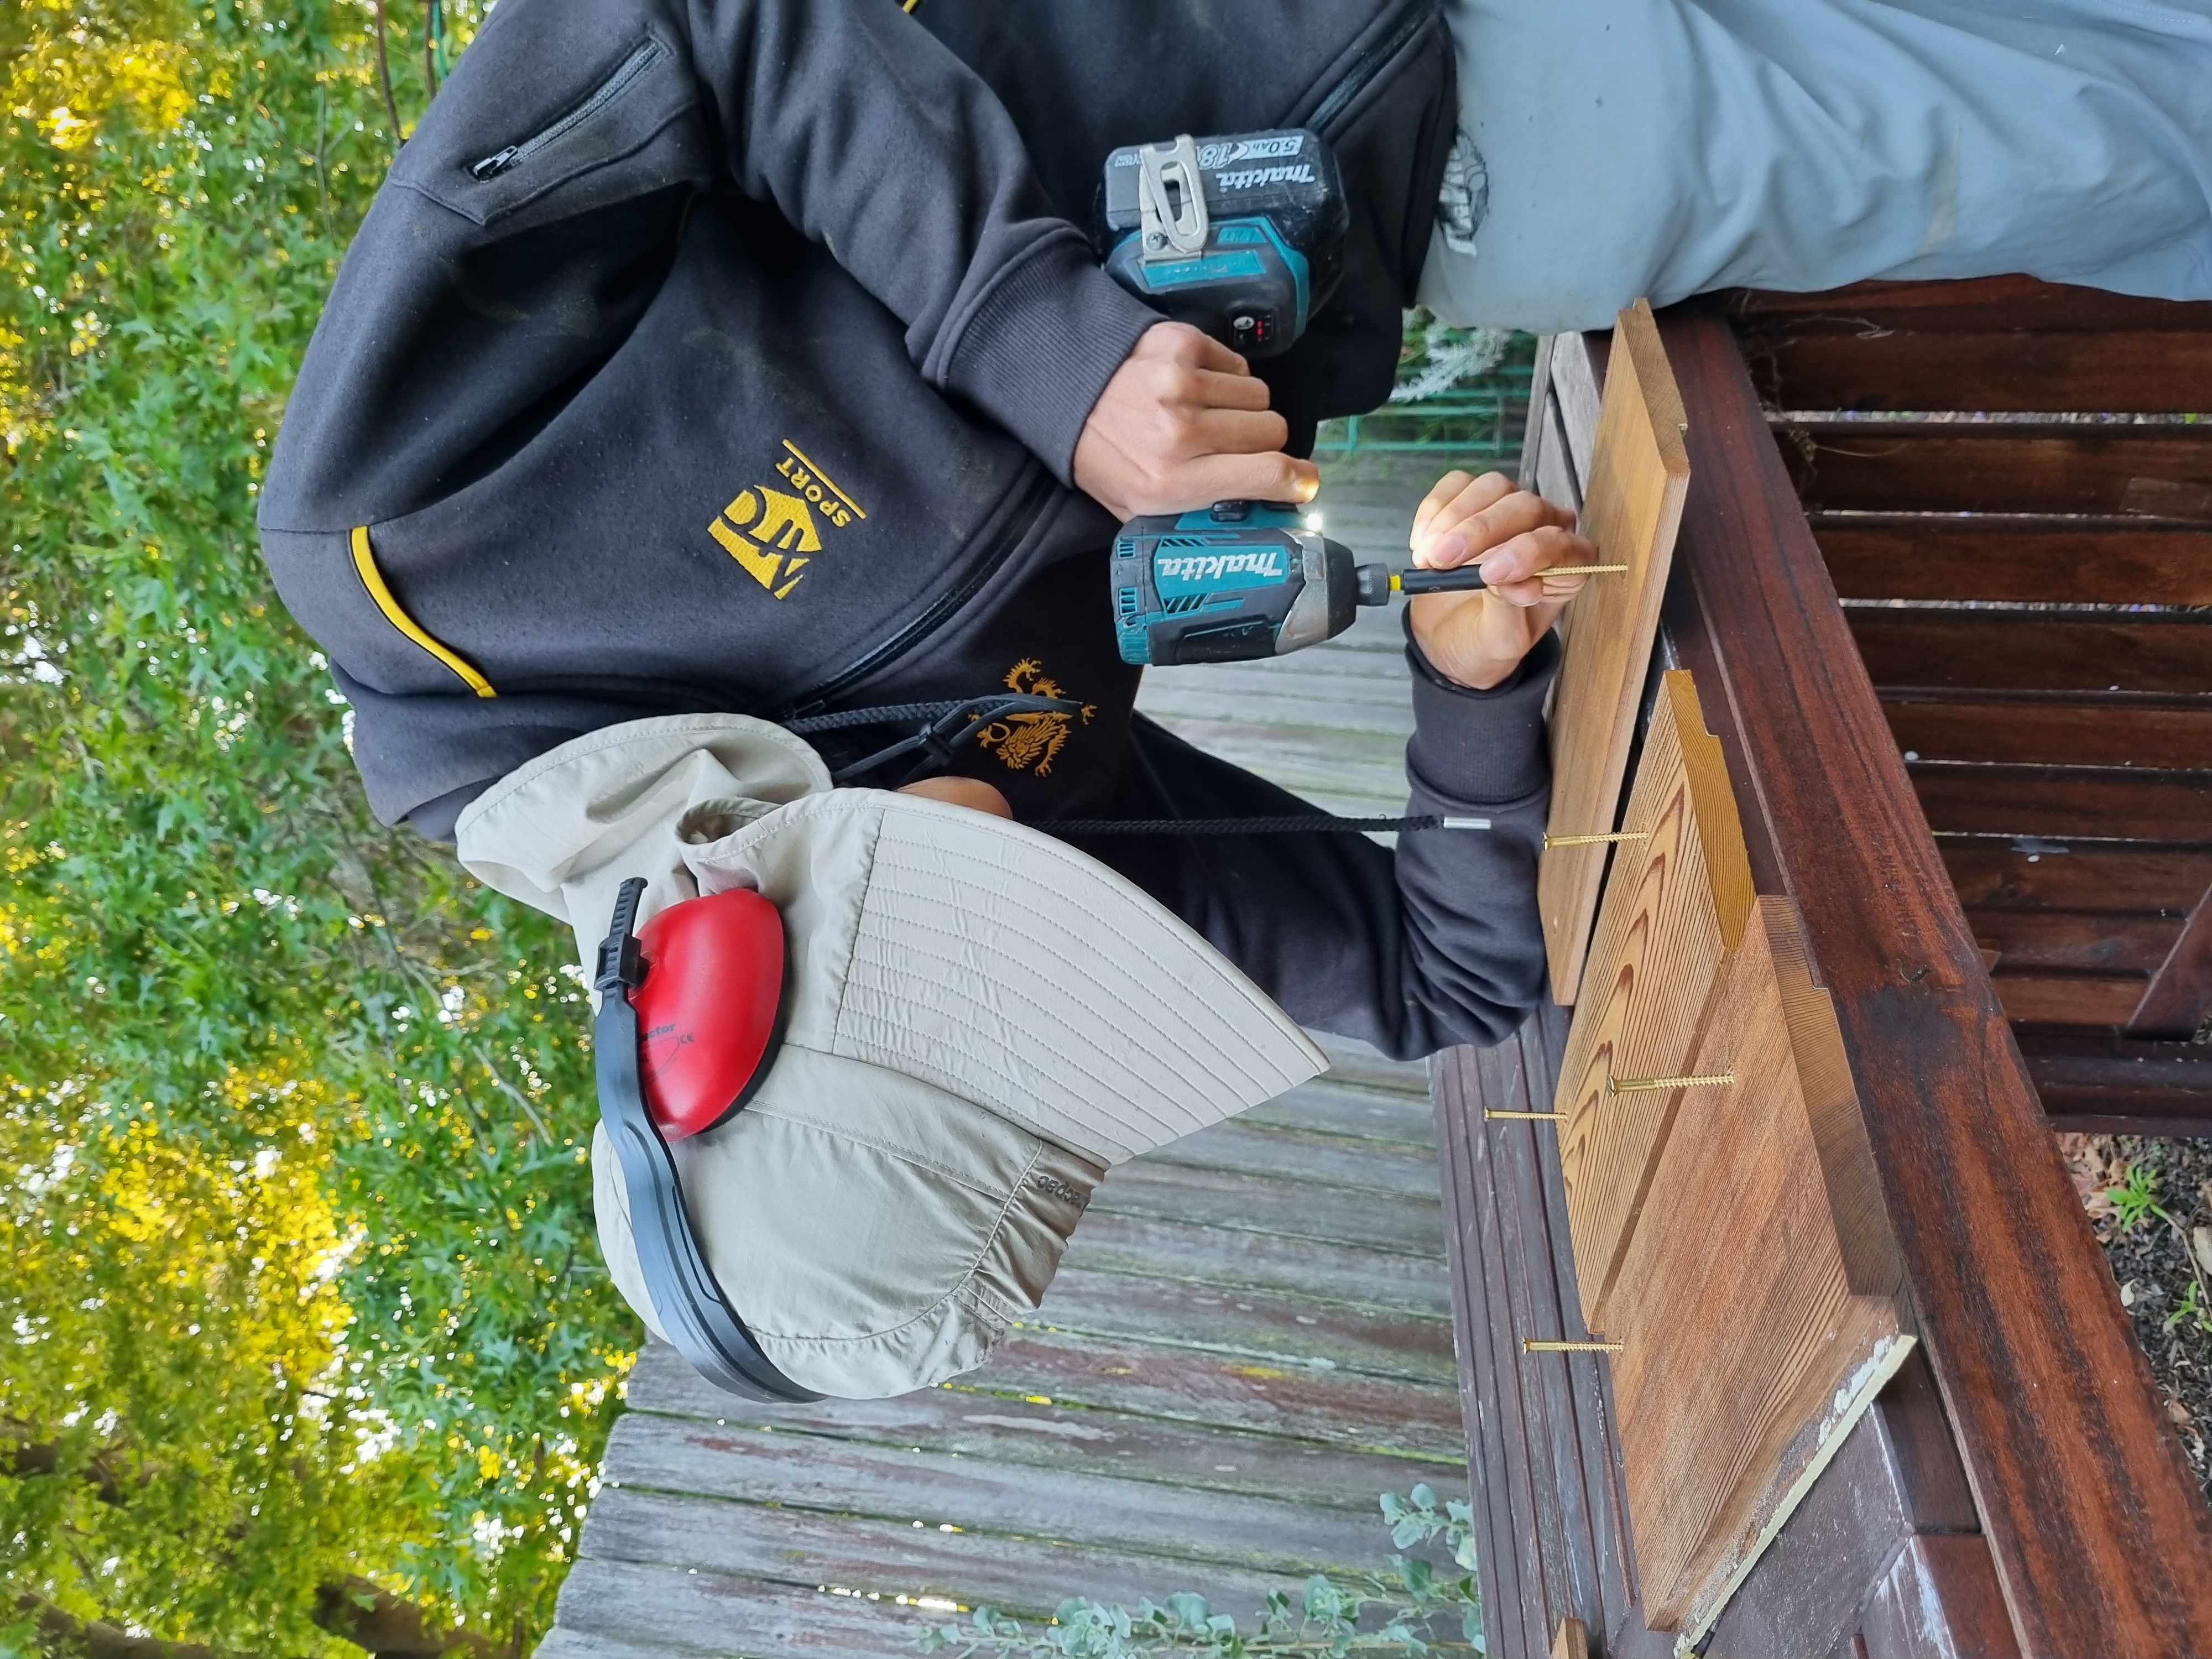
Preparing the brass screws for installation
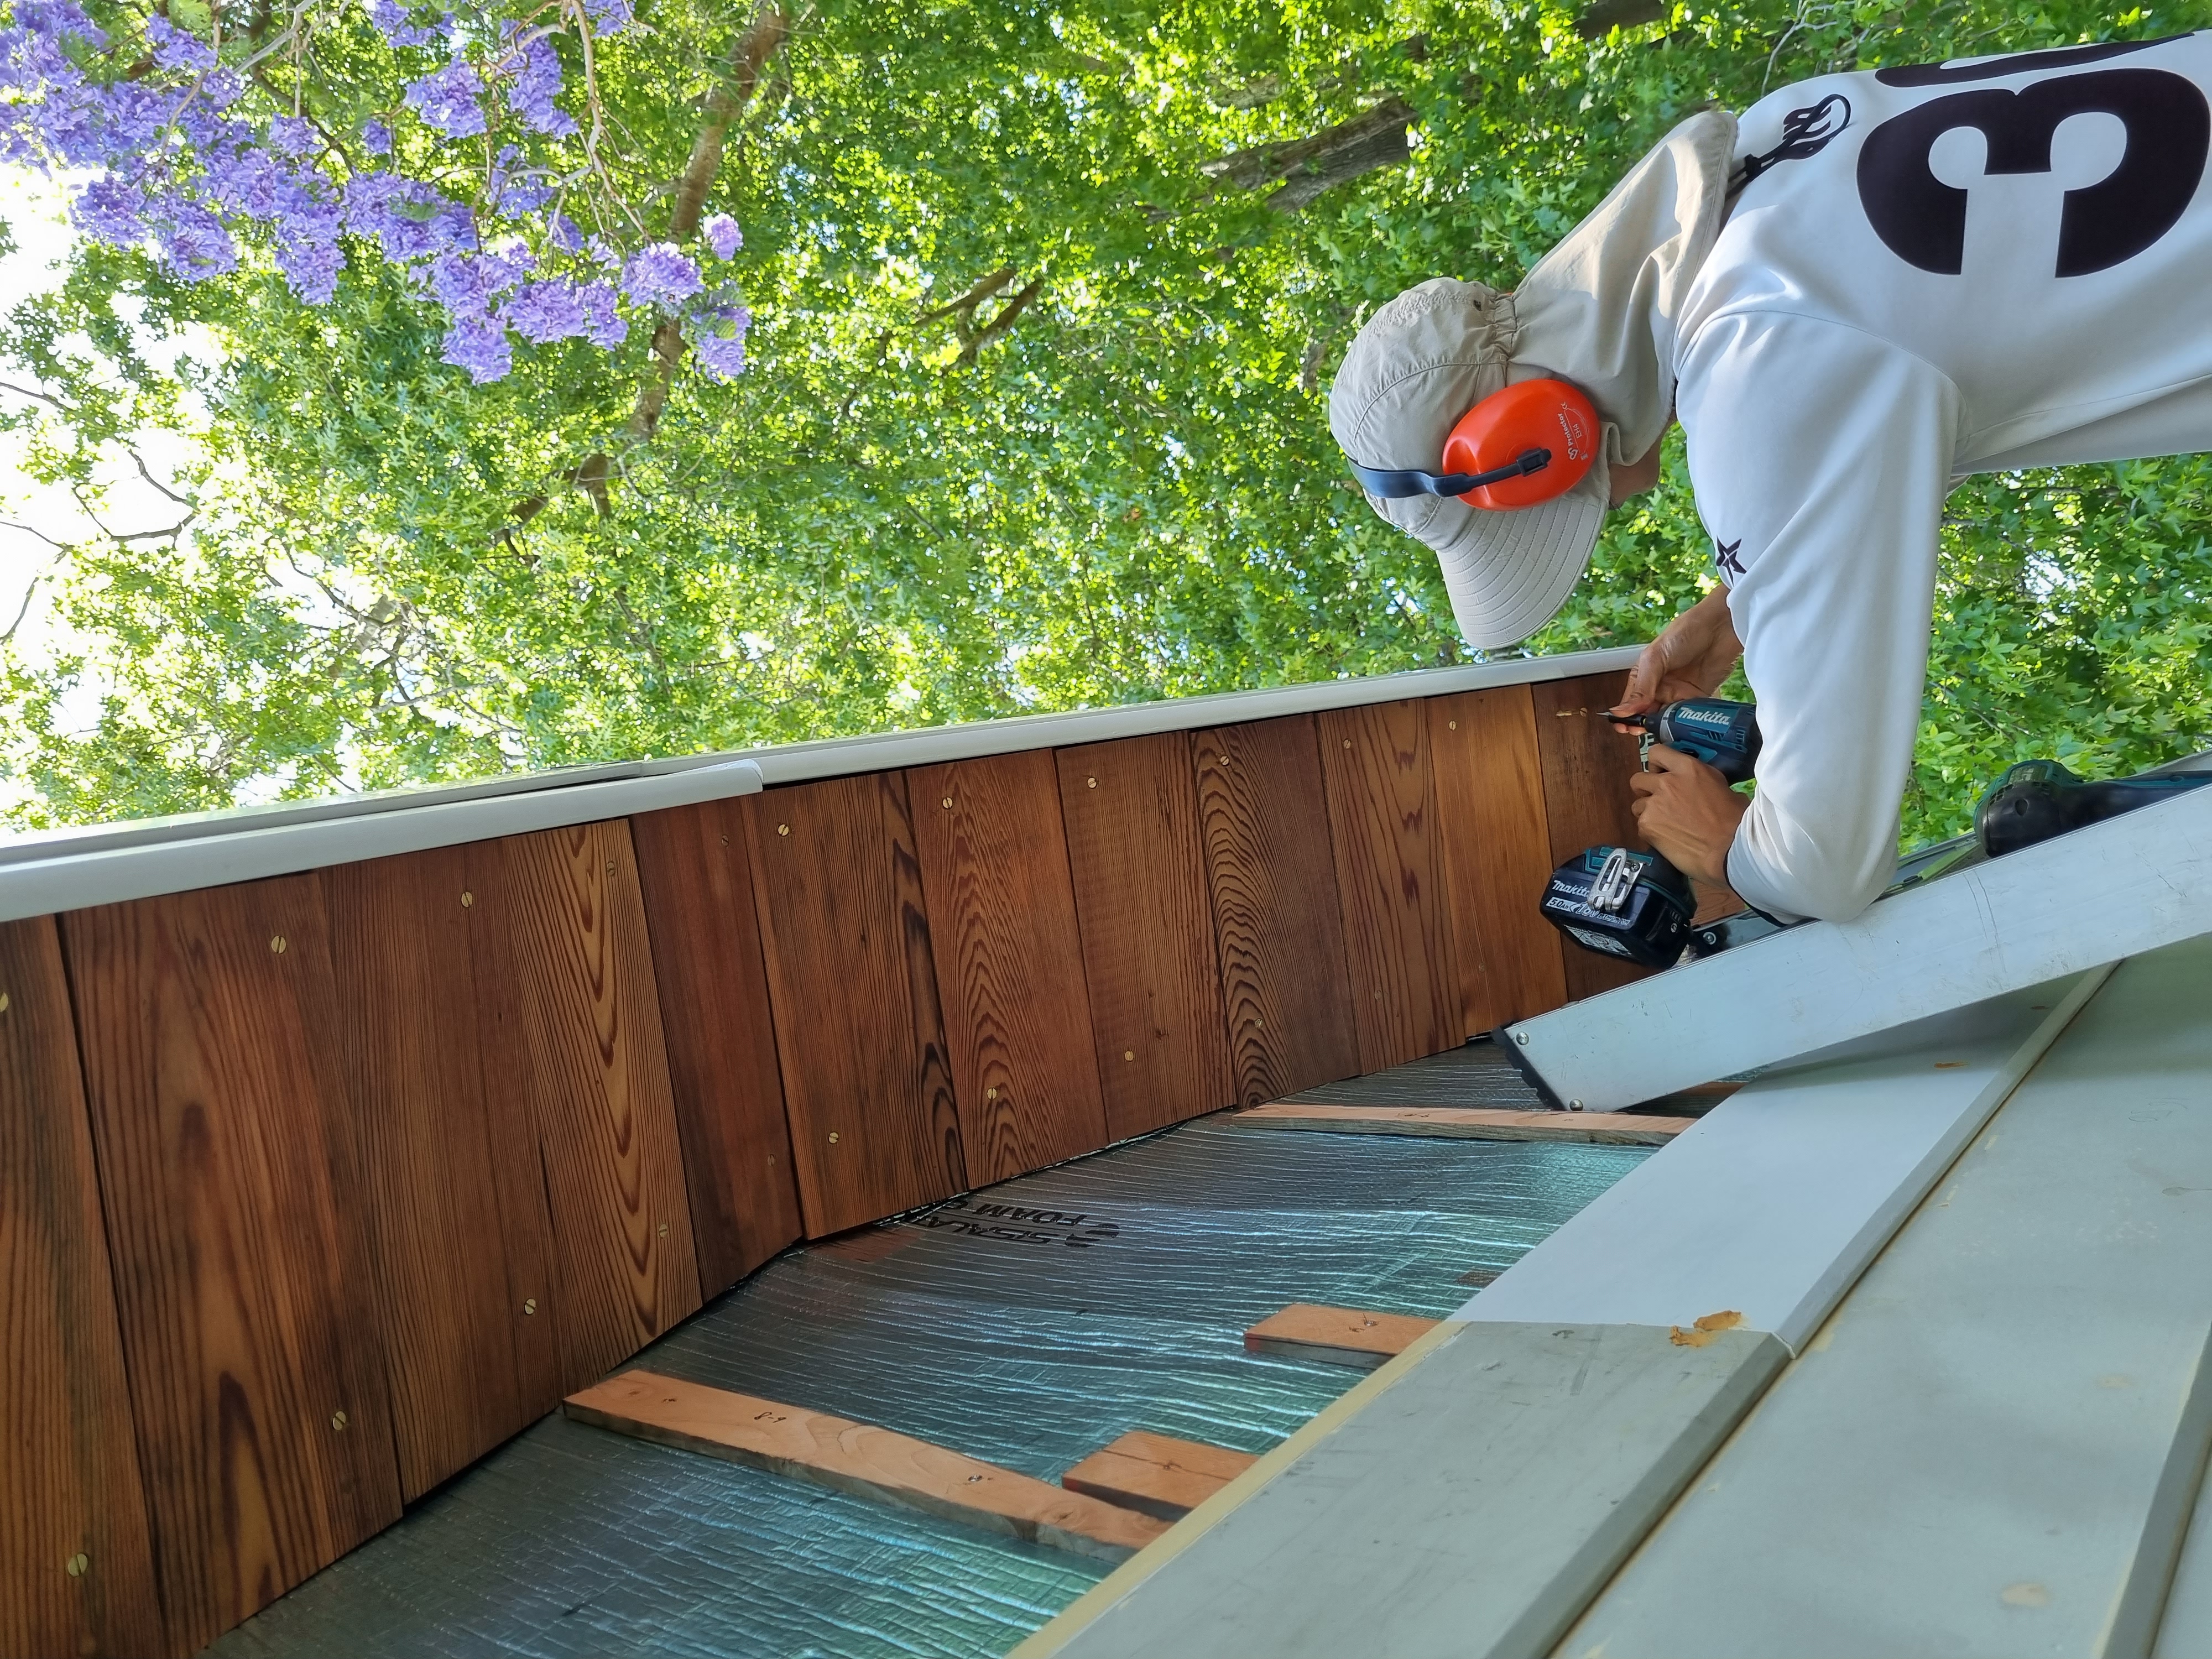
Installing the soffit
Now, onto the long back wall, the one with the fewest windows but its own set of challenges. On a 30-degree Sunday, Bel joined the crew, installing the lower half of the battens while Erny and Lys focused on the corner. Then we managed to get our first four weatherboards onto the house. Workflow became smoother; brass screws on the corner once again looked slick, and this time the installation was less painful. Silva had recommended using a screw guide, and this was a godsend. There is a sheath that goes over the screw and keeps it from slipping. It is a bit disconcerting because you can’t see the head of the screw, however, we are slowly getting the hang of it. We’ve also purchased a screwdriver with magnetic interchangeable heads, which has allowed us to make the screw head slots vertical. It’s very satisfying hand finishing the screws, however it is a bit of a labour of love. On the topic of labour, Bel suggested that we line up the pine cladding with the cedar cladding at the corner, for a seamless look. This means that we’ll have to use a few extra boards, but we think we’ll have enough resources. Only time will tell on this one…
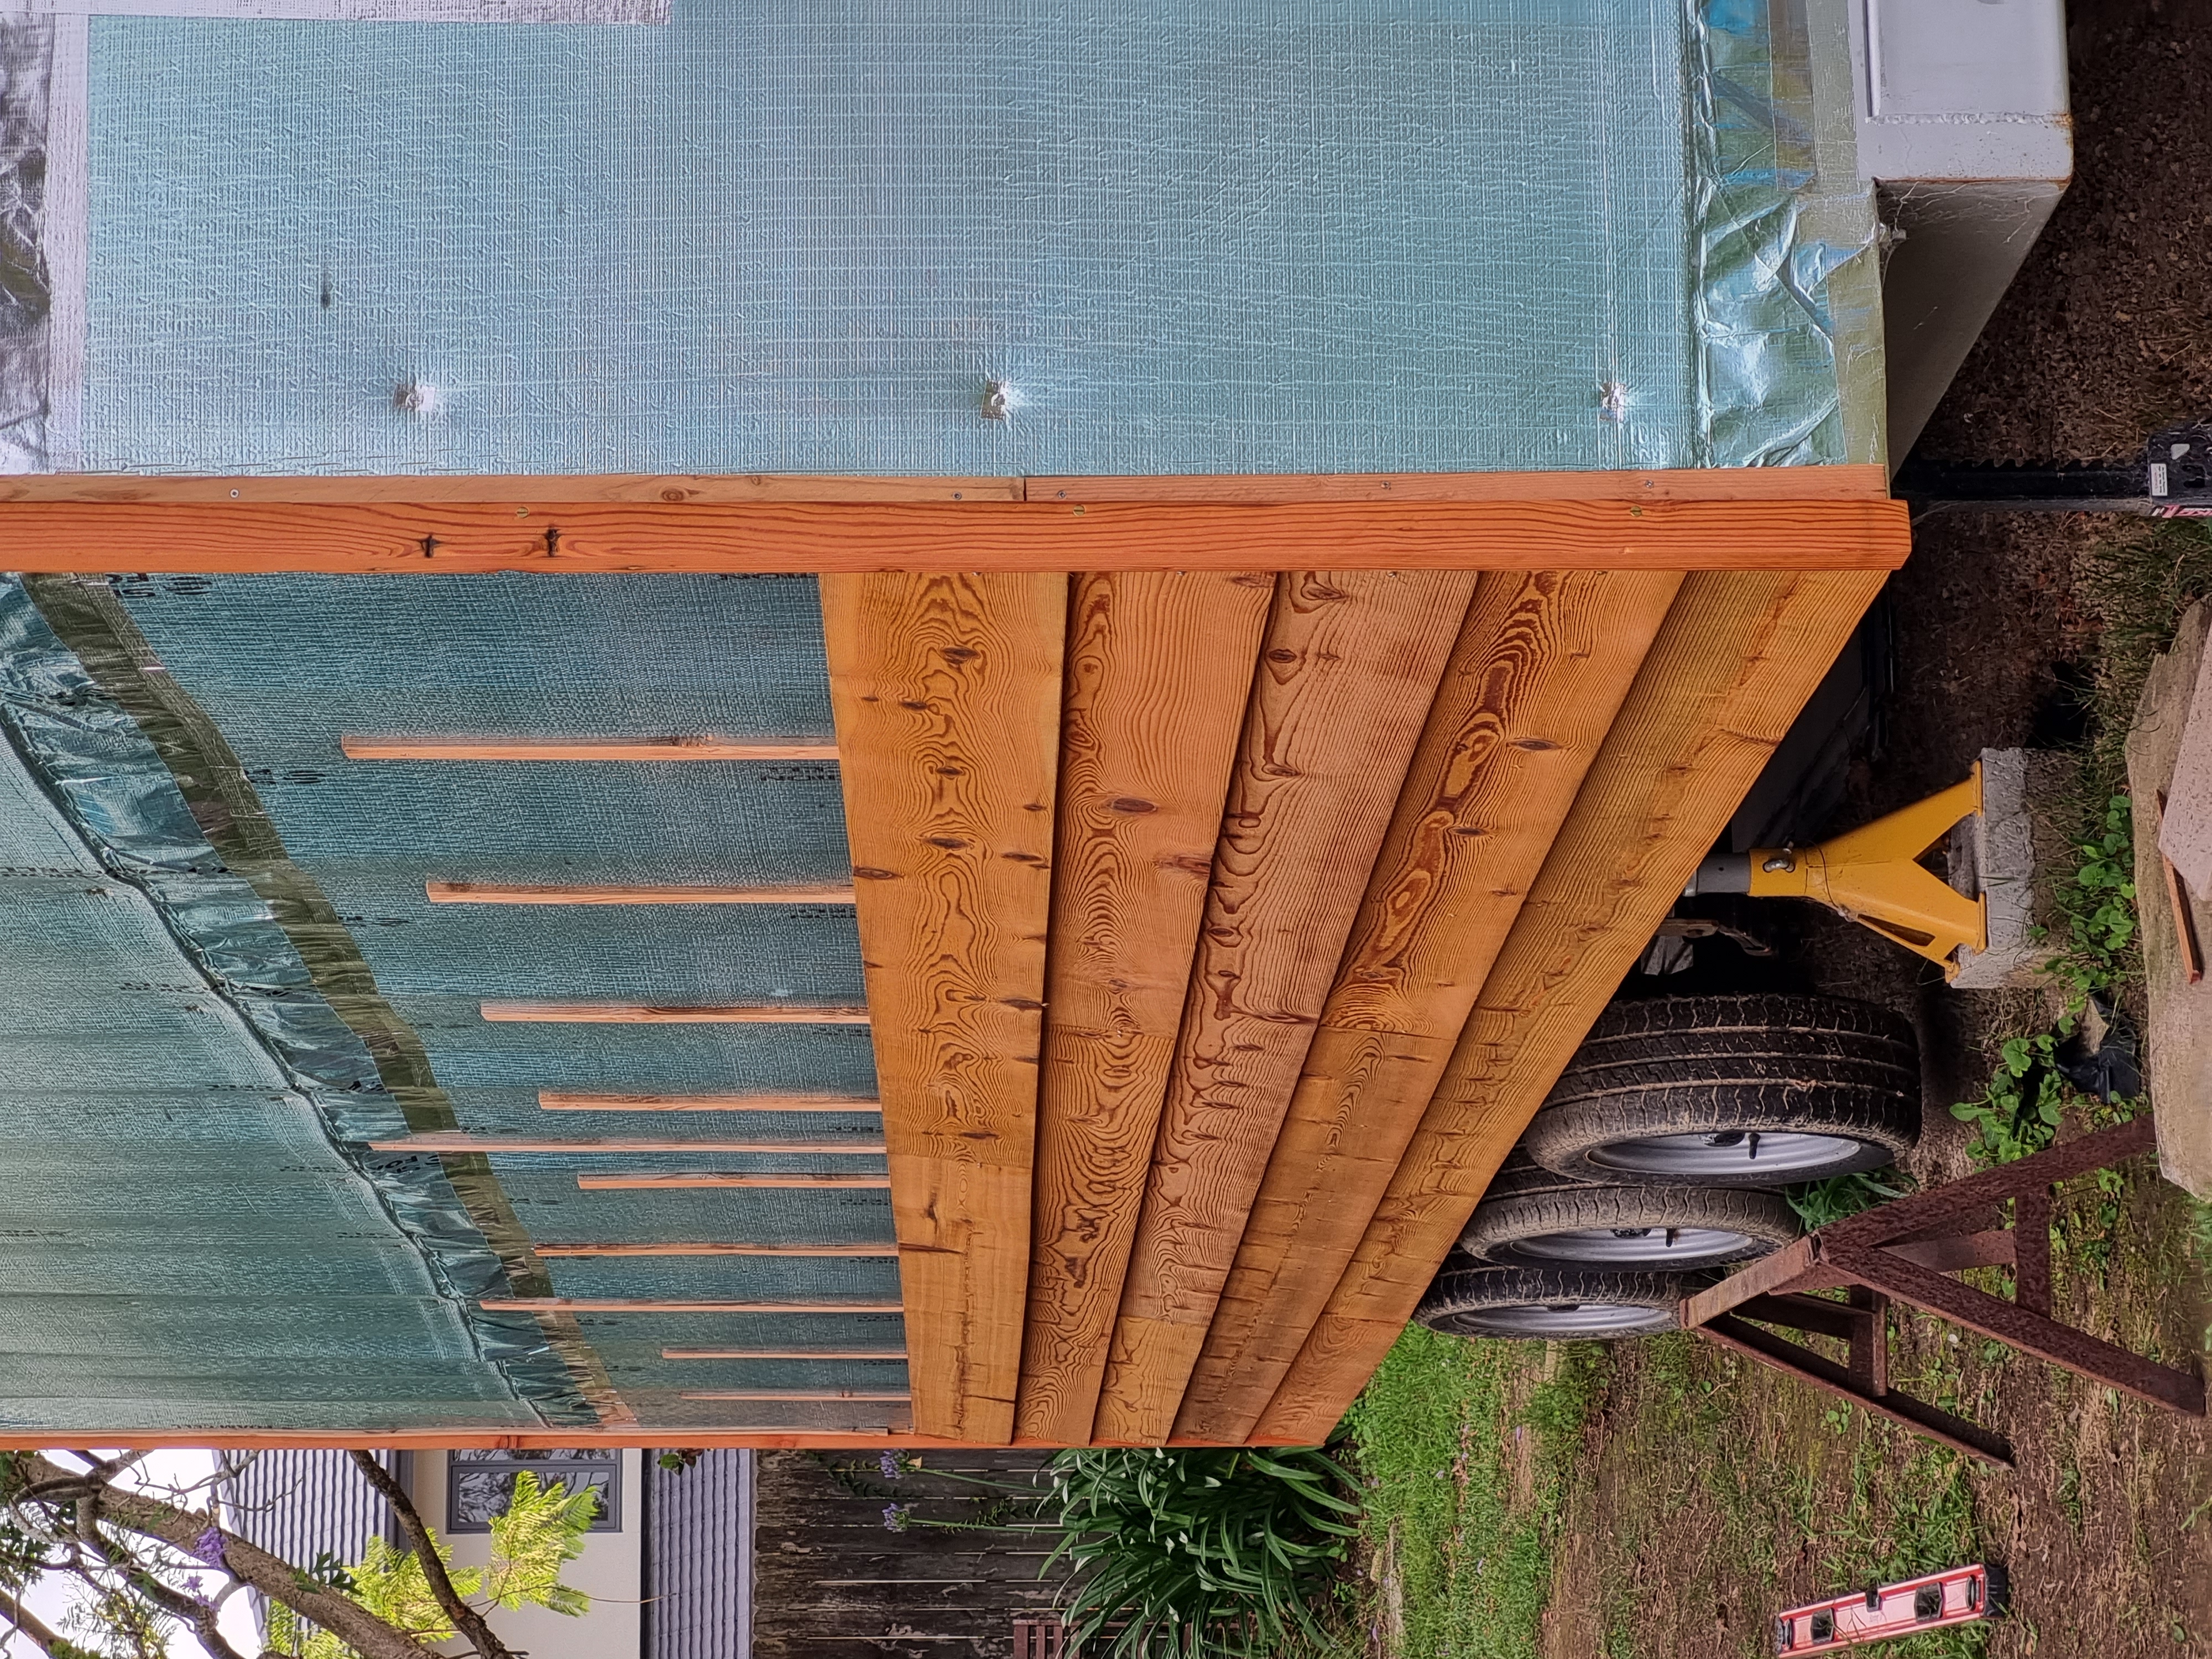
Starting the long wall with the western red cedar
What’s next?
There is still so much to do on the tiny house if we want to get to lock up by the 31st. We are currently focusing on the back wall, however we still need to find a correctly sized deadlock for the door, and we also need to create a door jamb. The clock is ticking! 🛠️🏡
One wall basically done and ready for paint!
Thank You!
Your comment has been submitted. It will appear on this page shortly! OKYikes, Sorry!
Error occured. Couldn't submit your comment. Please try again. Thank You! OK