2025 May to Aug Build Update
News flash: our house is now an appliance!
Just kidding — but it has started to feel that way with the electrics coming online this month and once again, we know it’s August, and last build update was in May but we’ve been really trying to make serious progress this build. We also know that we had a planned move in date for May…and that did not happen obviously.
But why is the tiny house an appliance? Read on to find out 😊
Table Of Contents
Bathroom Check In
But first, little (big) jobs that we finished in June - as you, our dear reader knows, we finished tiling the floors of the bathroom and they look wonderful (if we can say so ourselves) and we are enjoying the tiles by covering them up with plastic so they don’t get scratched (such is life on a job site). Then, we ordered and installed some wet wall PVC panel and now have shower walls! They still need to be silicone-d (technical term) but they look very specky. We chose a matte finish with a subtle stone pattern, hoping it would make the tiny bathroom feel bright and open while cleverly hiding scratches and smudges. While the look is specky, installation was… less so. An unintended consequence of using this material was that when you cut plastic with a circular saw tiny little micro-plastics are created…which isn’t ideal. The particles of PVC resemble desiccated coconut and get everywhere: in our hair, on our clothes, on the floor (we’re vacuuming constantly).
Additionally, we found that even though the panels are marketed as DIY friendly, the panels don’t always click together seamlessly, and we found ourselves improvising with tape as a tensioner to keep everything aligned. It was honestly so frustrating and Lys wanted to scream. Still, there are some perks — no grout lines makes for much easier cleaning, and the panels feel sturdy once in place.
We are not sure that we would recommend this material for a traditional house renovation, it certainly is suitable for a tiny house, caravan or rental but tile still looks the best. To get a feel of the bathroom as a whole, we then rough installed our bathroom fixtures as well in prep for the final plumbing components. Now we just need our shower door.
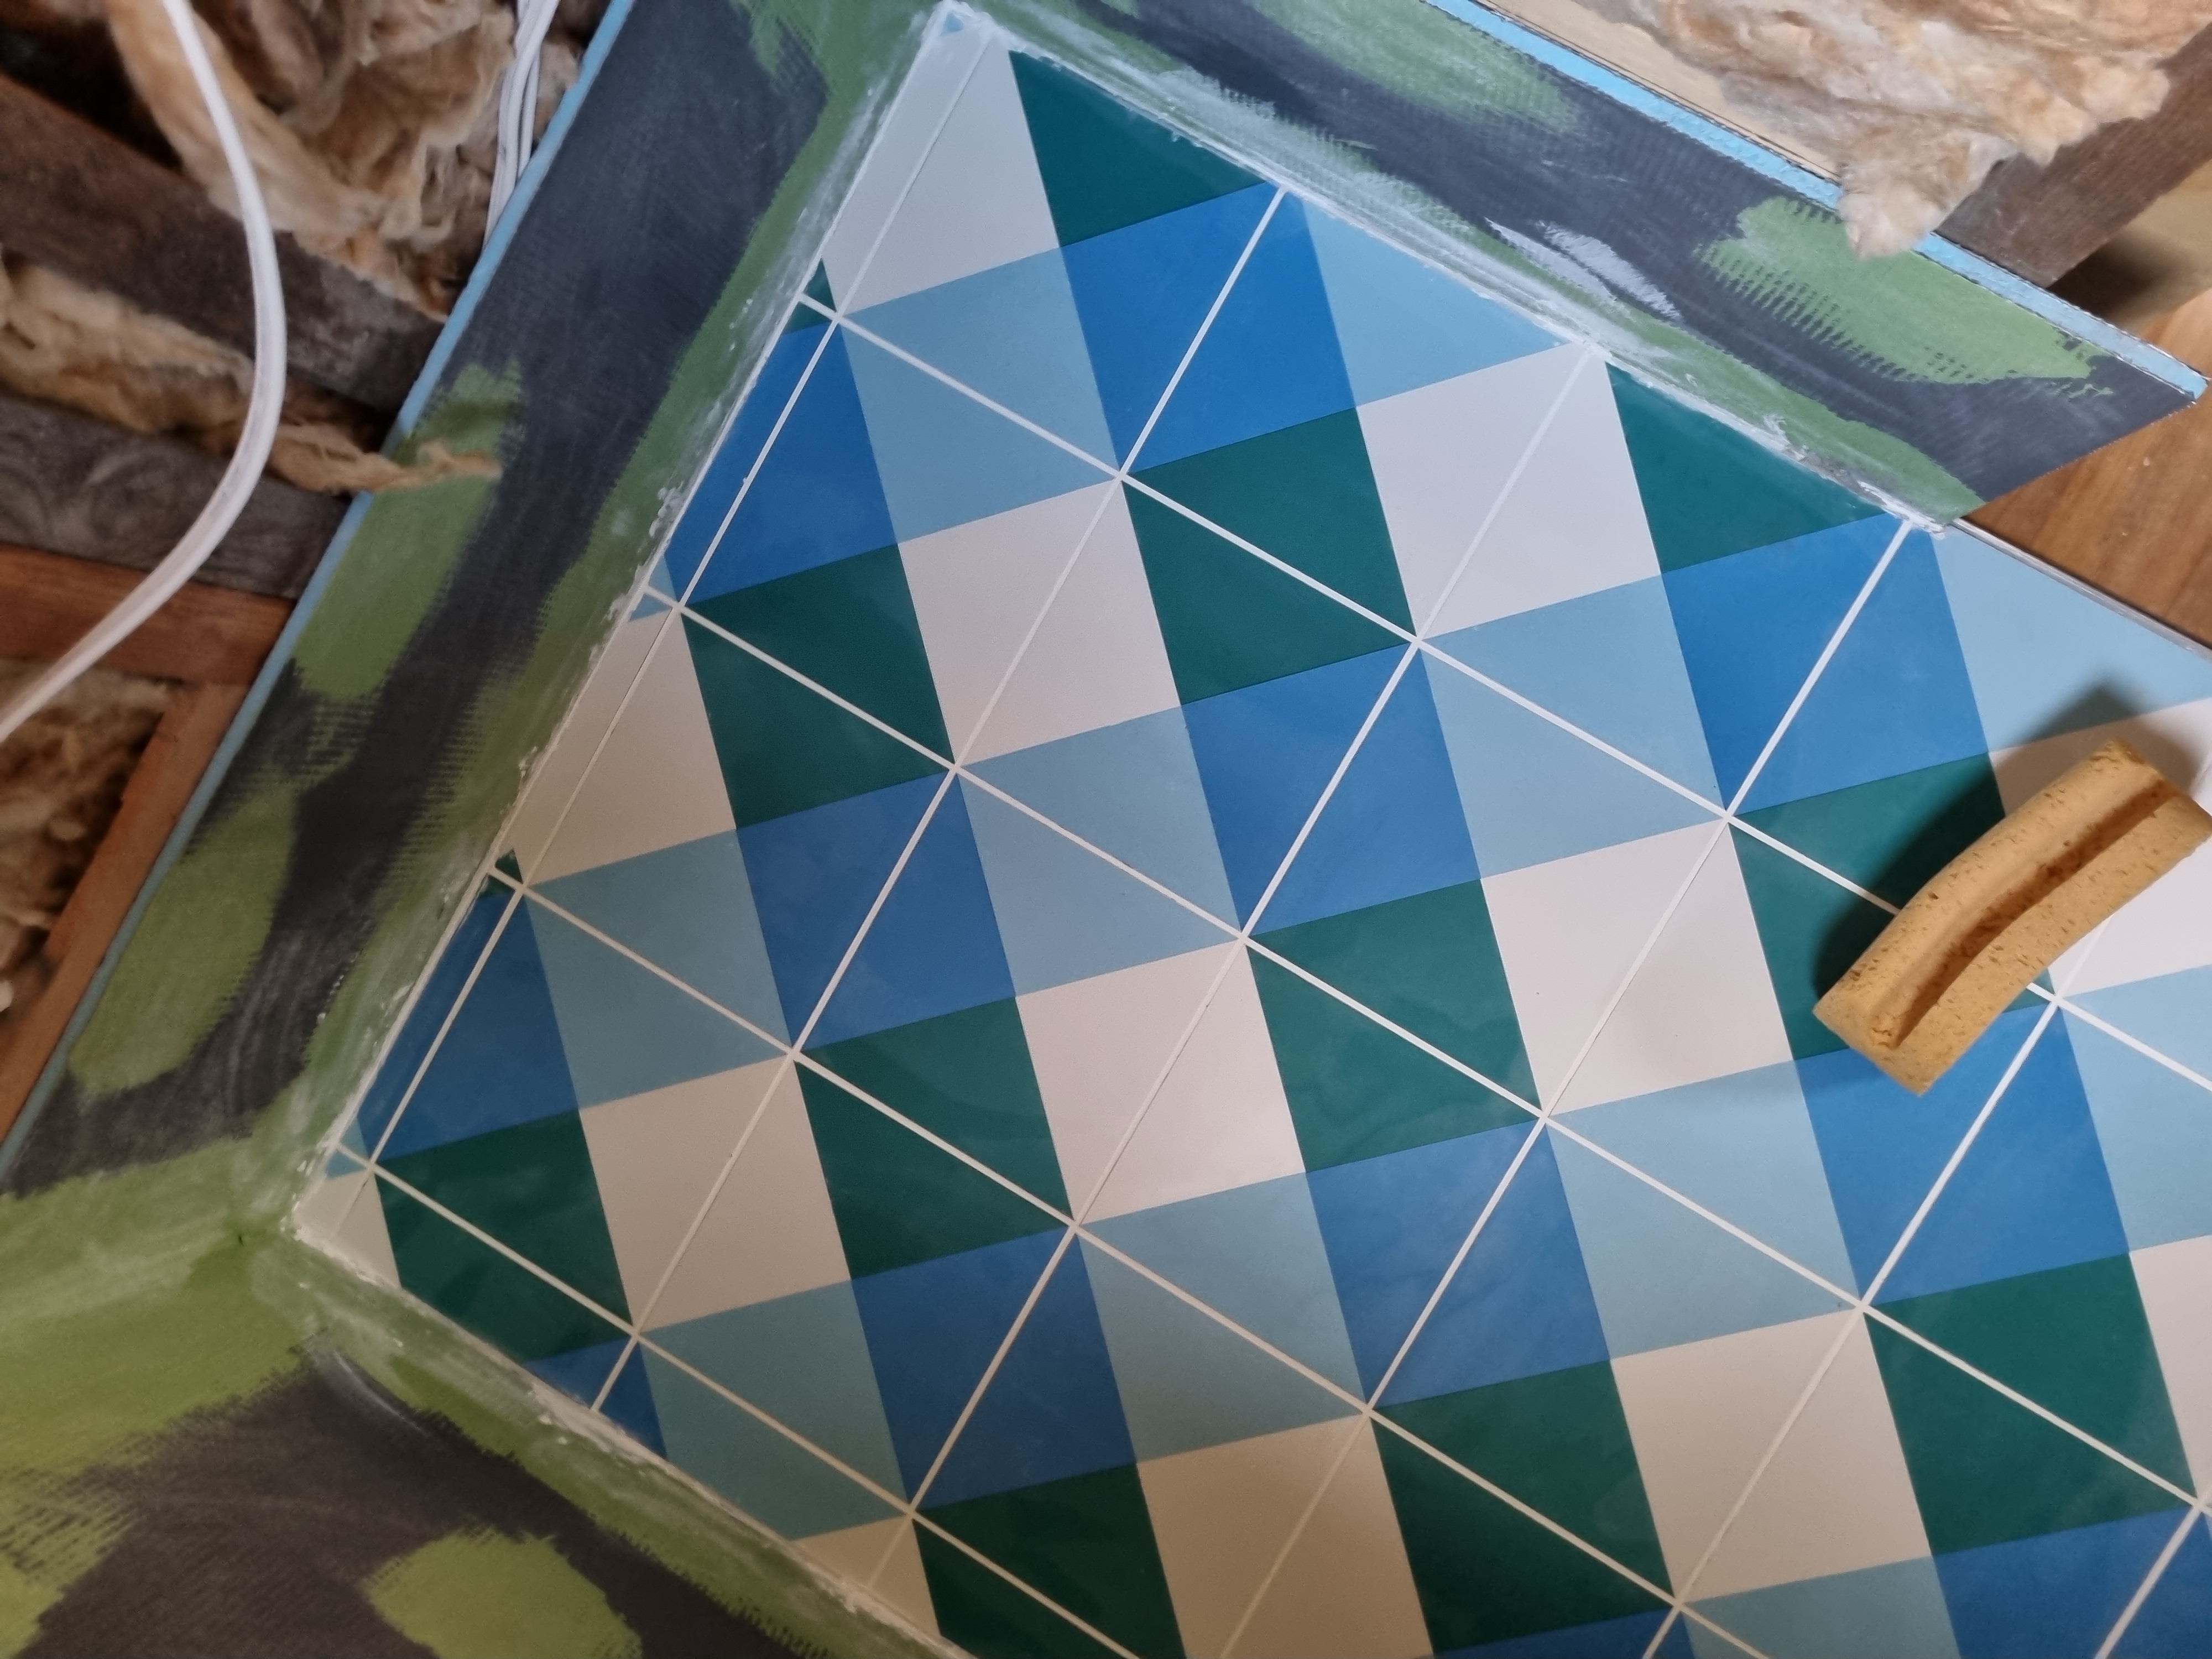
Finished grouted floor
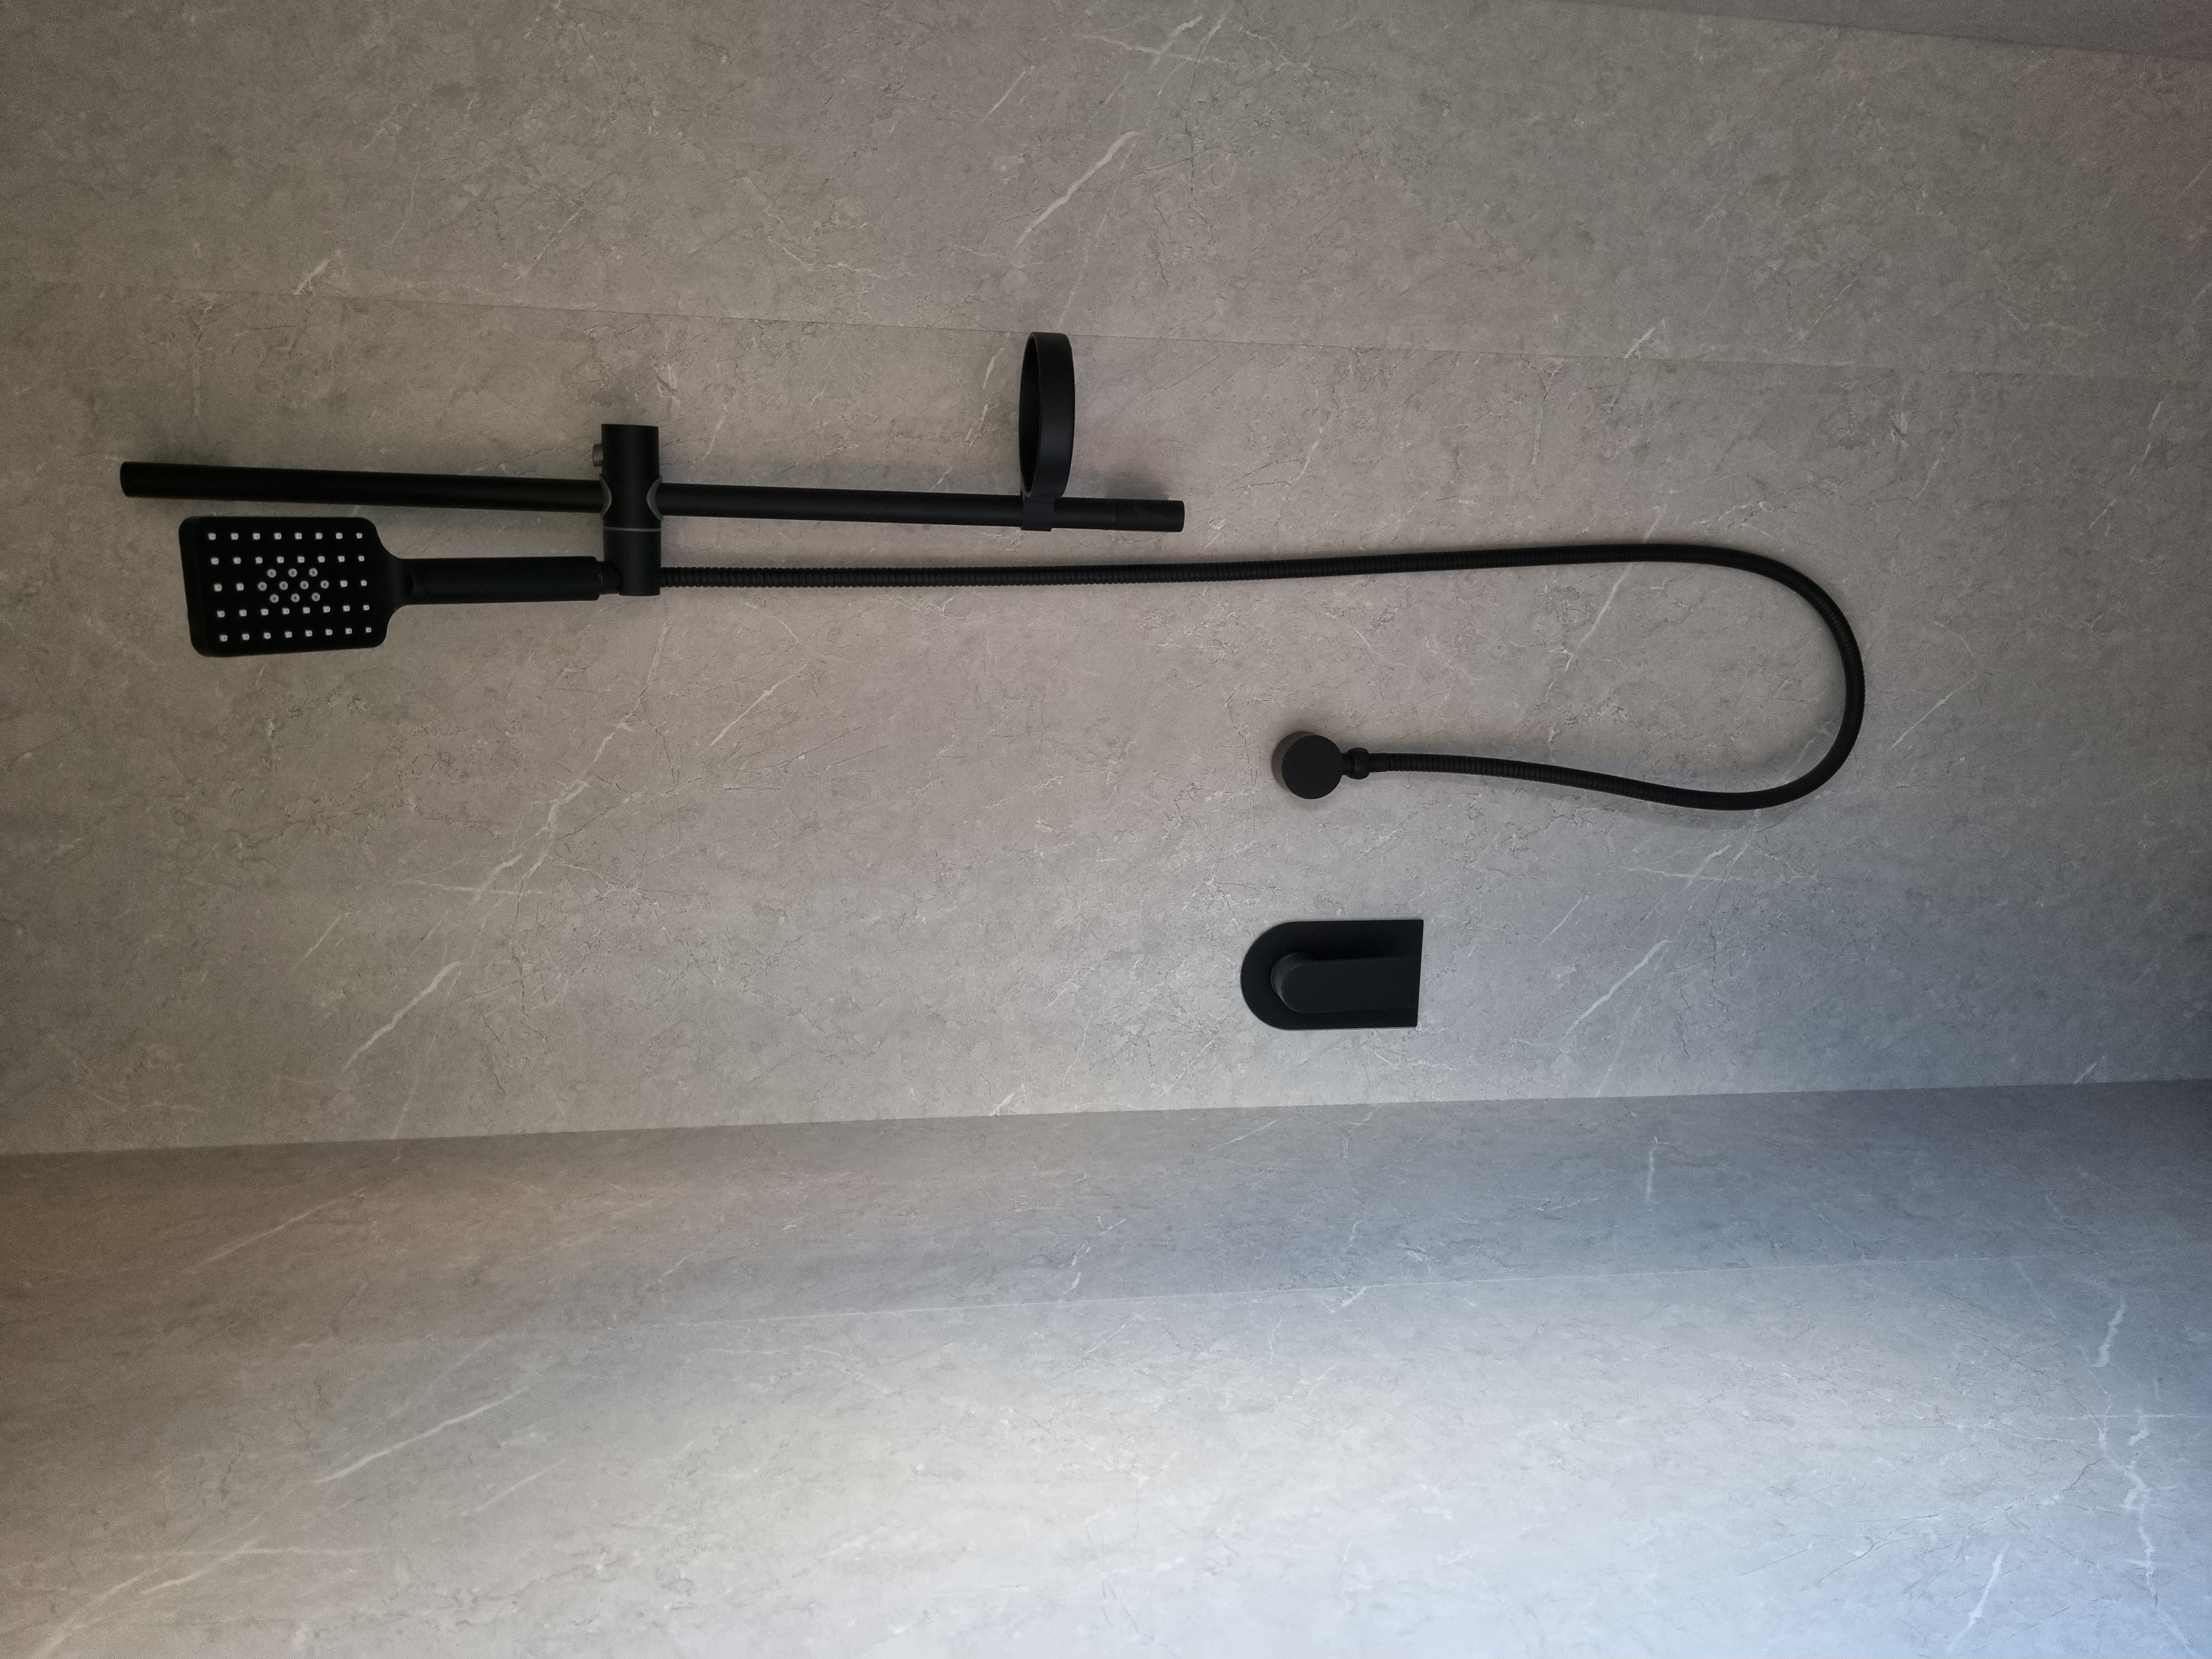
Shower walls in and bathroom fixtures installed
Let There Be Light!
In July, while Lys was off camping and enjoying the great outdoors, Erny and his friend James (who was at the job site last year to do the rough-in electrical) got to work wiring up the house properly. With minimal chit-chat and even fewer photos, the job got done with surprising speed and efficiency. Writing this now, Lys can’t believe it’s been a whole year since James had come around to do the first stage of the electrical install, it’s only looking back on these notes that we are reminded on how far one can progress in a year. It’s still super slow going, being weekend warriors on a huge project, but so nice to see friends pop around and marvel at the progress we are achieving. And, the cherry on top is always when they can lend a hand as well.
Back to the electricity though, we now have light switches and a fan installed! We even have a switch box! There’s something deeply satisfying about flipping a light switch and hearing that click of the switch go click clack. And even though it’s been too wet to run a full electrical test, it suddenly feels very real (the next sunny day on the weekend we are definitely testing it out and plugging our house into the grid!).
To make the most of James’ time and ensure he didn’t disappear into a sea of tools, dust and loose screws, Erny had the inspired idea to do a big clean midweek. Silvia, who’s long championed the importance of a tidy worksite (and has given us a few stern words about it in the past), would be proud. Once, she came over and said that she was surprised that we hadn’t injured ourselves yet…touch wood. Having a clean job site though really did help — not just with safety and access, but with morale too. As always, Silvia is right - a clean site = a clear mind.
Other than electricity, we’ve been working hard to define the minimum viable house or MVH: the least we need to get the tiny ready to live in. This has mostly meant oiling to get finished surfaces — lots of it.
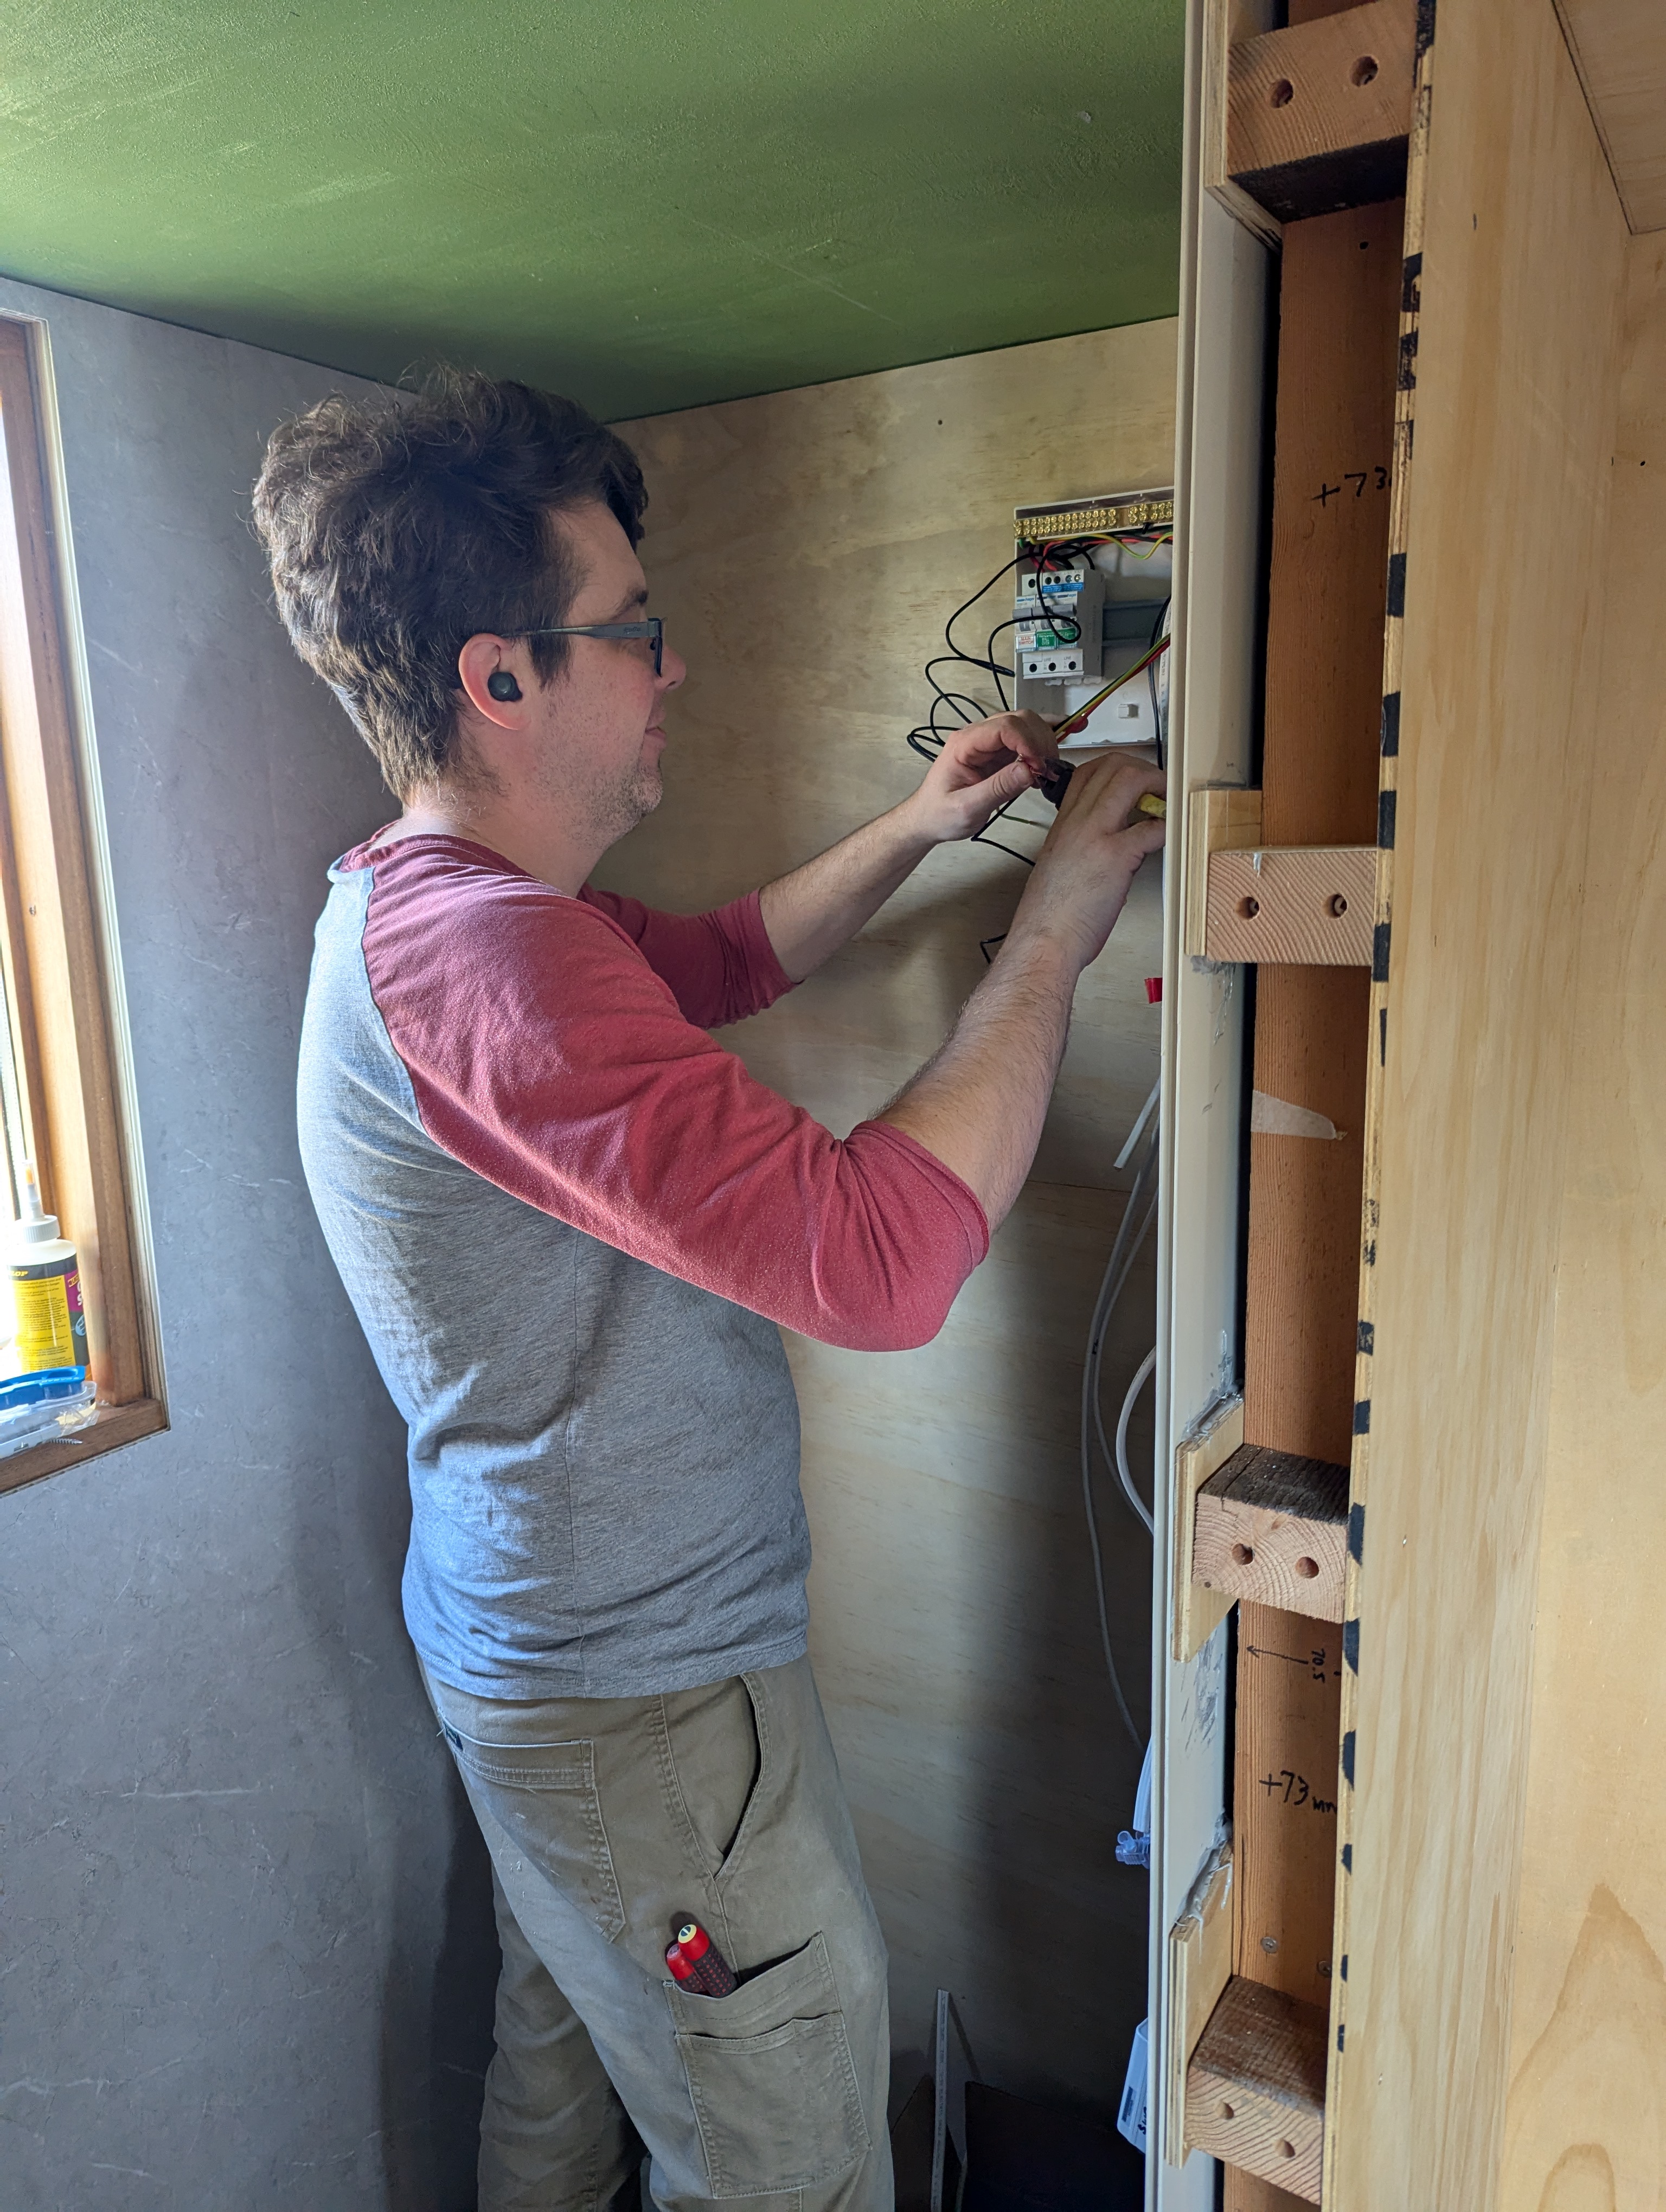
James working on the switch box

Finishing electrical work
Finishing the Ceiling, Walls and Floor
We’ve chosen to use Whittle Waxes Hardwax Oil Classic for our interior finish. The decision came down to a few key things: it’s low in VOCs (so less toxic and better for enclosed spaces), very forgiving to apply (ideal for DIYers like us), and keeps the natural look and feel of the wood while adding a soft sheen. We also like that it doesn’t require much equipment, and you can work in stages without worrying about patchiness. If you’re curious, this video does an excellent deep dive into how it works. Nick from the Workshop Companion always provides such detailed analysis.
We tackled the ceiling first — which, note to future builders, is a workout, and not the sort of work out that you want. Oiling above your head even with a roller, while balancing on a ladder in a kind of frog-like squat, and then buffing away the excess is not for the faint of heart. Having said this, the job went faster than we expected, and the result is delightful. The finish is warm and water resistant and highlights the character of the wood that we’ve worked so hard to highlight.
We learnt quite a bit from oiling the ceiling and the walls, perfecting our technique for the floors.
Some key take-aways:
- Make sure you prepare your subsurface! Sanding and being dust free is key!
- Dilute the hard wax oil with white spirits (mineral turpentine). This ensures that your oil goes further and if you are oiling in stages, means that the oil won’t harden as fast. We also oiled our surfaces in Winter and adding the white spirits allowed us to control the viscosity of the oil for easy application.
- Always wipe off the excess with rags. This makes your finish nice and smooth! One down side of this product is that quite a bit of it is wasted as the oil excess is absorbed while buffing out the finish. This is a critical step though to make the end result shiny and smooth.
We then moved on to the floor soon after, taking advantage of the bank holiday to work through it. Originally, we had aspirational dreams of clearing the house entirely and doing one enormous oiling session — a deep clean, a blank slate, a full transformation, just like in those reality TV shows (Backyard Blitz anyone?). But the weather had other plans. It’s been raining hard (positively pissing down as one colleague said on a Teams call), and whenever we’ve had sun, it’s been midweek. This meant a lot of plywood feng shui rotating pieces around the space to keep them dry while working in stages. Honestly, who needs a gym membership when you have 20 12mm 1200 x 2400 pieces of plywood to carry around. Oiling wise, the floors were oiled in the same manner as the walls using the same hard wax oil and the finish really brings out the beautiful colour and texture of the wood. We couldn’t be happier (or maybe we are just relieved that we don’t have to sand 18 meters square of floorboard).
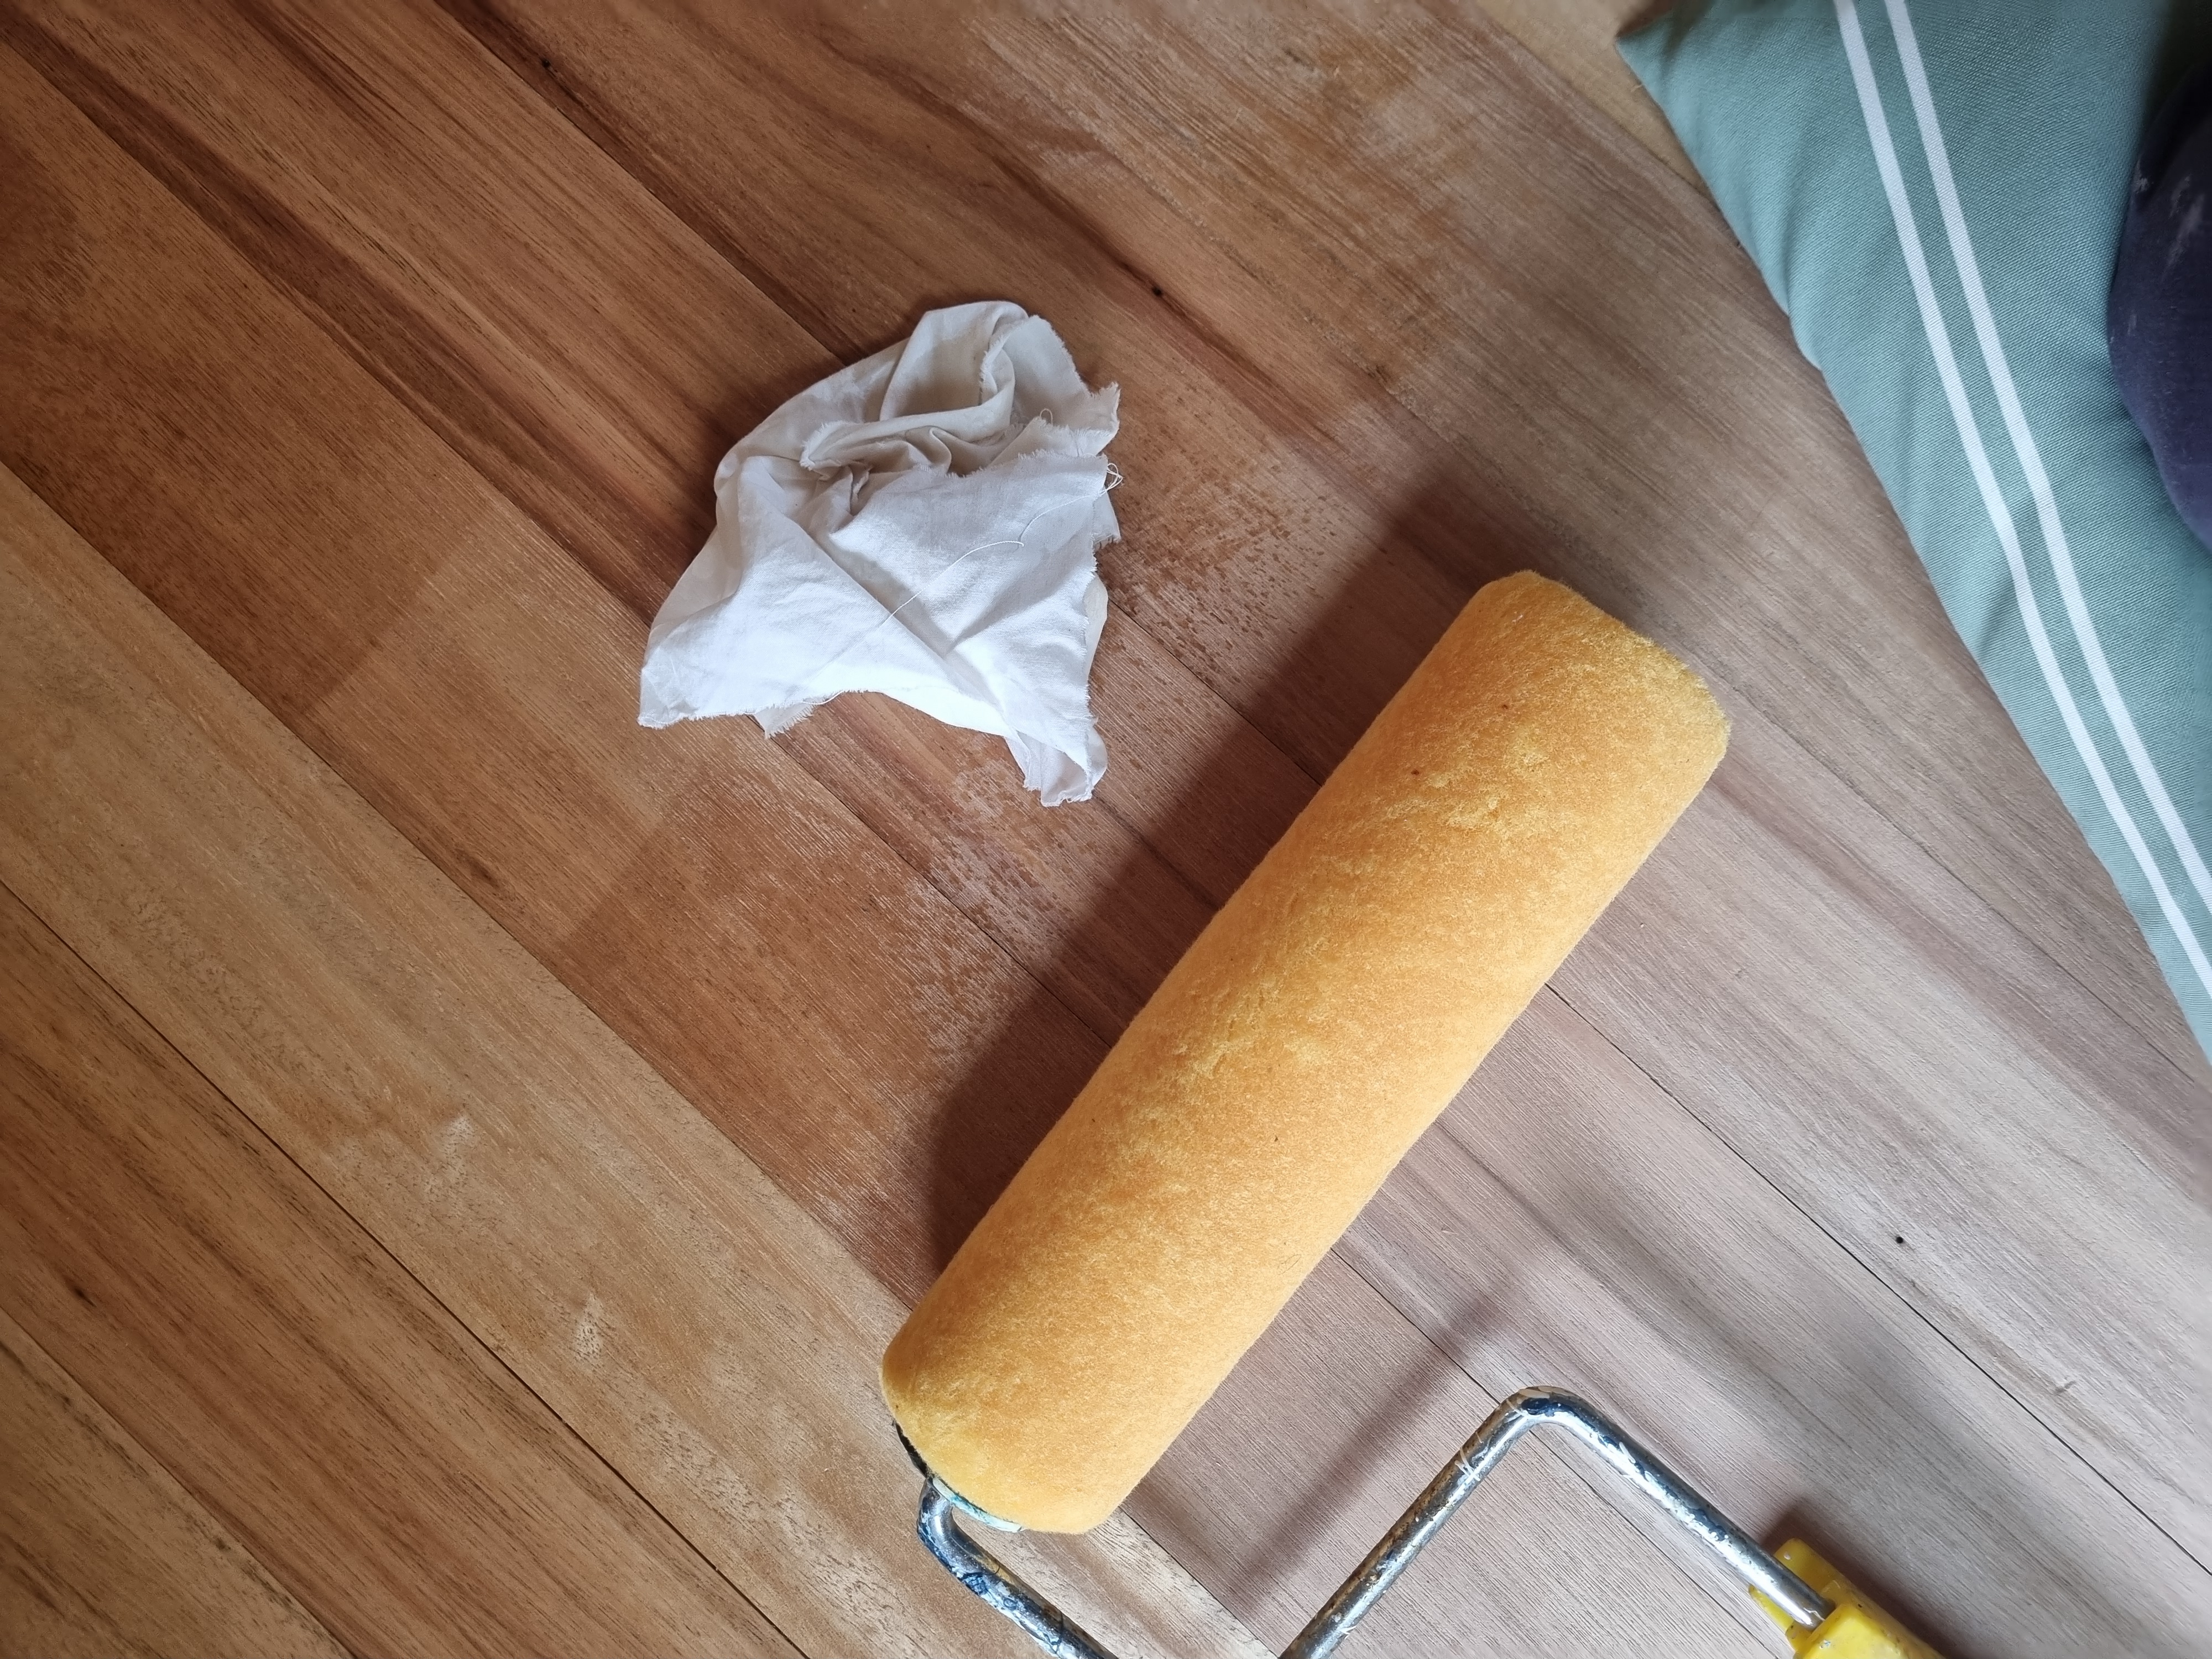
Oiling the floor
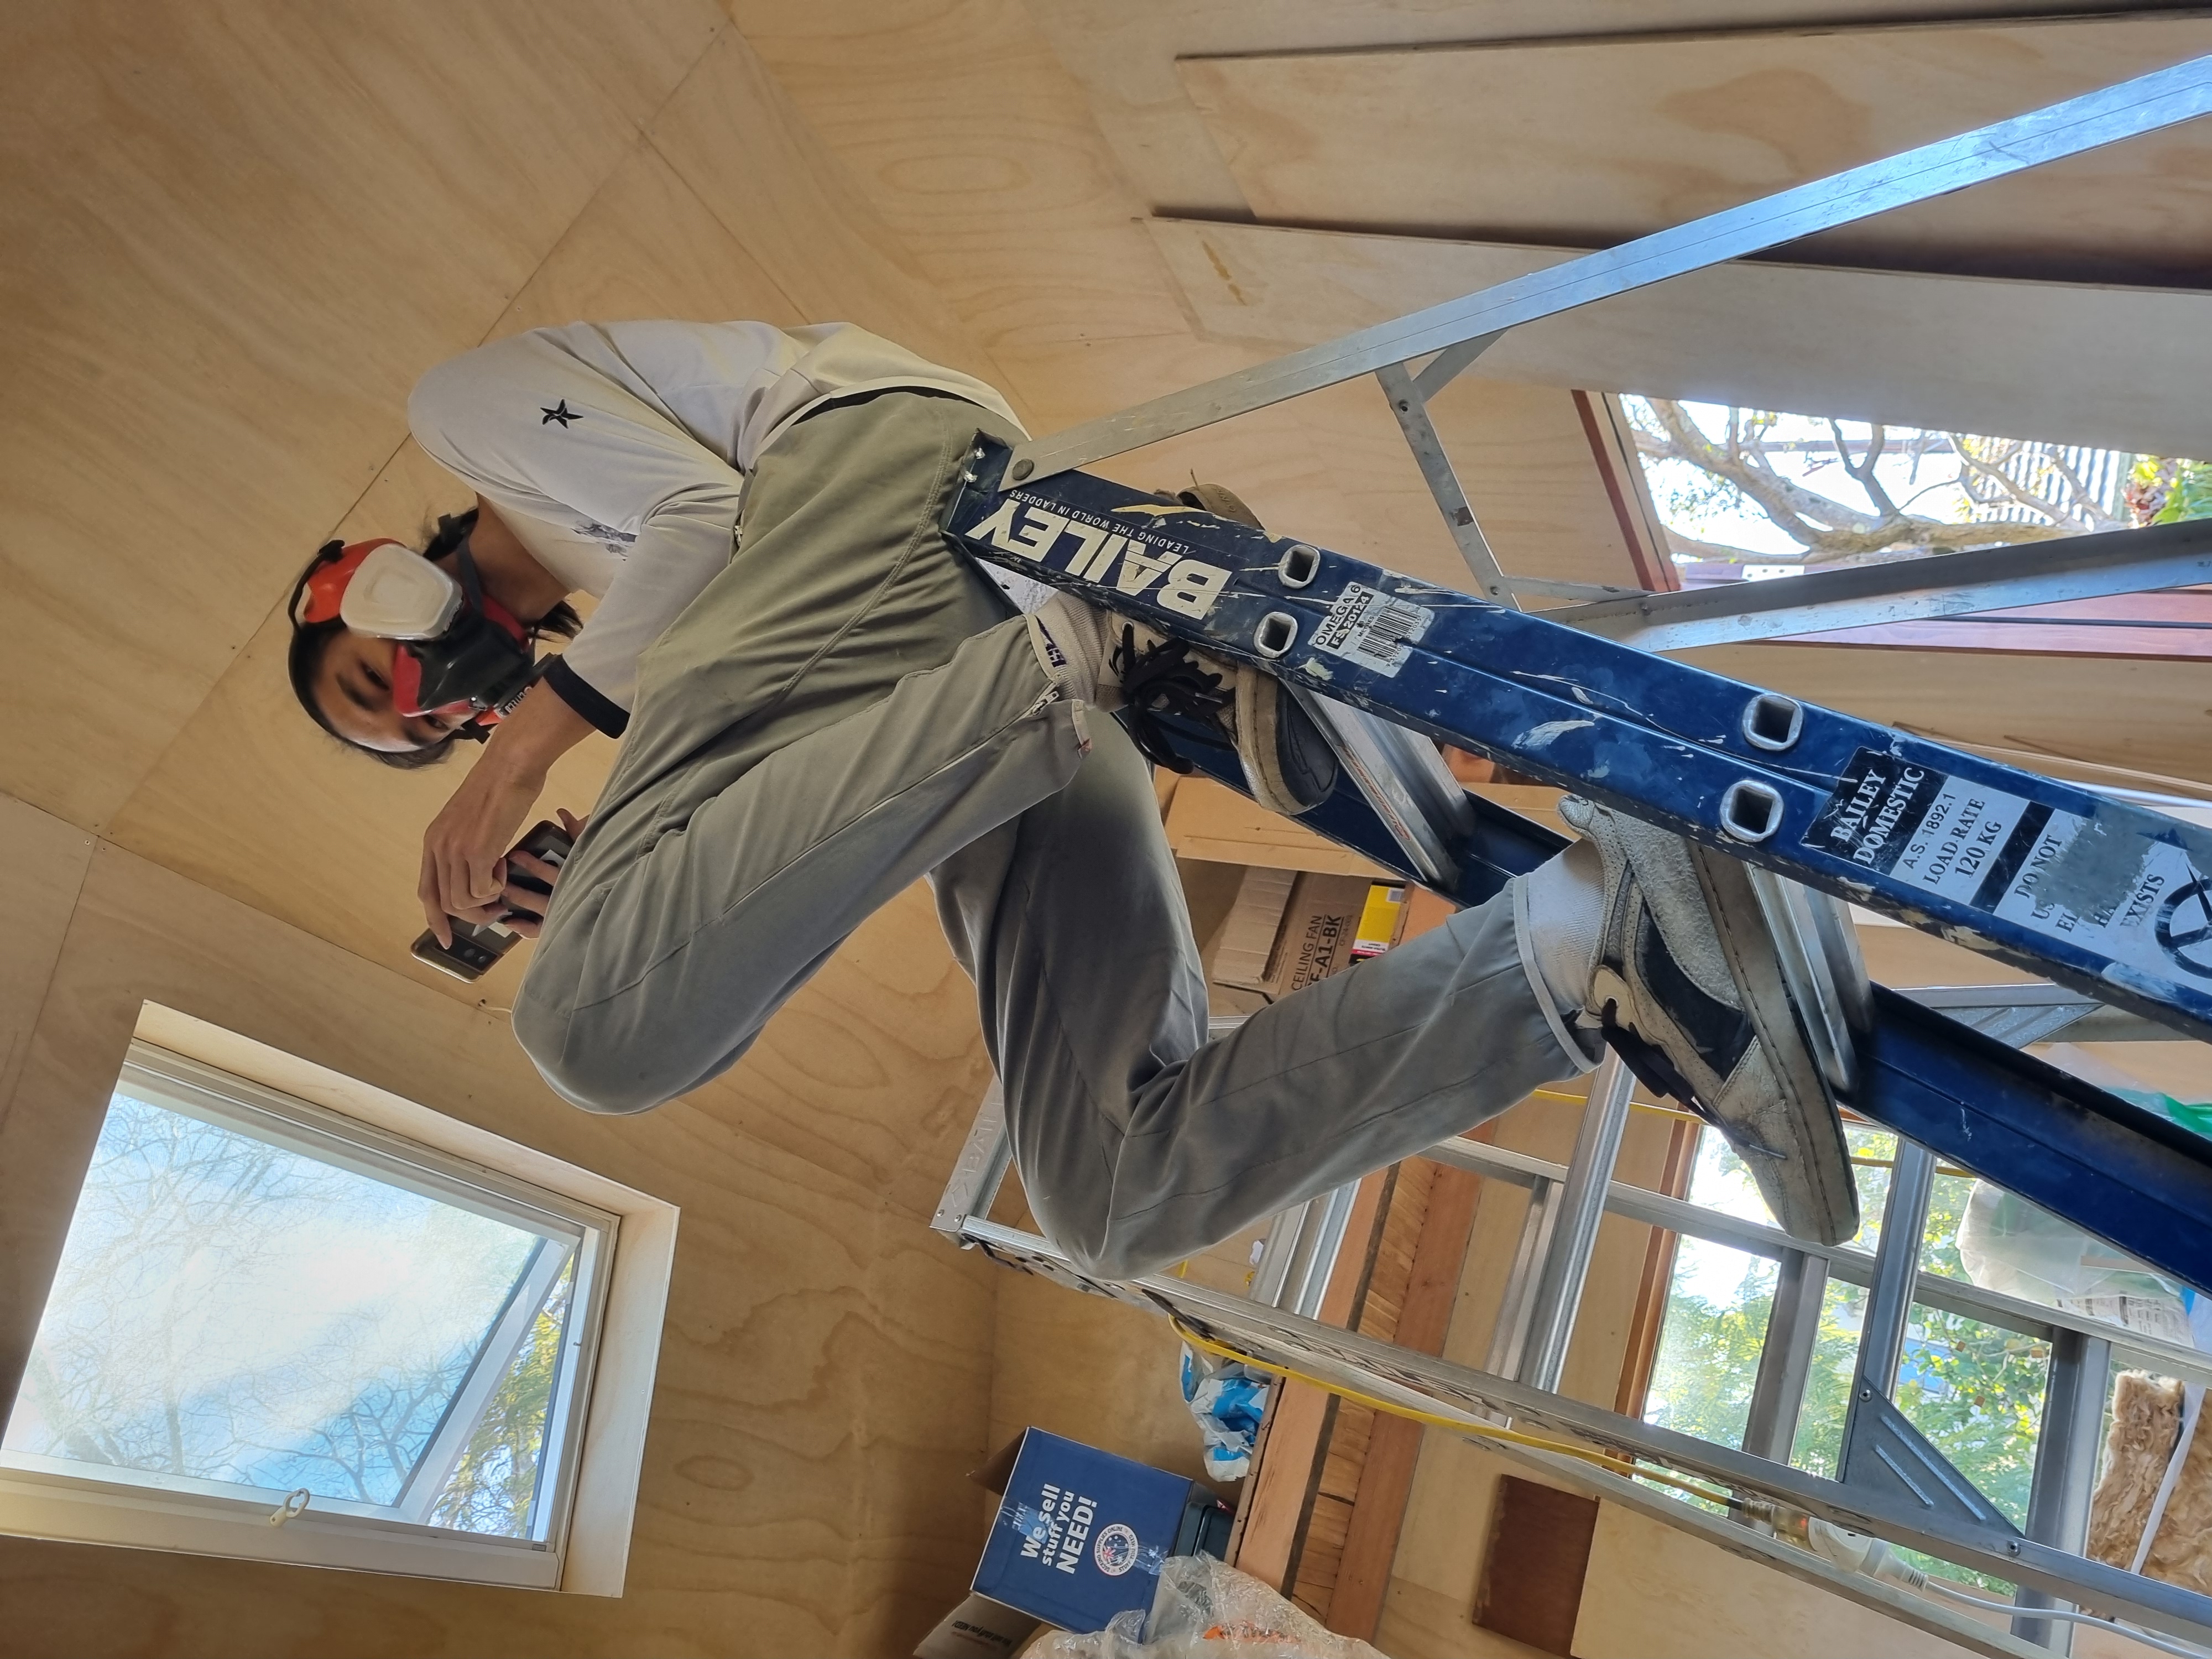
Erny oiling the ceiling
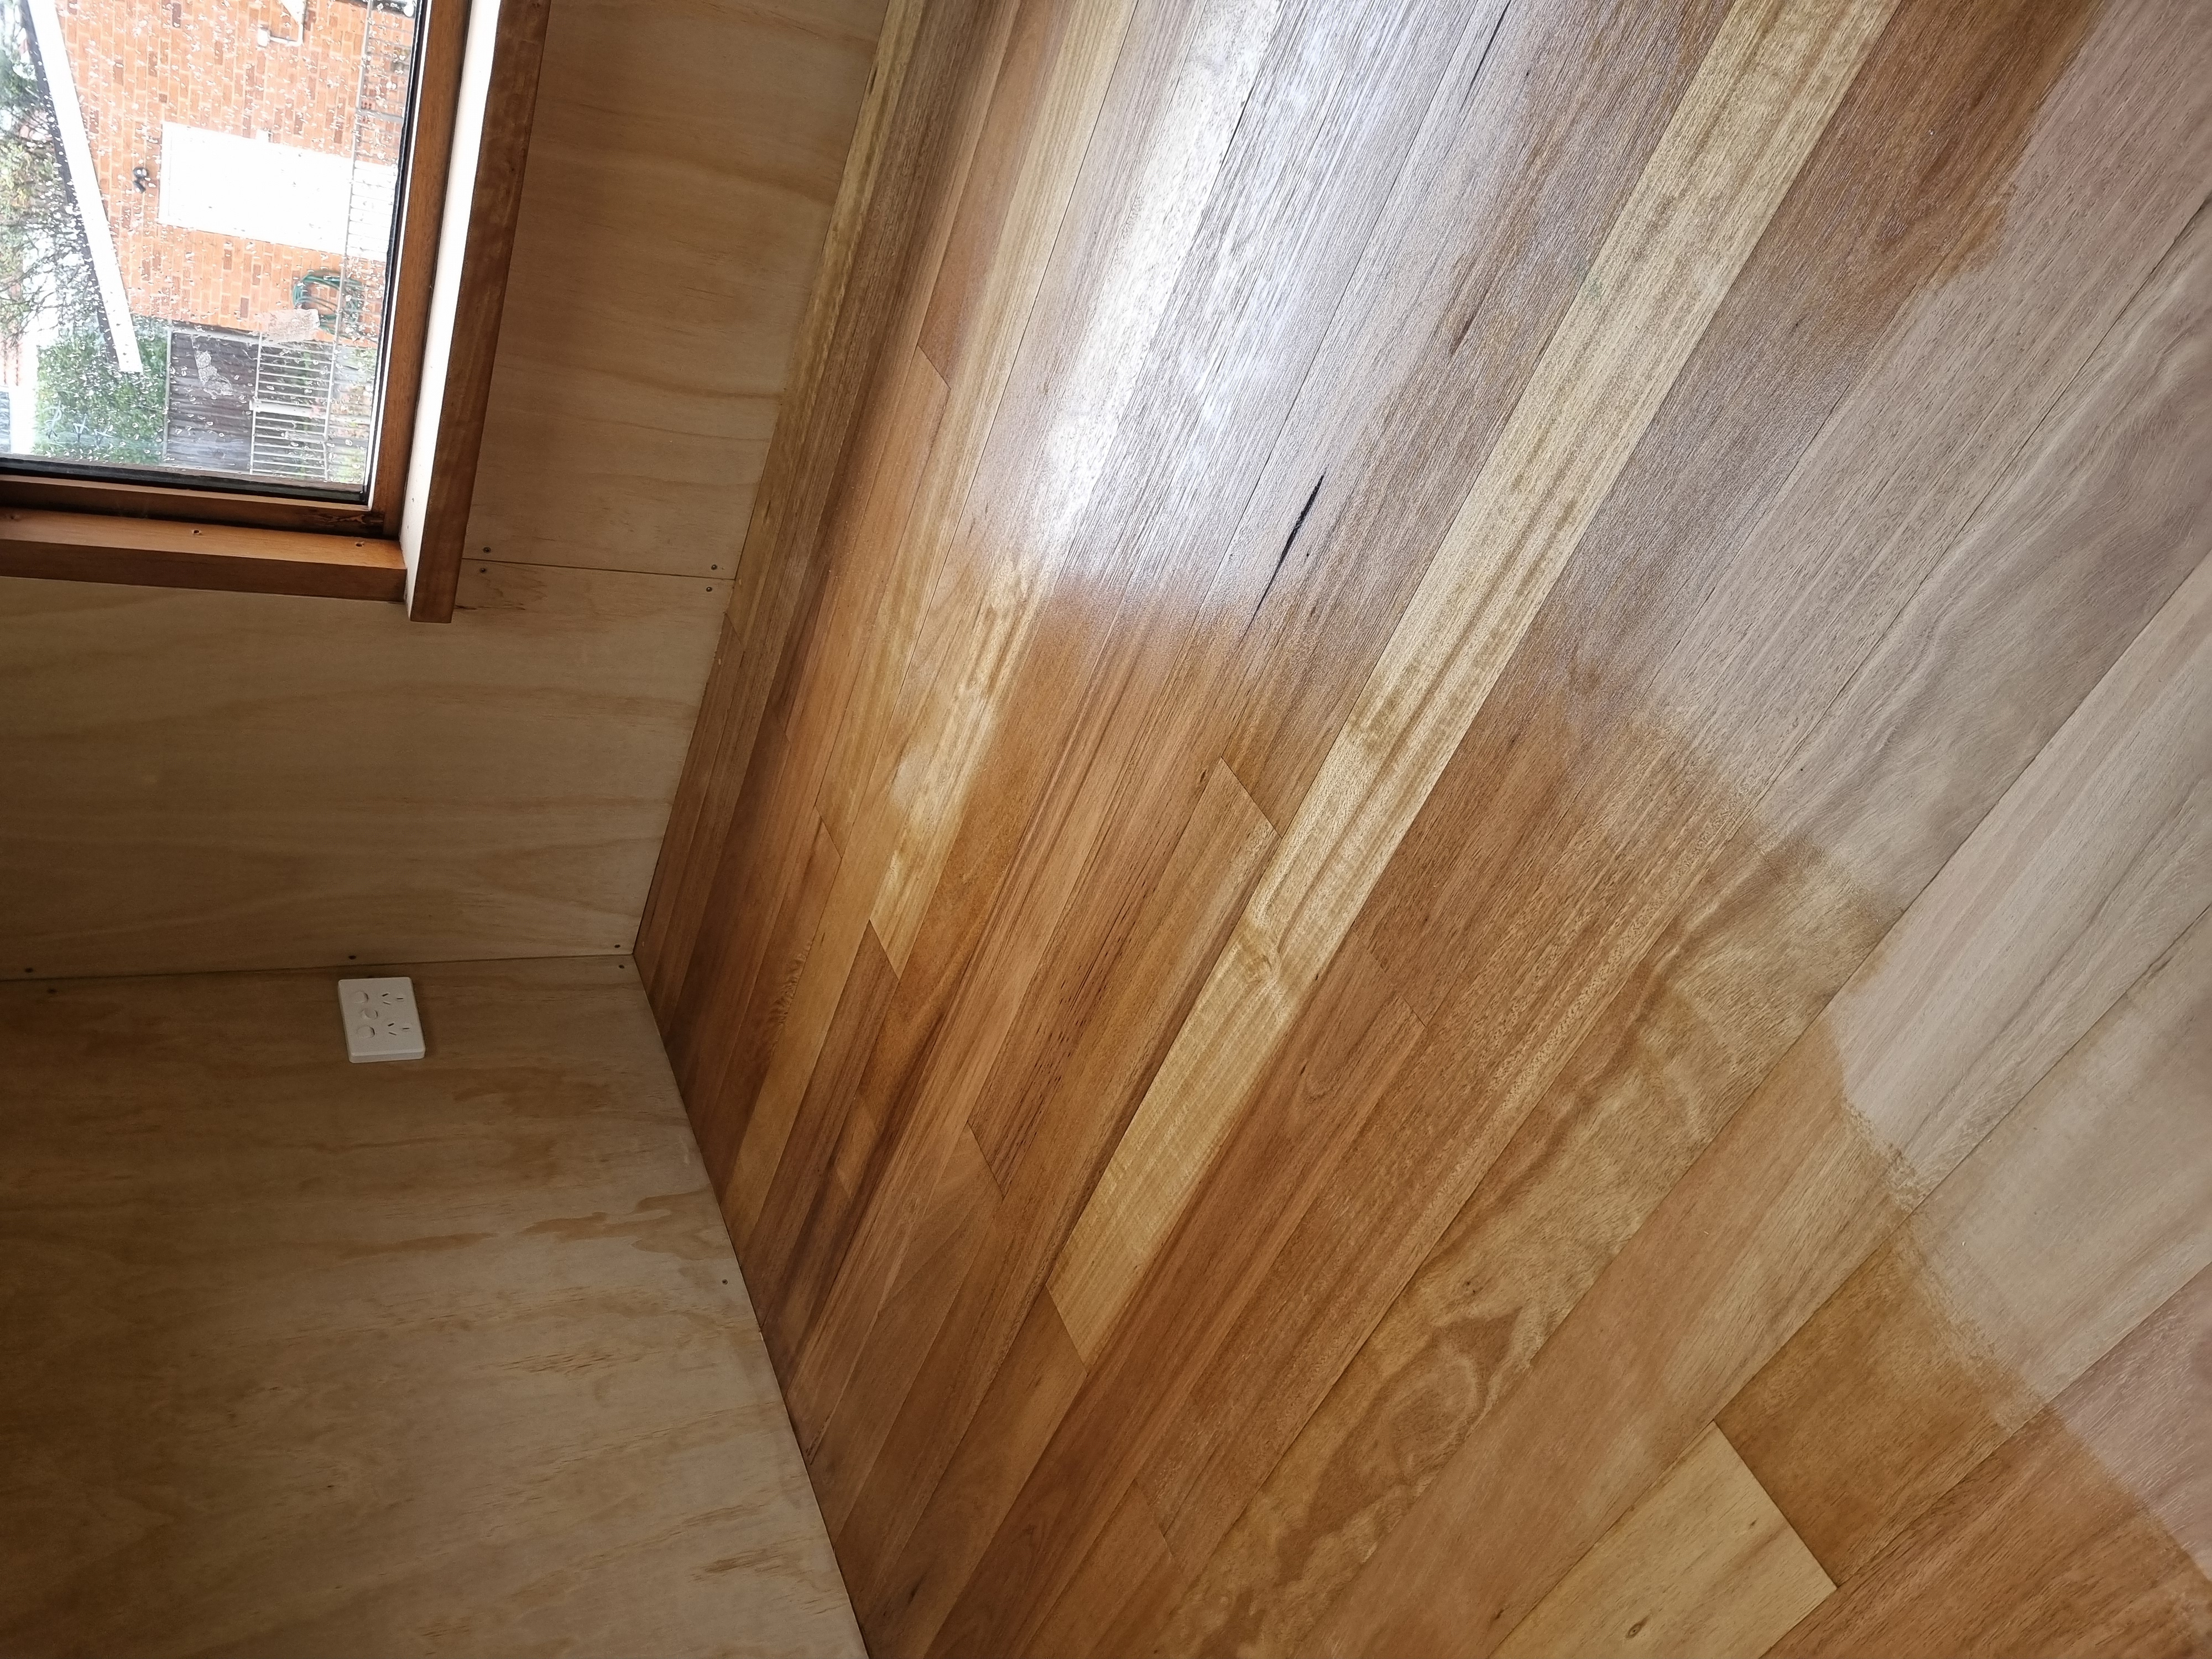
Finished product
Outside of construction, we’ve been getting deep into cabinet-making research. Peter Millard’s YouTube channel has been particularly helpful — a steady, knowledgeable voice guiding us through joinery basics. We’ve also loved watching this explainer on building cabinets and this more detailed build, which has been great for getting our heads around what’s coming next.
The feeling this month is: we’re on the home straight. The final 20%. The longest 20%. There’s still a lot to do, but (dramatically) there is light at the end of the tunnel. We’re not building walls anymore — we’re finishing them. The tasks are smaller, but more precise. We’re not sure if the project is more manageable per se but there is a certain levity as we cross off one task to consider a more cosmetic design choice.
Catch ya later, Lys & Erny
Thank You!
Your comment has been submitted. It will appear on this page shortly! OKYikes, Sorry!
Error occured. Couldn't submit your comment. Please try again. Thank You! OK