March Build Update
A March build update
A door, some floor progress and general reflections.
Table Of Contents
What we’ve done
Hello from The Miette HQ! The last half of February and March has been a busy and productive month for Erny and Lys, and thanks to an unseasonably dry month on the coast we have made some great progress on the tiny.
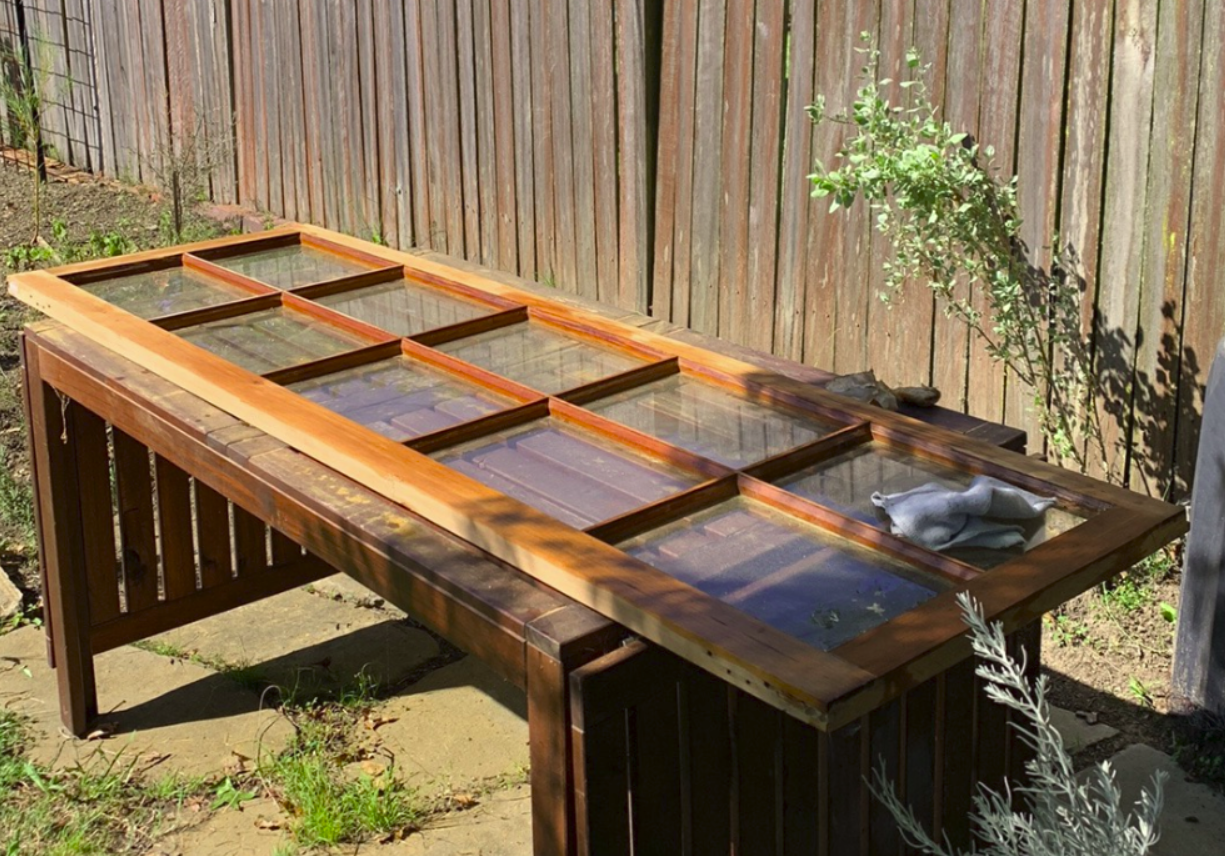
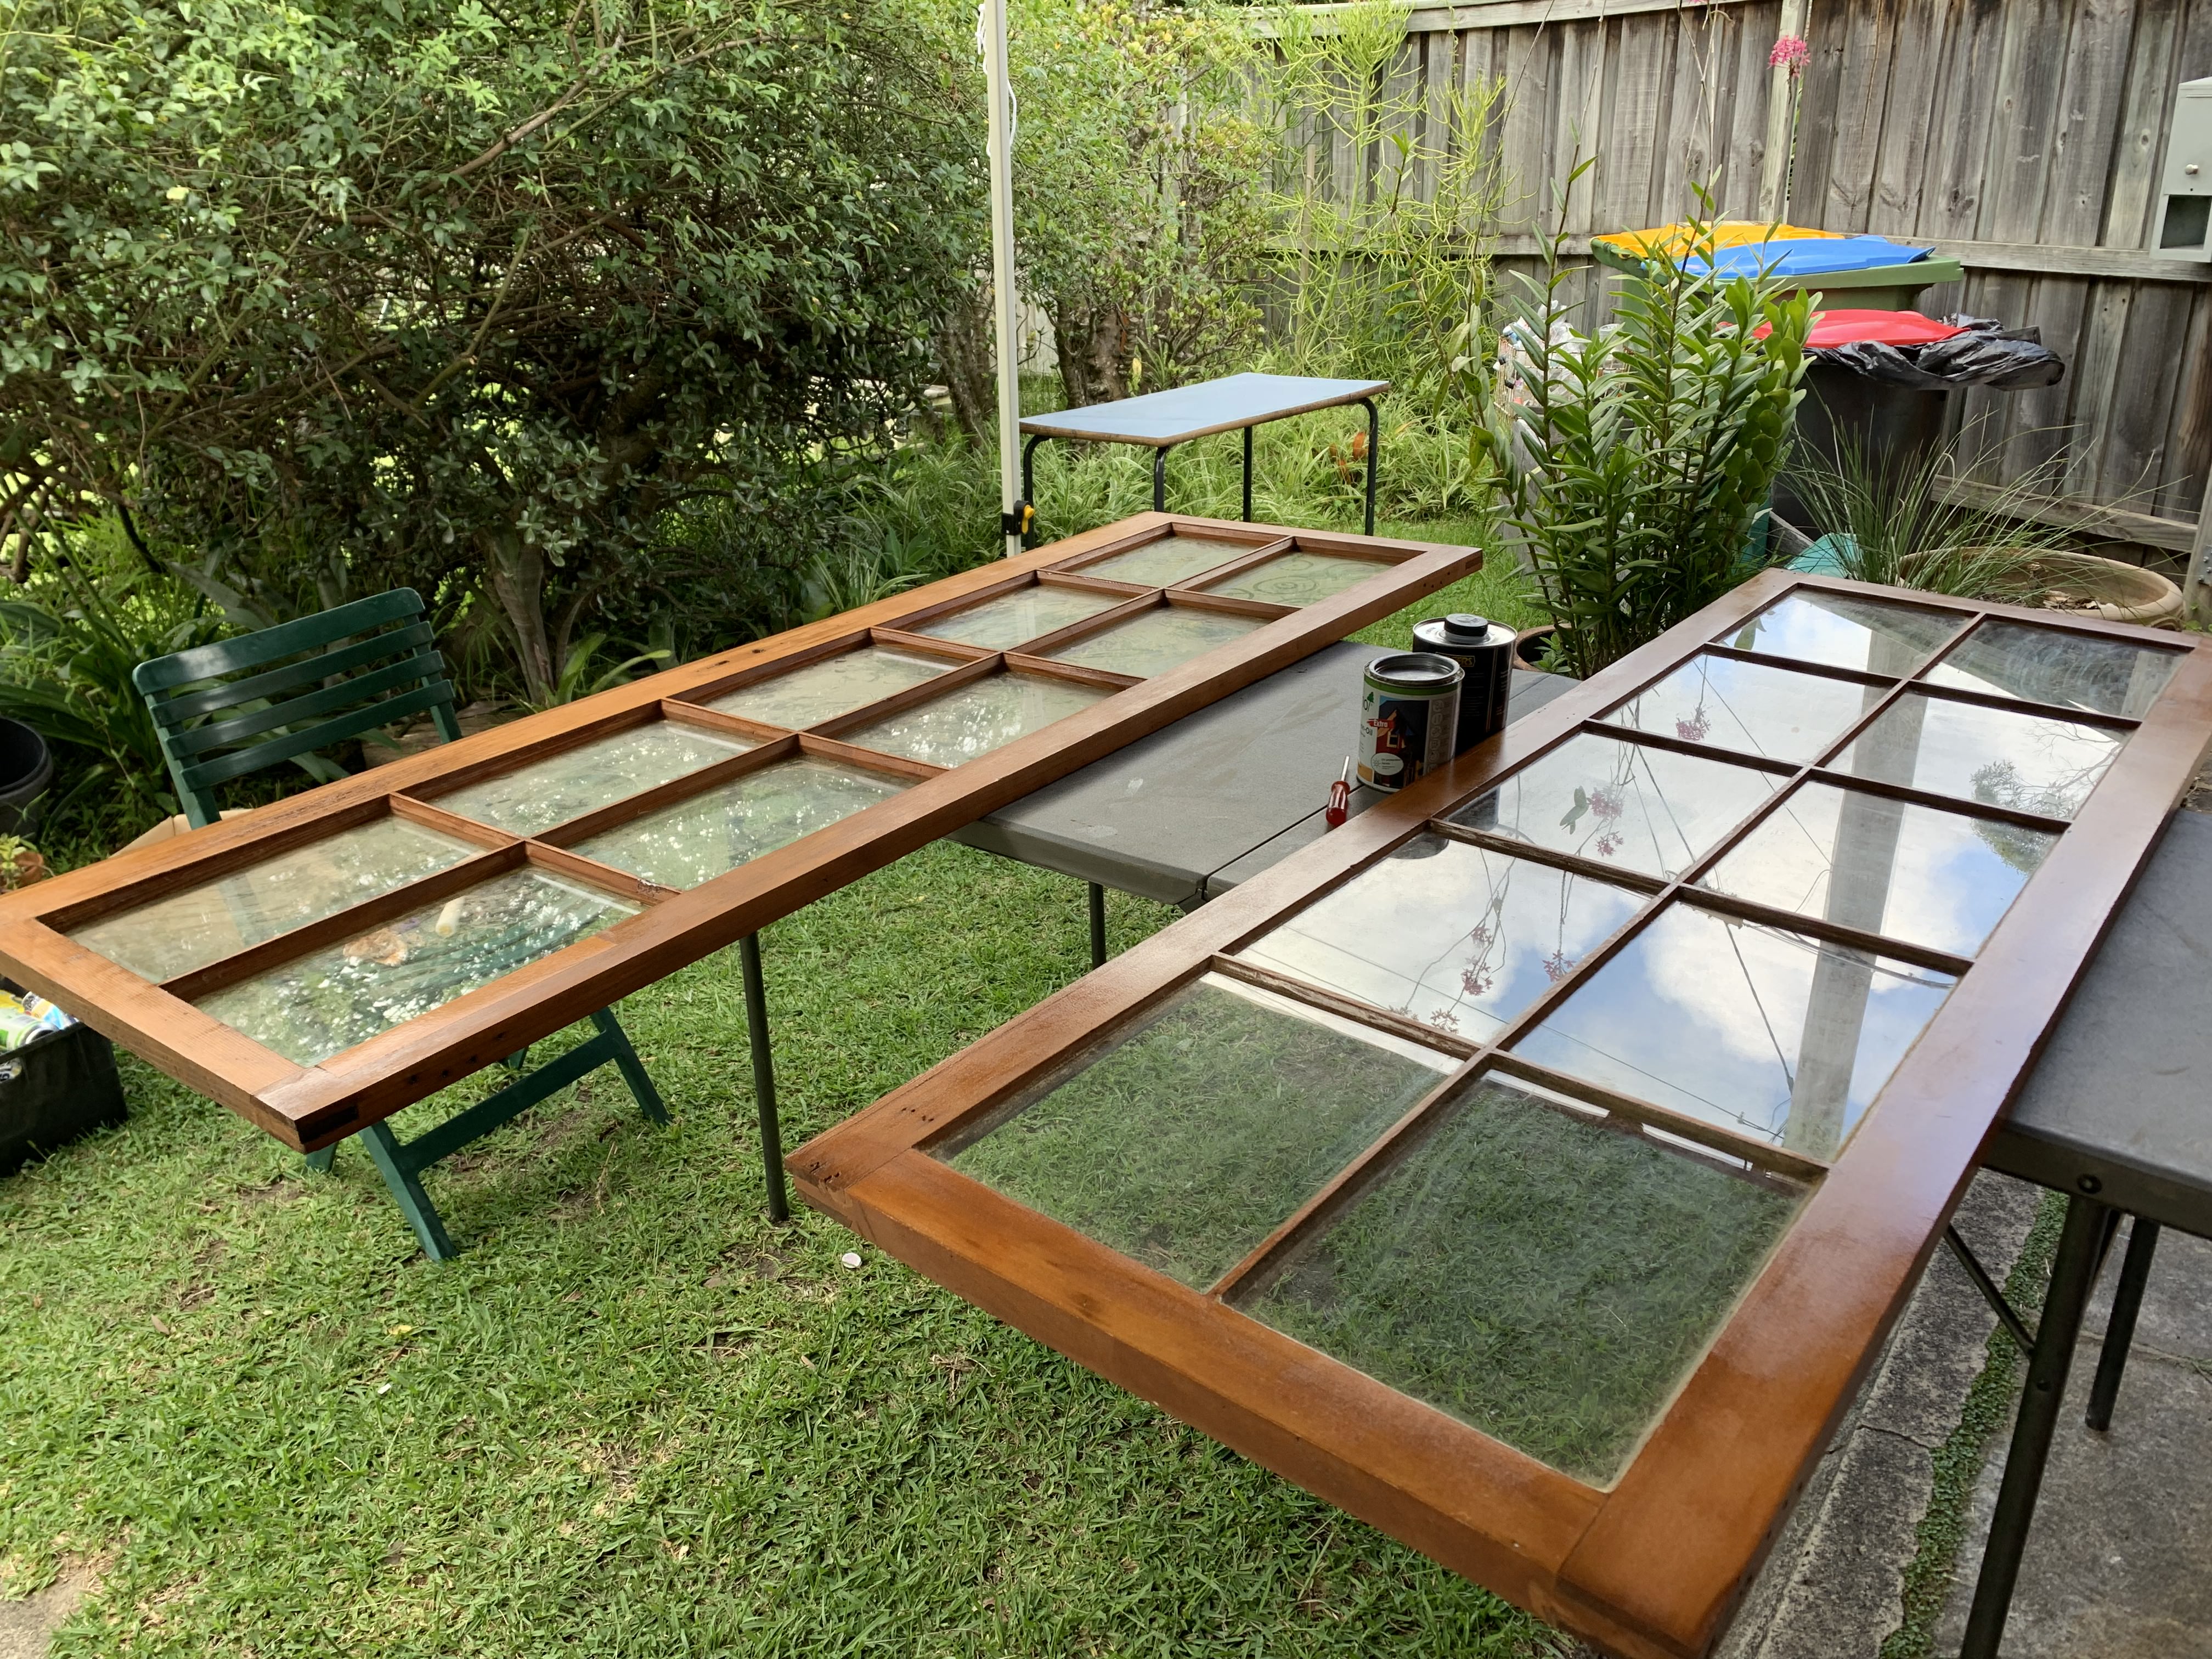
We kicked off the month by refurbishing our 40-year-old door. We had been looking for a narrow external french door for a while and rescued this gem from a renovation down south. The door had quite a bit of - let us say character, but the glass was intact, the wood in great condition and the correct dimensions! We got to work sanding down the varnish and stain and this time, compared to the windows it was an absolute breeze.
Pre-sanded door Sanded door
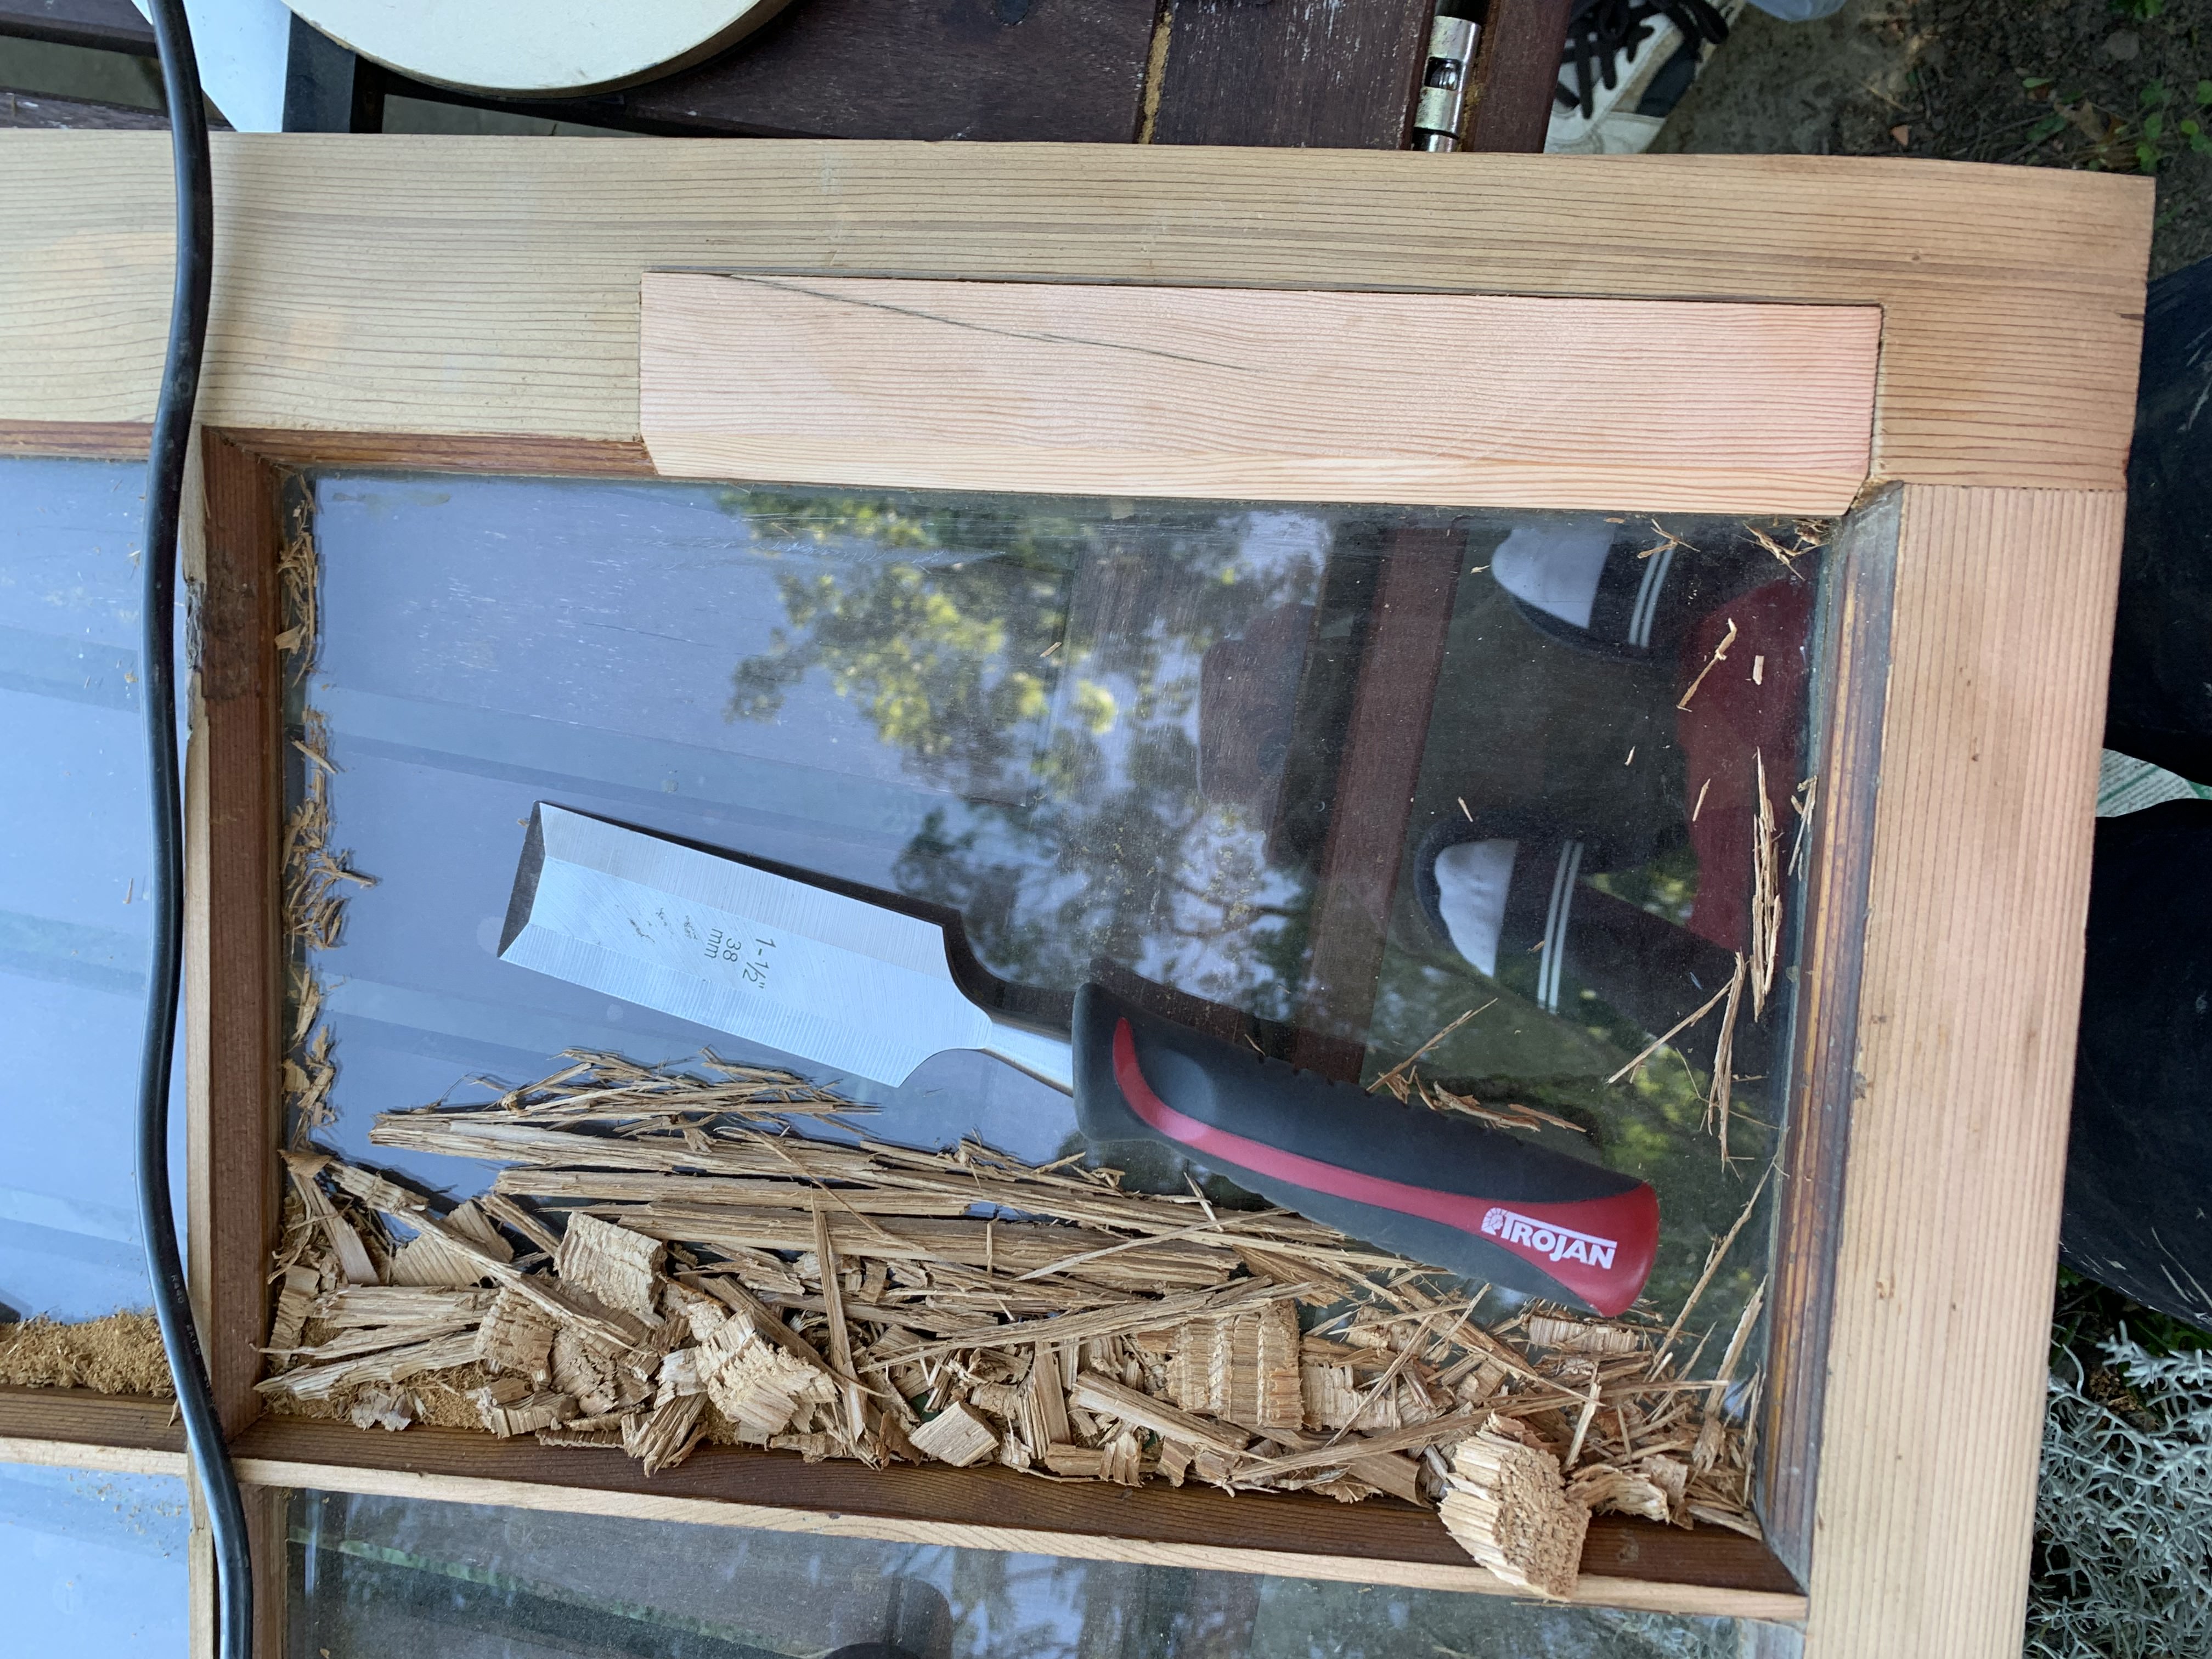
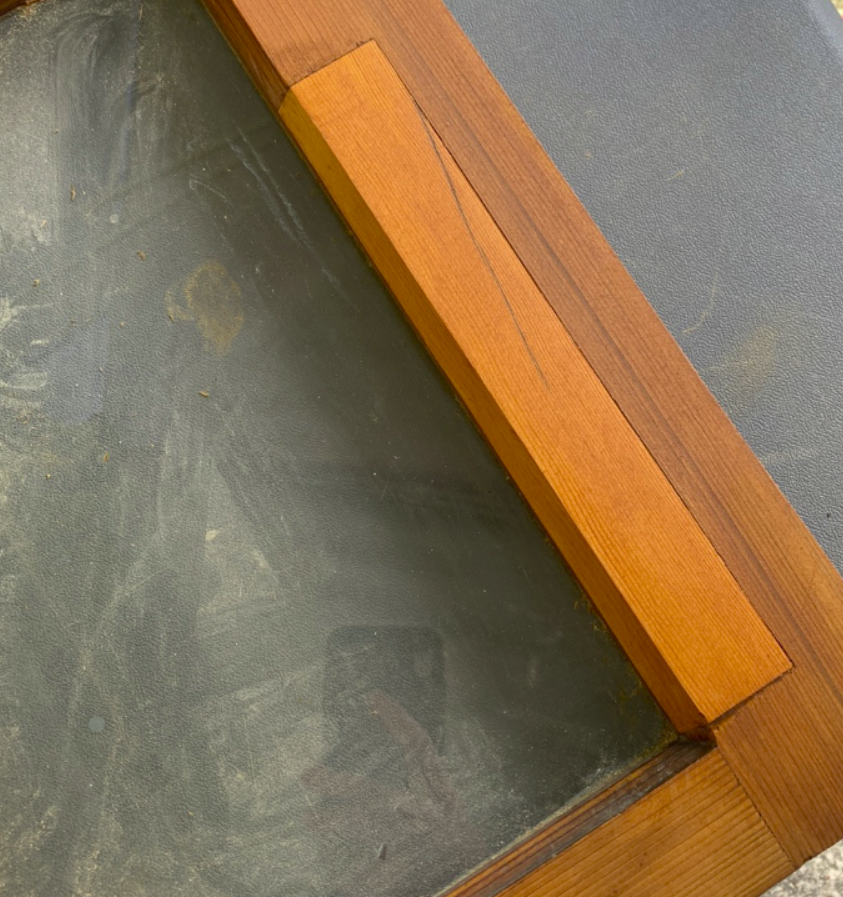
In fact, the whole door refurbishment project was finished in about three days - so much shorter than building our own windows 😂 Erny, being the perfectionist he is, decided to route and chisel out the area of the gouge and make a little inset to fill it back up. We think it was from a dog or small animal scratching at the wall when it was hung in a previous home. Lys actually didn’t mind the gouge, but it’s interesting to see the differences in our personalities come out during these types of projects. Lys tends to prioritise efficiency and sticking to a schedule, while Erny is all about quality and is not done until it’s done to the very best of his ability, even if it takes twice as long.
Fitting the inset to fix the door gouge Completed inset Stained inset in our door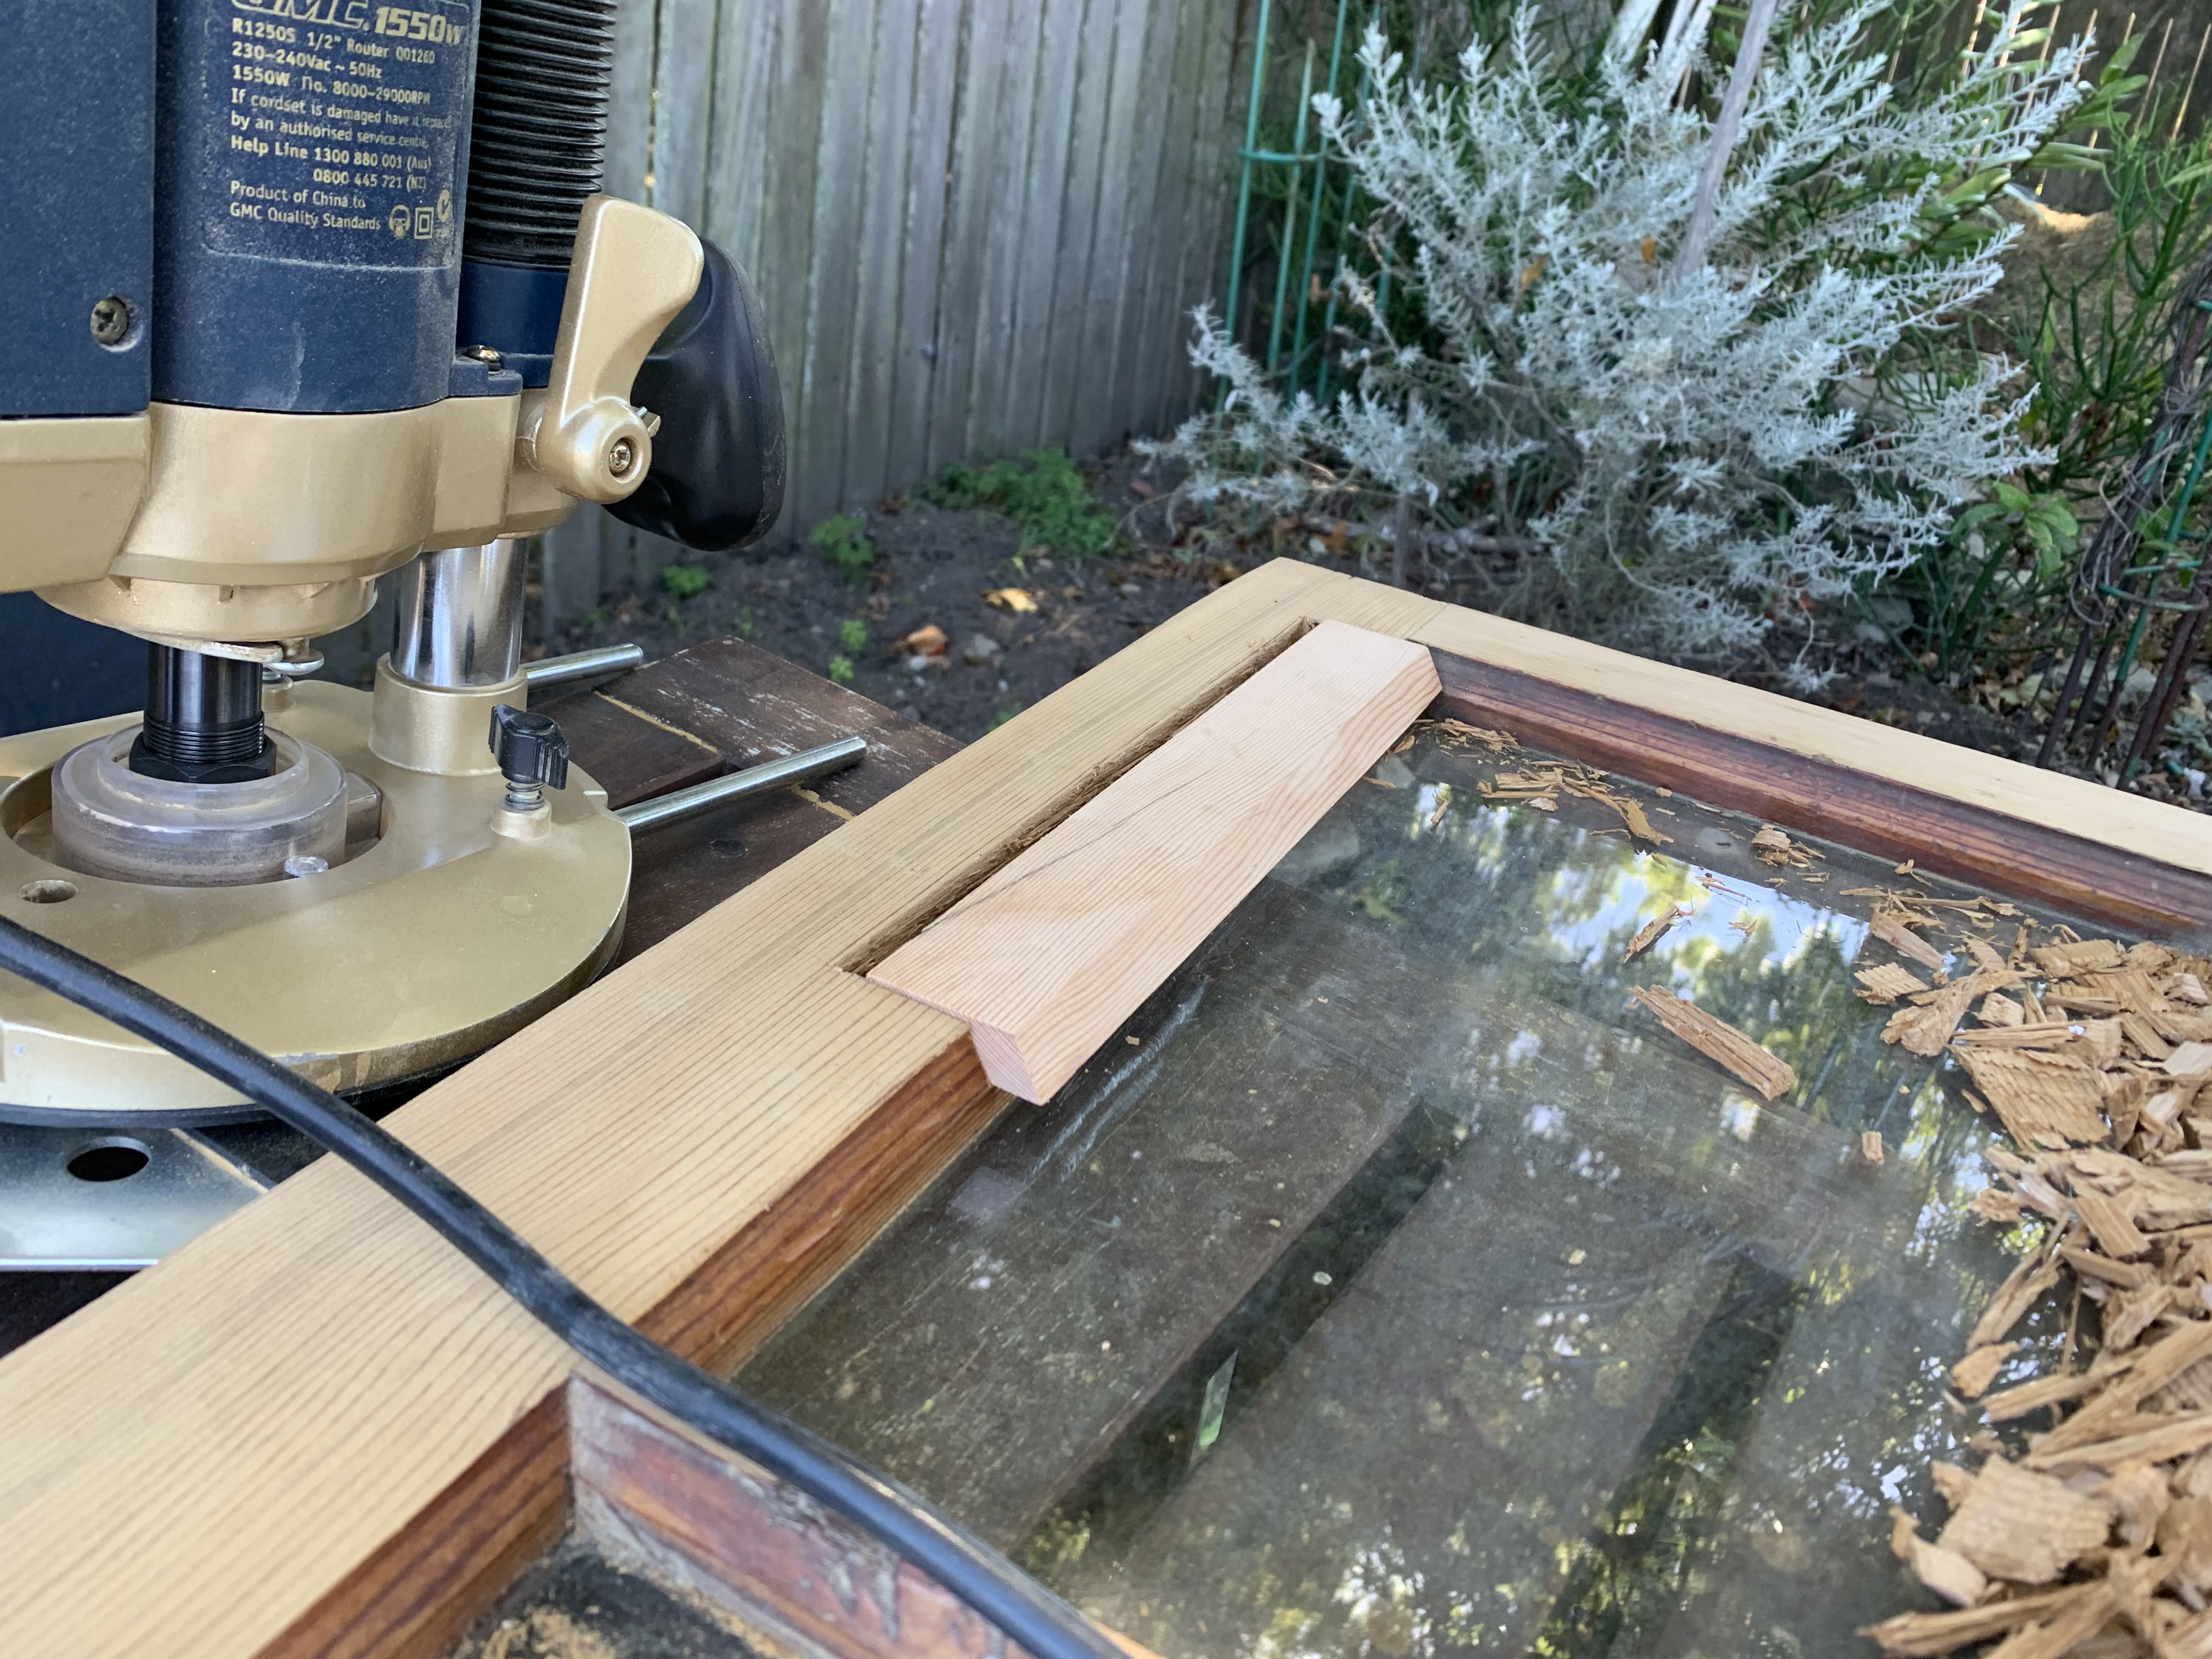
Even though this door project was super speedy, we are however a little stuck on the lock mechanism though - it seems that since this door is a little thinner than modern doors and we will have to make a few tweaks to its dimensions for it to fit a modern lock system. Considering that we could go lockless for a little while (at least until after a wall raising), we decided to put that problem on the back burner to focus on more solvable problems.
Finished refurbished doors - Lys swears they look different from when we first acquired them
In addition to the door, we also started to put together our rafter pieces using Fred’s tiny house rafter sandwich technique. This is a recommended tiny house rafter design where we sandwich plywood around the rafters and bolt it all together instead of attaching to a ridge beam. The idea here is to reduce weight while retaining a solid roof structure. We ran into a bit of a snag when we discovered that the model that we cut our rafters to was actually 10 mm short. This meant that all of our roof rafters were a little too short, and we needed to change the angle of the pieces slightly shallower to fit the to real house width.
Highlights
Despite these setbacks, there have been some really nice moments in March. It has been nice working with the whole family in the garden, cracking out some tools that Lys’ parents have not touched in years (like a set of extra large drill bits) and problem-solving small hiccups together. There have also been a few late nights working out last-minute logistics - from wanting our bathroom and kitchen floors to be at the same height makes our bathroom floor very complicated to what is the most efficient permutation of our floorboards for minimum waste - but we seem to be getting there. Lys’ Dad jokes that we are slowly becoming Australia’s smallest Bunnings with the variety of drill bits, screws and nails that we are collecting.
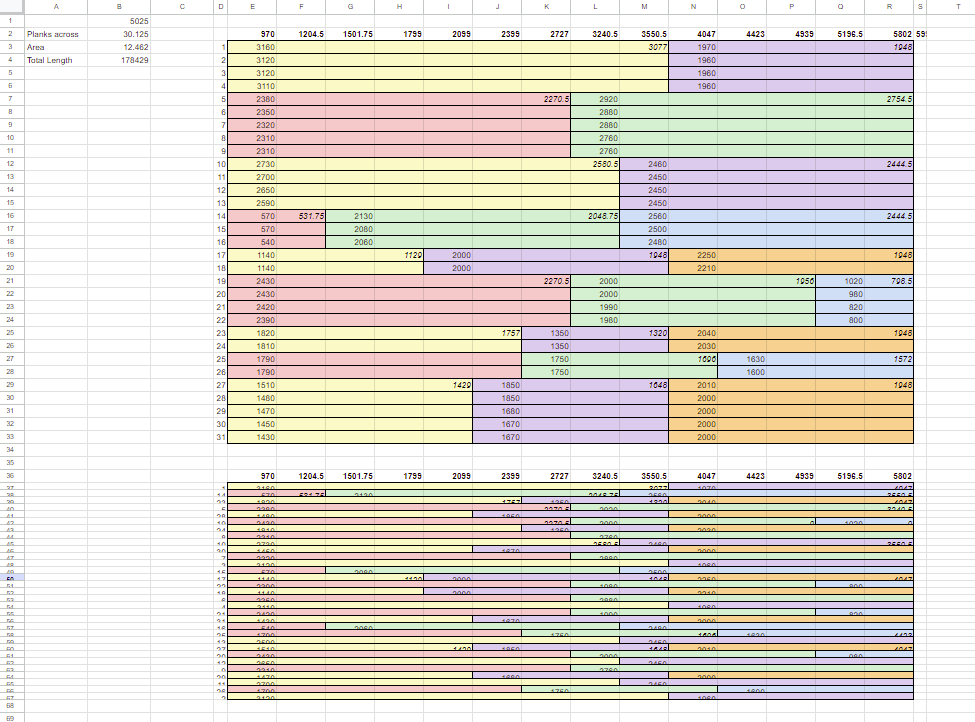
Erny’s extremely scientific plan
We also made great headway on the subfloor. After re-purchasing plywood (our previous purchase became mouldy last year, but that is a story for another time), Lys got these new sheets primed and painted the plywood to get it ready for construction. Meanwhile, Erny has been busy cutting down subfloor joists to size and creating a detailed map of exactly where we are going to put our black butt floorboards down.
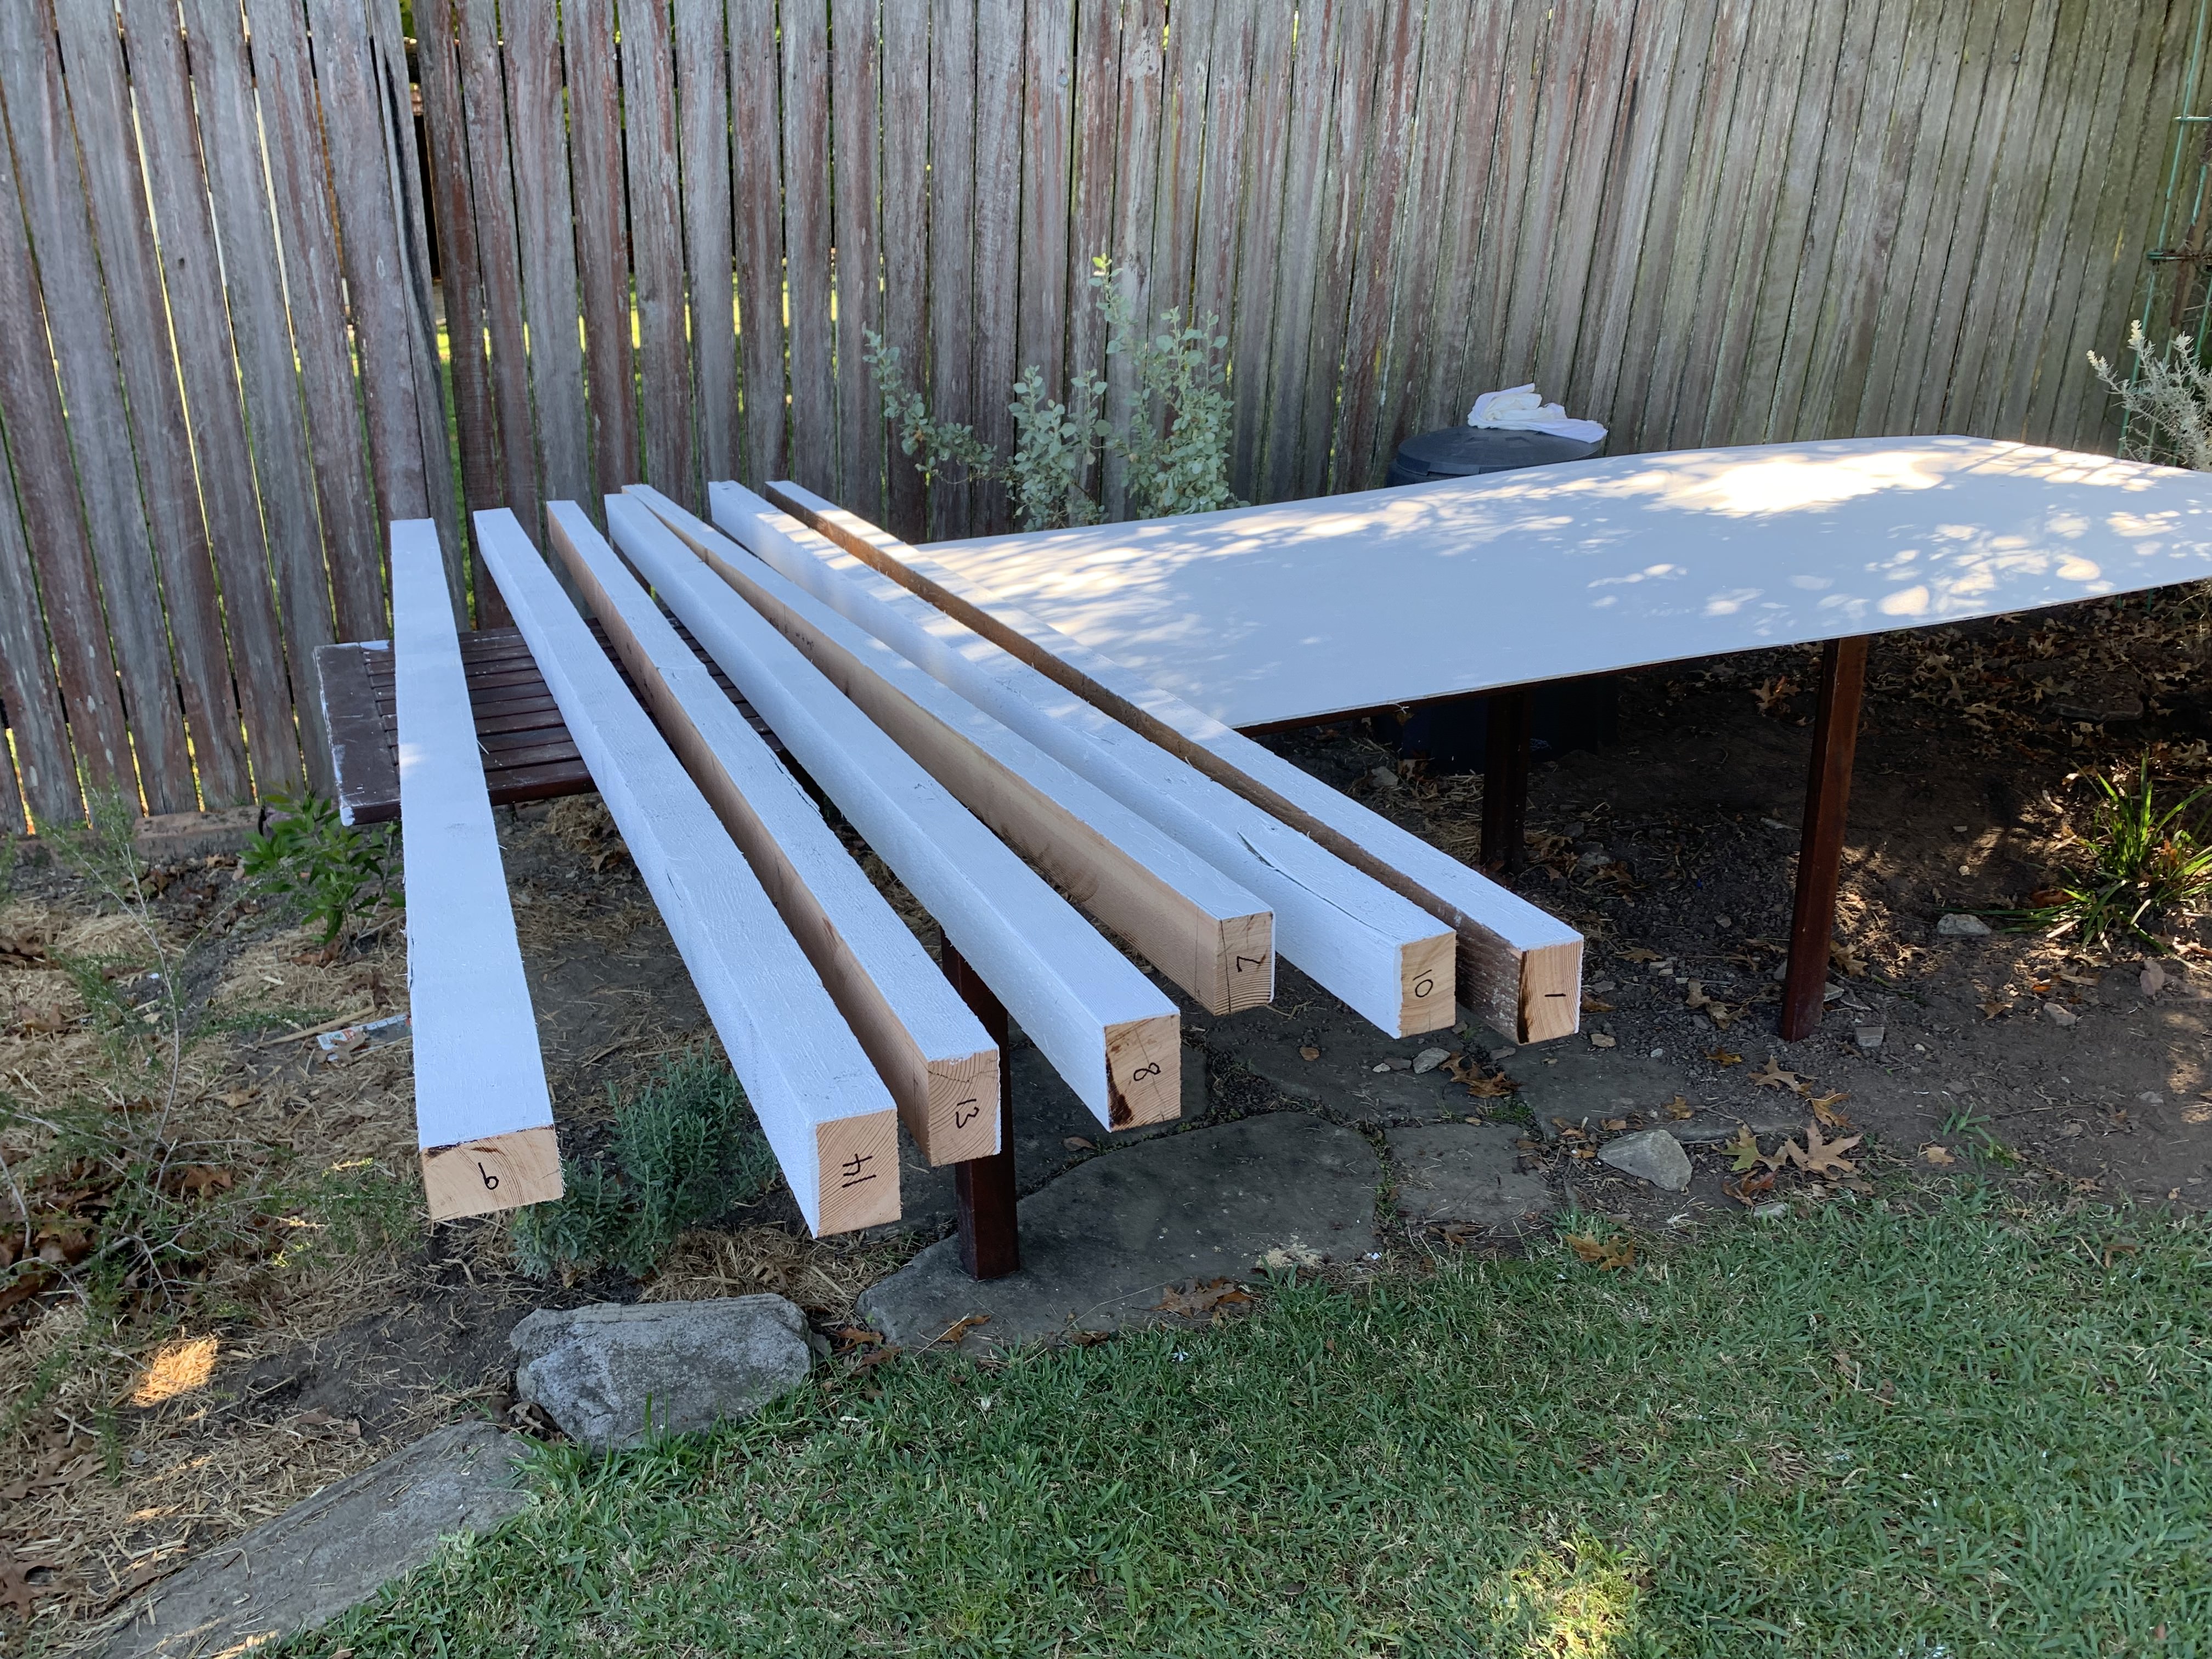
Priming the floor joists and plywood
Oh and how could we forget - we added another tool to our growing tool family! Erny purchased a Makita vacuum cleaner. At first glance it seems to add no direct value to the house, but it is an absolute game changer cleaning up offending wood shavings from the table and floor - our backs are super appreciative.
In summary, most of February and March has been focused on front-loading small jobs in preparation for our week of leave in April. The idea is to prepare as much as possible to maximise our week off. Honestly, it feels a bit like déjà vu - last year we tried to raise the walls and set the foundation, but unfortunately, Lys caught COVID around this time. We’re keeping our fingers crossed that she won’t get sick again and that we’ll be able to make more progress on the house during our upcoming break - Lys is once again checking the weather every 30 minutes.

Will it rain in April?
What’s next?
Maybe Erny’s map of the floorboard efficiency comes to fruition?
Catch ya later, Lys & Erny
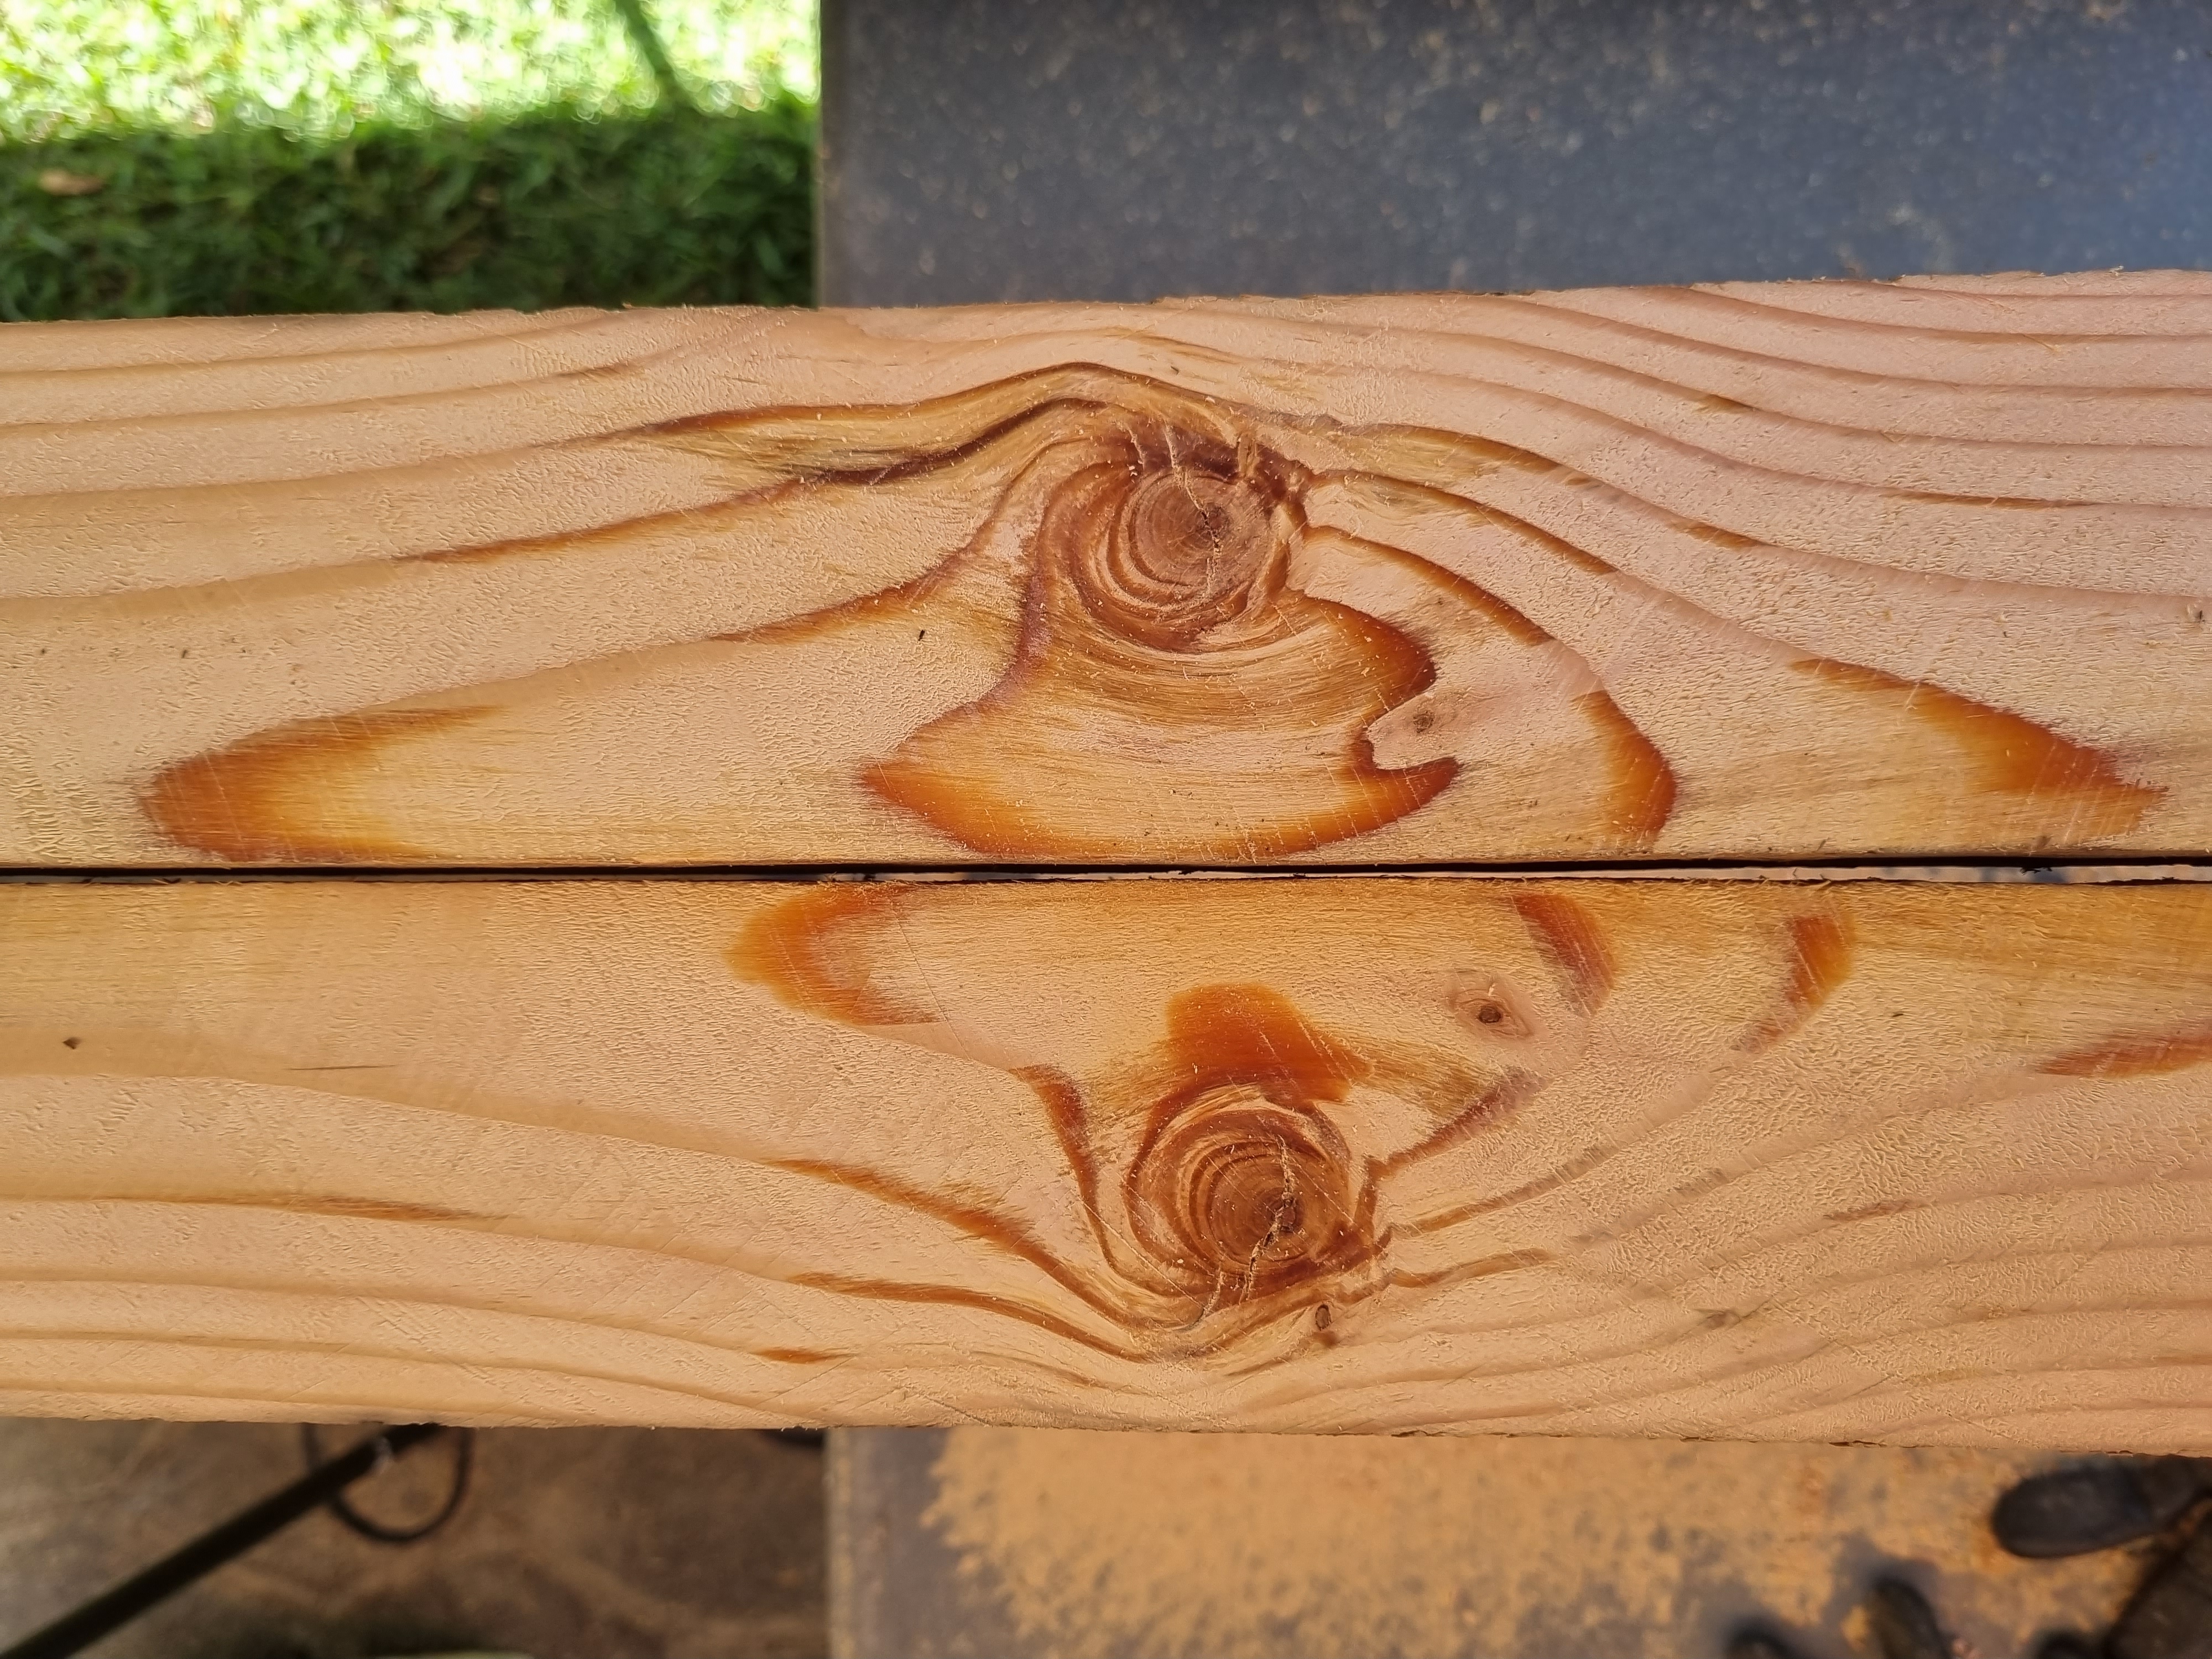
Grain is so nice in the douglas fir of our joists
Thank You!
Your comment has been submitted. It will appear on this page shortly! OKYikes, Sorry!
Error occured. Couldn't submit your comment. Please try again. Thank You! OKOnly 1 comment on March Build Update