November December Build Update
An November December build update
Window making continues with a side of weddings, berry farms, and other sundry end of year activities.
Table Of Contents
What we’ve done
So while writing this blog post, Lys discovers there’s a frisbee emoji 🥏 also known as the flying disc emoji - how random! Tiny house wise though - our journey continues working on our windows.
In November we spent most of our weekends sanding the burn marks off the blackbutt panels to get them ready for piecing. Having spent over 50 hours sanding over the course of 2 months using the orbital sander has really lost its shine, in fact the activity is nothing short of mundane. To combat sanding fatigue Erny has developed a strategy of listening to podcasts with earbuds under our earmuffs to while the time away.
Lys’ brother helped out sanding down the huge picture window (big thanks!). November also saw us putting together the bathroom window (smallest) as a test run. This proved difficult as the pieces had bowed slightly and were not really sitting square. Erny decided that we needed to re-sand these pieces so they became more-square to give us the best hope of flush corners. This set us back a weekend as we worked overtime to re-sand the pieces.
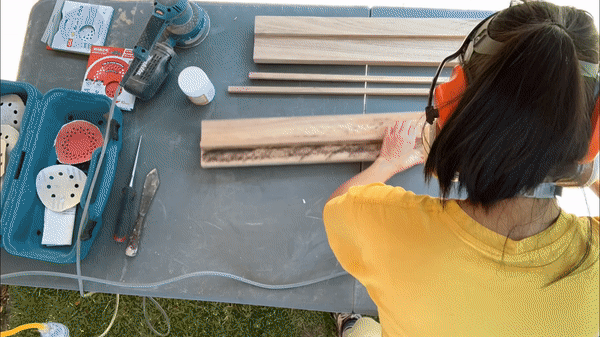
Sanding sanding and more…sanding
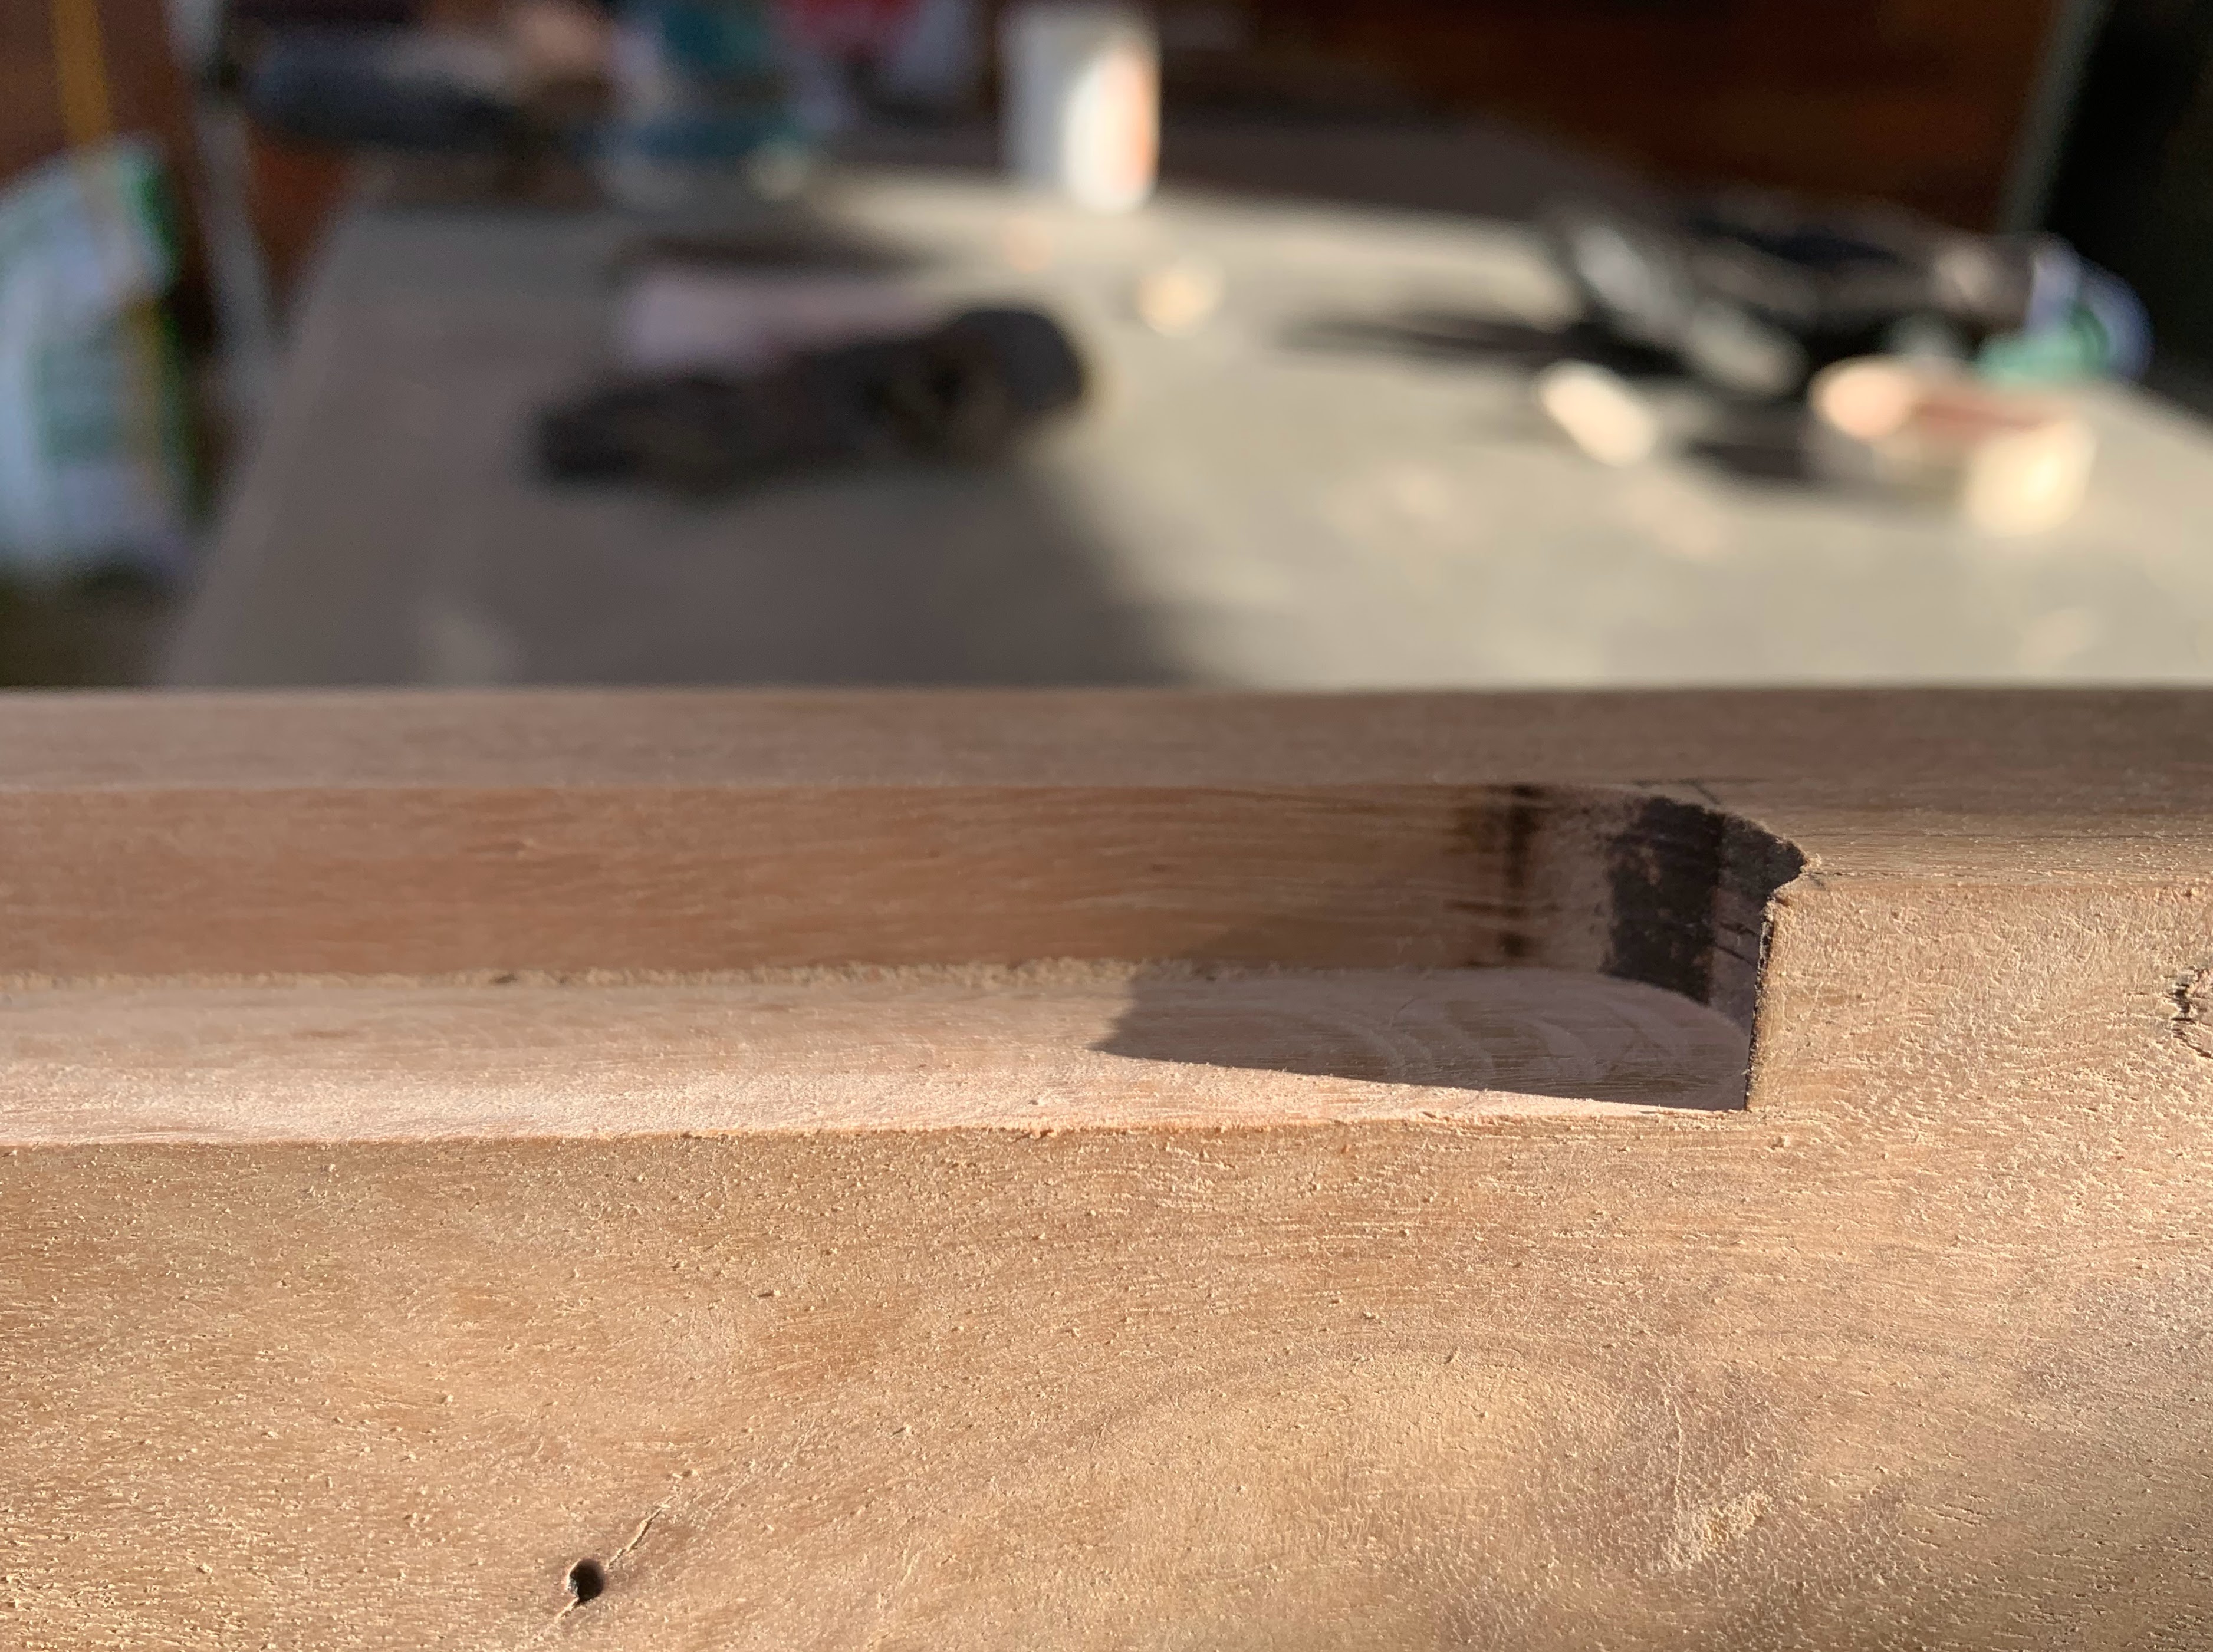
With the parts of the frame now square we had the arduous task of lining everything up to drill our pilot holes. With a contraption of too many clamps we raced against the sun to screw our window frames together which ended up with… a fail. A piece or clamp must have shifted in the process and when Erny screwed the pieces together we could tell that our window would not fit our glass. So, over the week Lys puttied up the holes with sawdust, glue and putty for another crack at it. This time we started earlier and took our time. This ended with a beautifully square(ish) window frame!
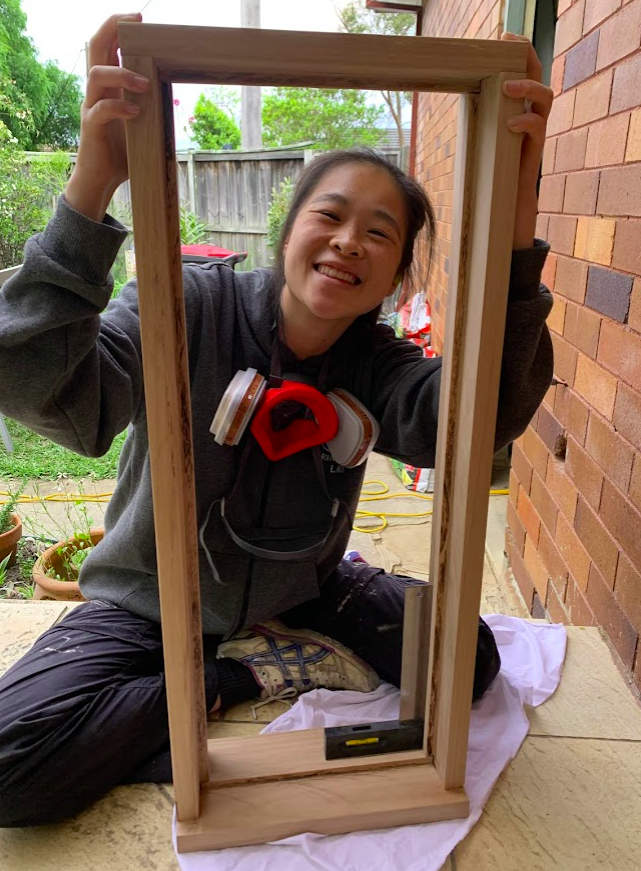
A successful frame
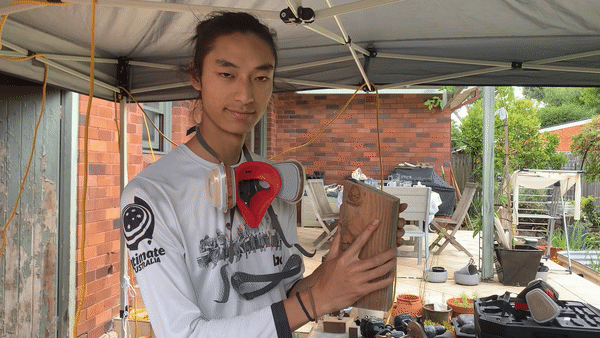
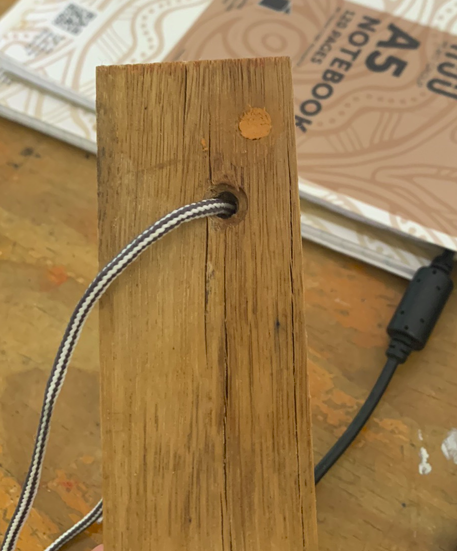
With that small win we continued with the loft and kitchen windows. These also proved to be challenging as these three frames open. And it was here, design wise, we hit a little snag - we did not account for the hinges in our design. Our previous design did not account for hinge movement and so part of the hinges will be exposed to the elements. So back to the drawing board we went to see how we could integrate those hinges into our windows in a weather tight manner. Luckily Erny found this video, which is not only Australian but it details where and how one should install hinges on casement (and then by extension awning) windows.
Lys also happened to purchase a secondhand router earlier on in the year which came in handy. Having learnt our lesson from previously failures we had the foresight to run a prototype to test if our in-layed hinge strategy would work as we expected - and it did! We then routed the edges off our frames to inlay the hinges into our frames. Success!
Prototype
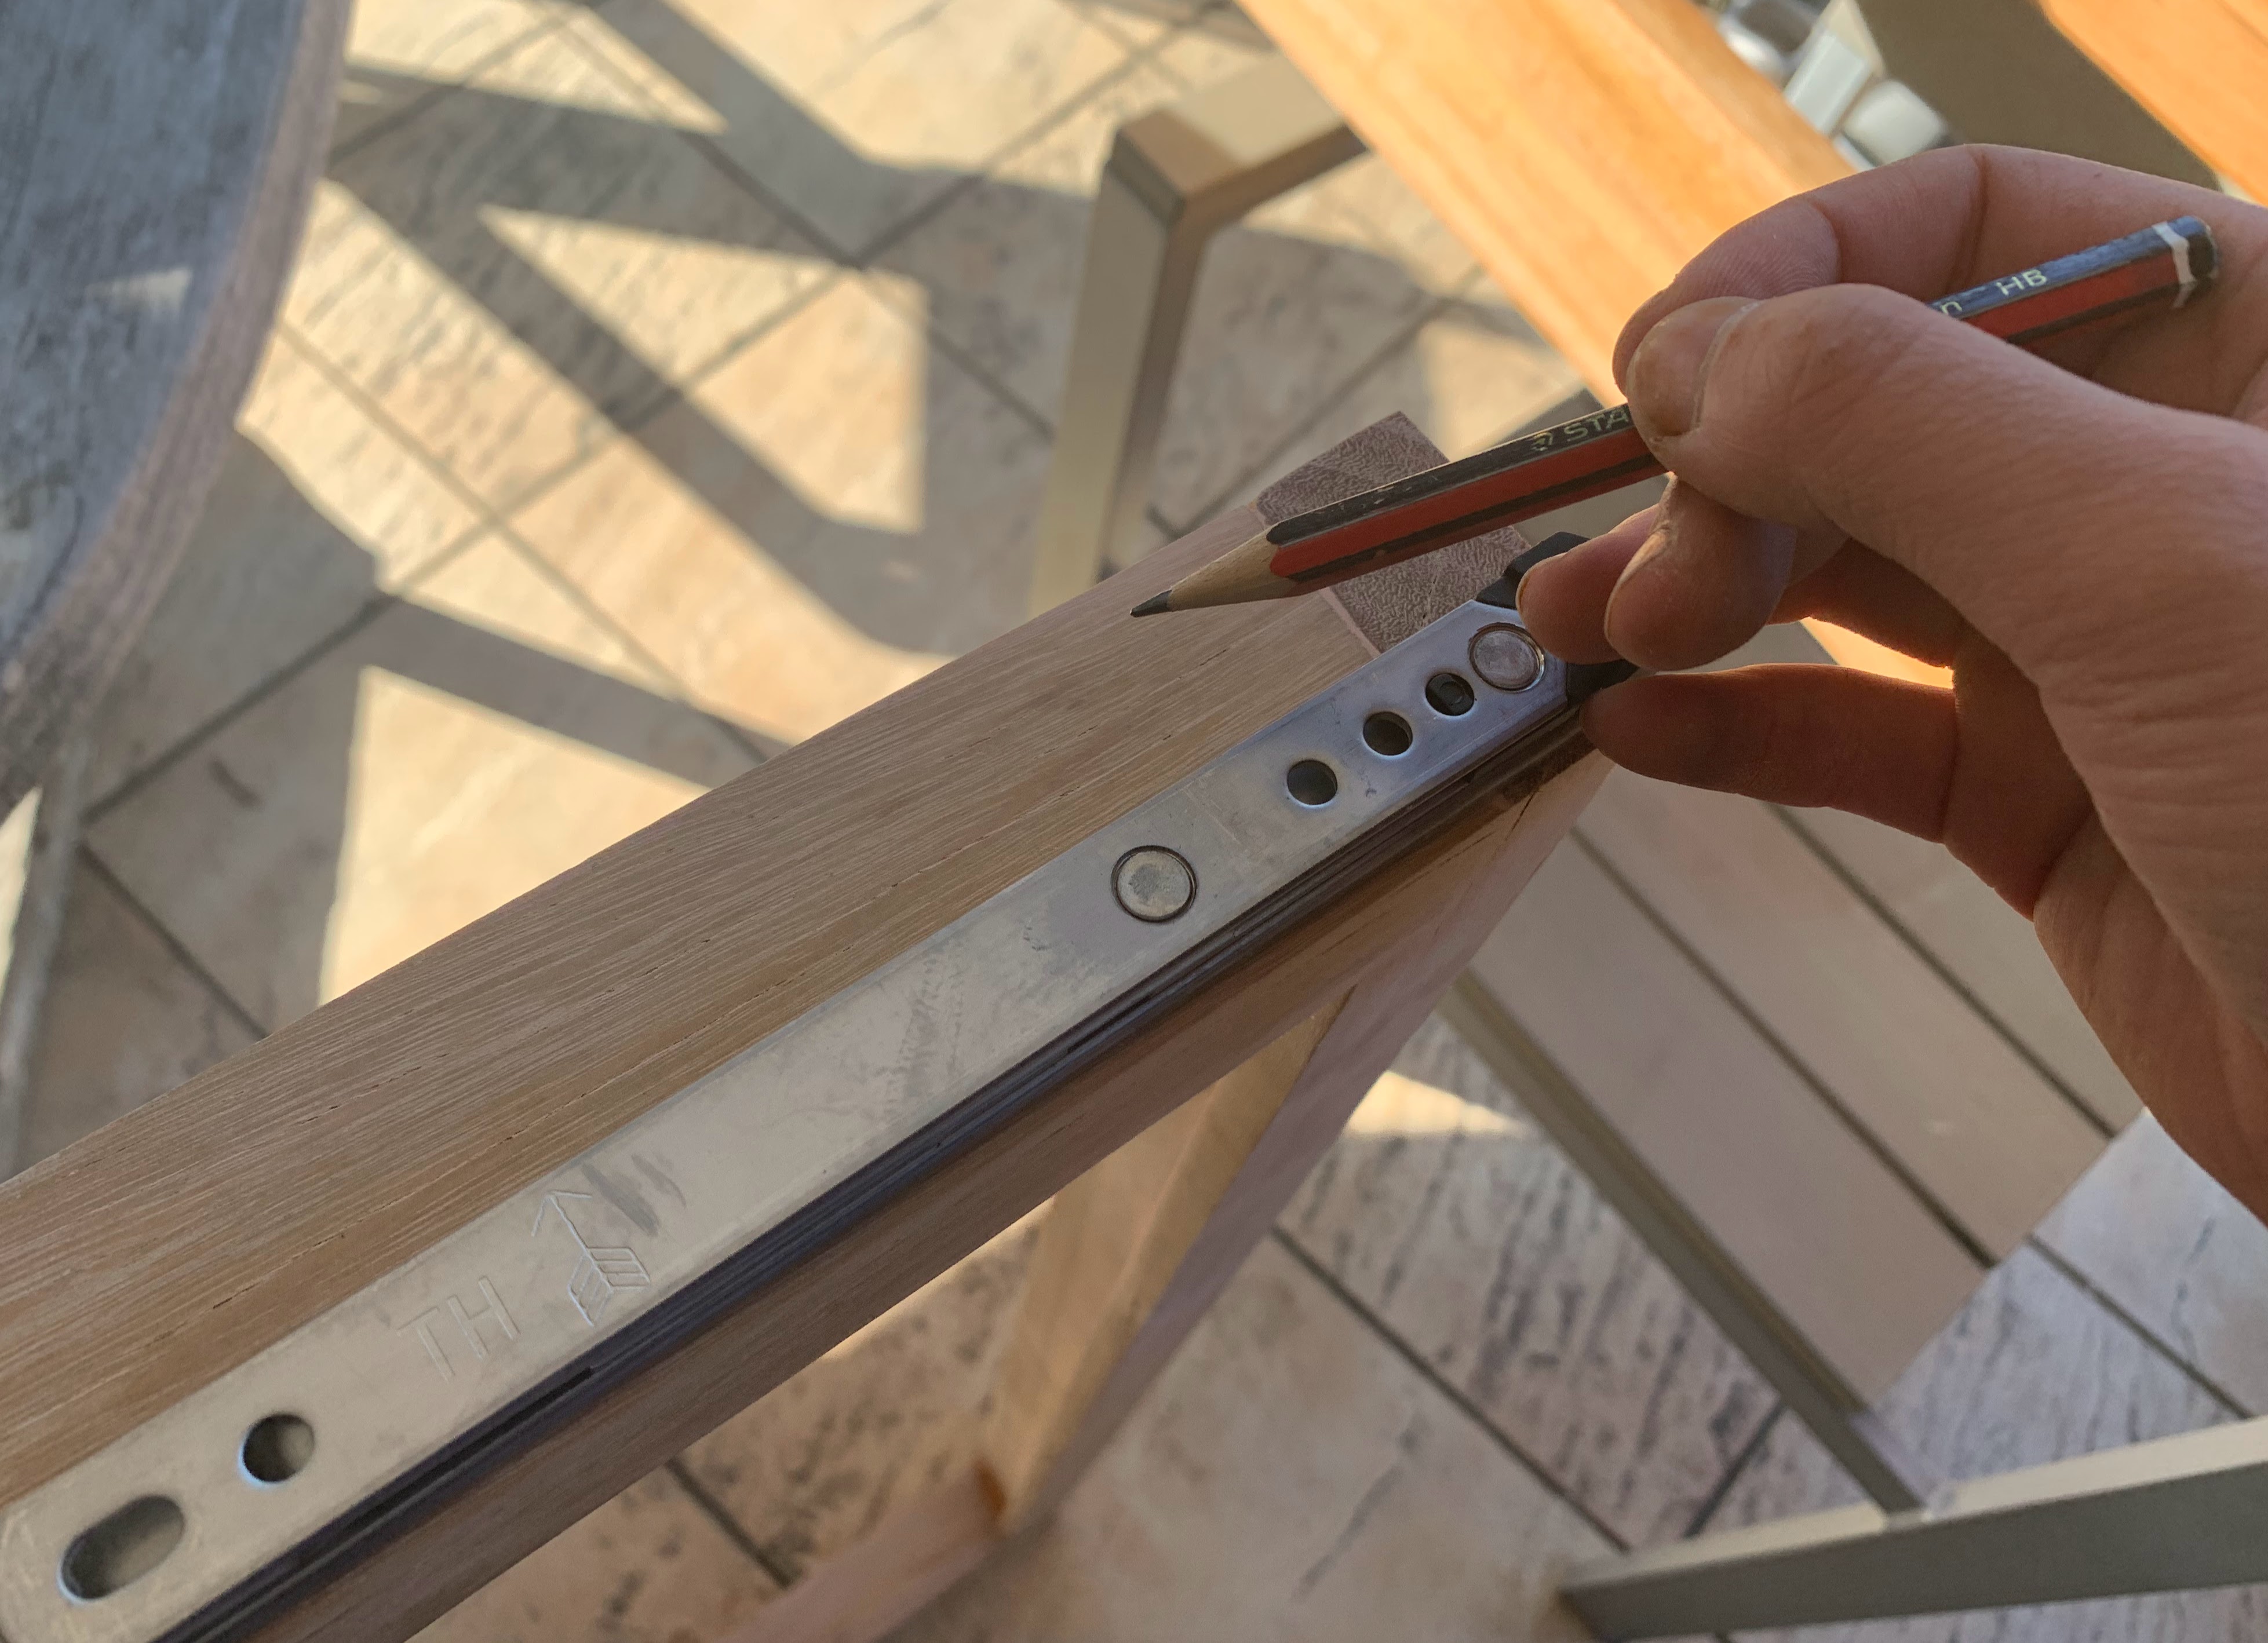
Ensuring the hinges are measured correctly
The 2nd hand router doing its good work
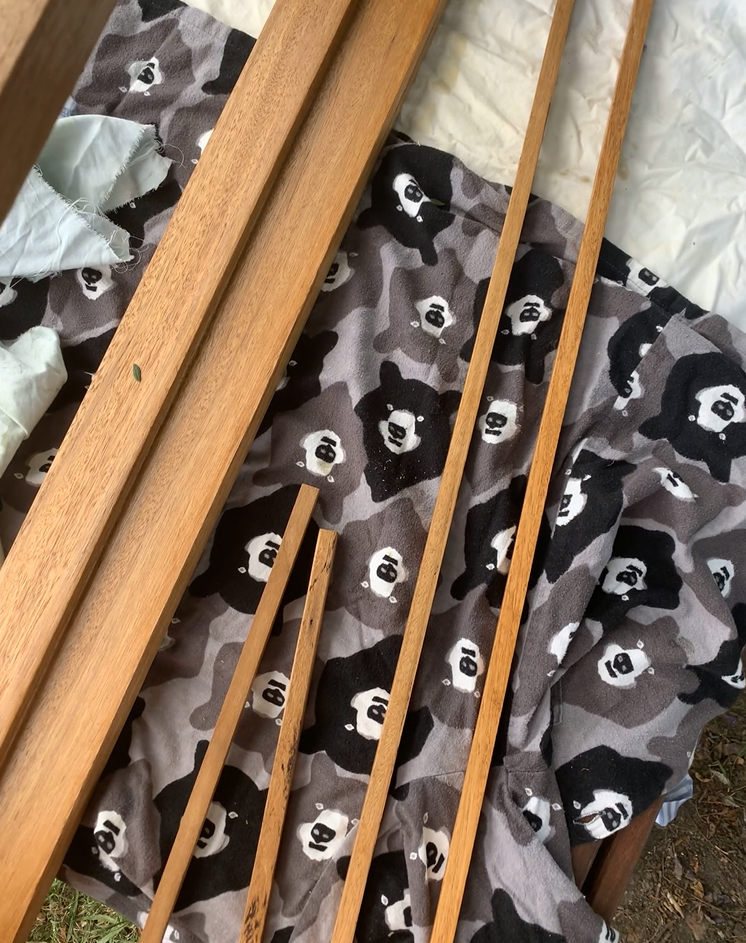
But it would not be a build update with another hiccup. We test drove the Osmo - UV Protection Oil on some spare blackbutt. It is lovely and pulls the colour of the wood out so well. It does however make the putty quite orange, and so Lys decided we needed to stain the wood to blend the putty into the blackbutt. We settled on Sikkens Cetol BLX-Pro Teak Timber Stain which was the lightest stain Bunnings offered that would hide the orange tone. After trialing it out on our bathroom window, Lys was not convinced that it camouflaged the putty orange. Mildly distraught, Lys mulled over if we should continue down the staining path. Ultimately we decided - yes - it would be a good idea to stain the wood as an undercoat.
Test piece highlighting the overly orange putty
Staining the pieces to teak perfection
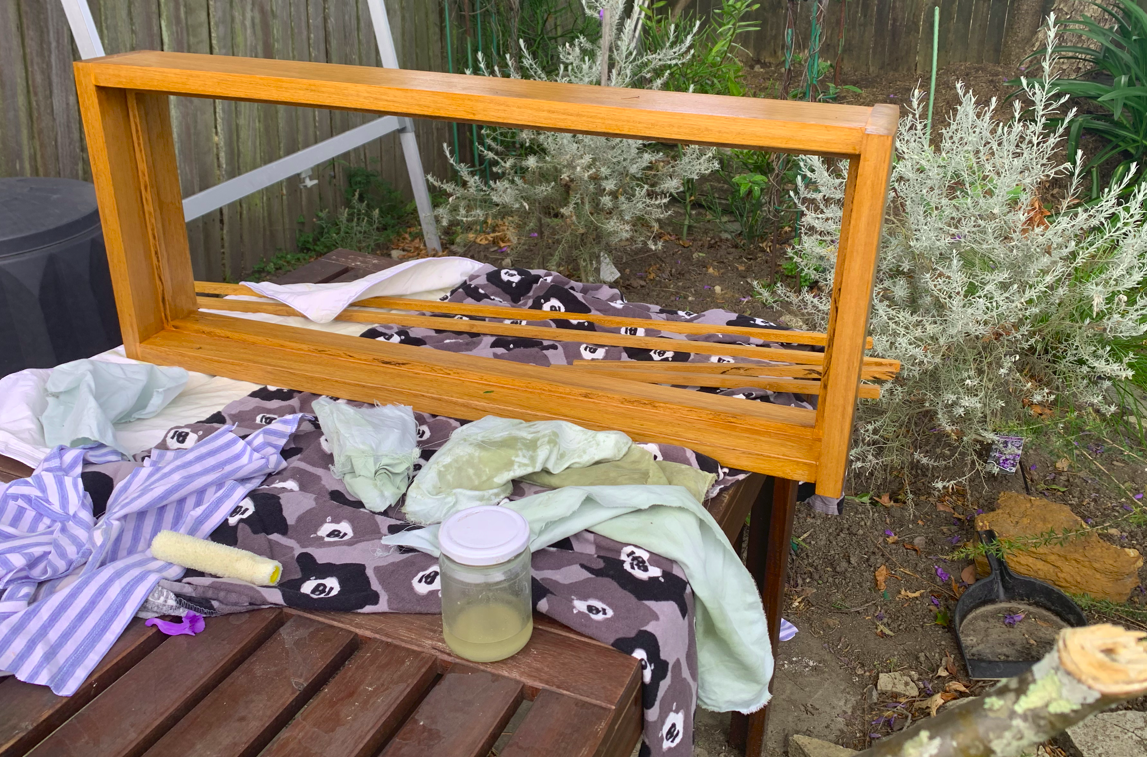
From there we have been full steam ahead with the rest of our windows! Our big picture window frame has been completed as well as the internal window frames of all our opening windows. It shouldn’t be too long before all of them have finished by the end of January… (being hopeful here).
Our final December hurdle was a extremely scary glass fitting for our picture window. Measuring in at 1.2m x 1.5m and with a glass pane that is over 20kgs, we tentatively test fit our glass into the frame. Clearly our 2mm leeway must have been eaten up by a twist or a slight bend because the last glass fitting was tight. We will probably need to sand out the cavity in the new year.
Highlights
Lys doesn’t want to jinks it but the weather has actually been really good these last few months! Here’s hoping for a productive 2023 🤞
Challenges
Not so much of a challenge but we’re trying to enjoy life (and the good weather while we build). Congrats to Jo and Mandi :)
What’s next?
More windows and maybe some walls? But also, have a safe and snazzy festive season and see you in 2023 ⭐
Catch ya later, Lys & Erny
Oiling windows
Thank You!
Your comment has been submitted. It will appear on this page shortly! OKYikes, Sorry!
Error occured. Couldn't submit your comment. Please try again. Thank You! OK2 comments on November December Build Update